How to Create a Natural Makeup Look for Everyday Wear
Key Takeaways
A natural makeup look enhances features without feeling heavy or obvious - think polished, not painted.
Fresh skin prep with moisturizer and SPF is the real secret to making everyday makeup look smooth and effortless.
Lightweight base products, soft blush, groomed brows, simple eye makeup, and a natural lip color create the "your face but prettier" effect.
This routine is beginner-friendly, quick to repeat, and perfect as a daily go to soft glam look.
A no makeup makeup look still uses makeup products - just in sheer, blended layers that look like real skin.
What Is a Natural Makeup Look?
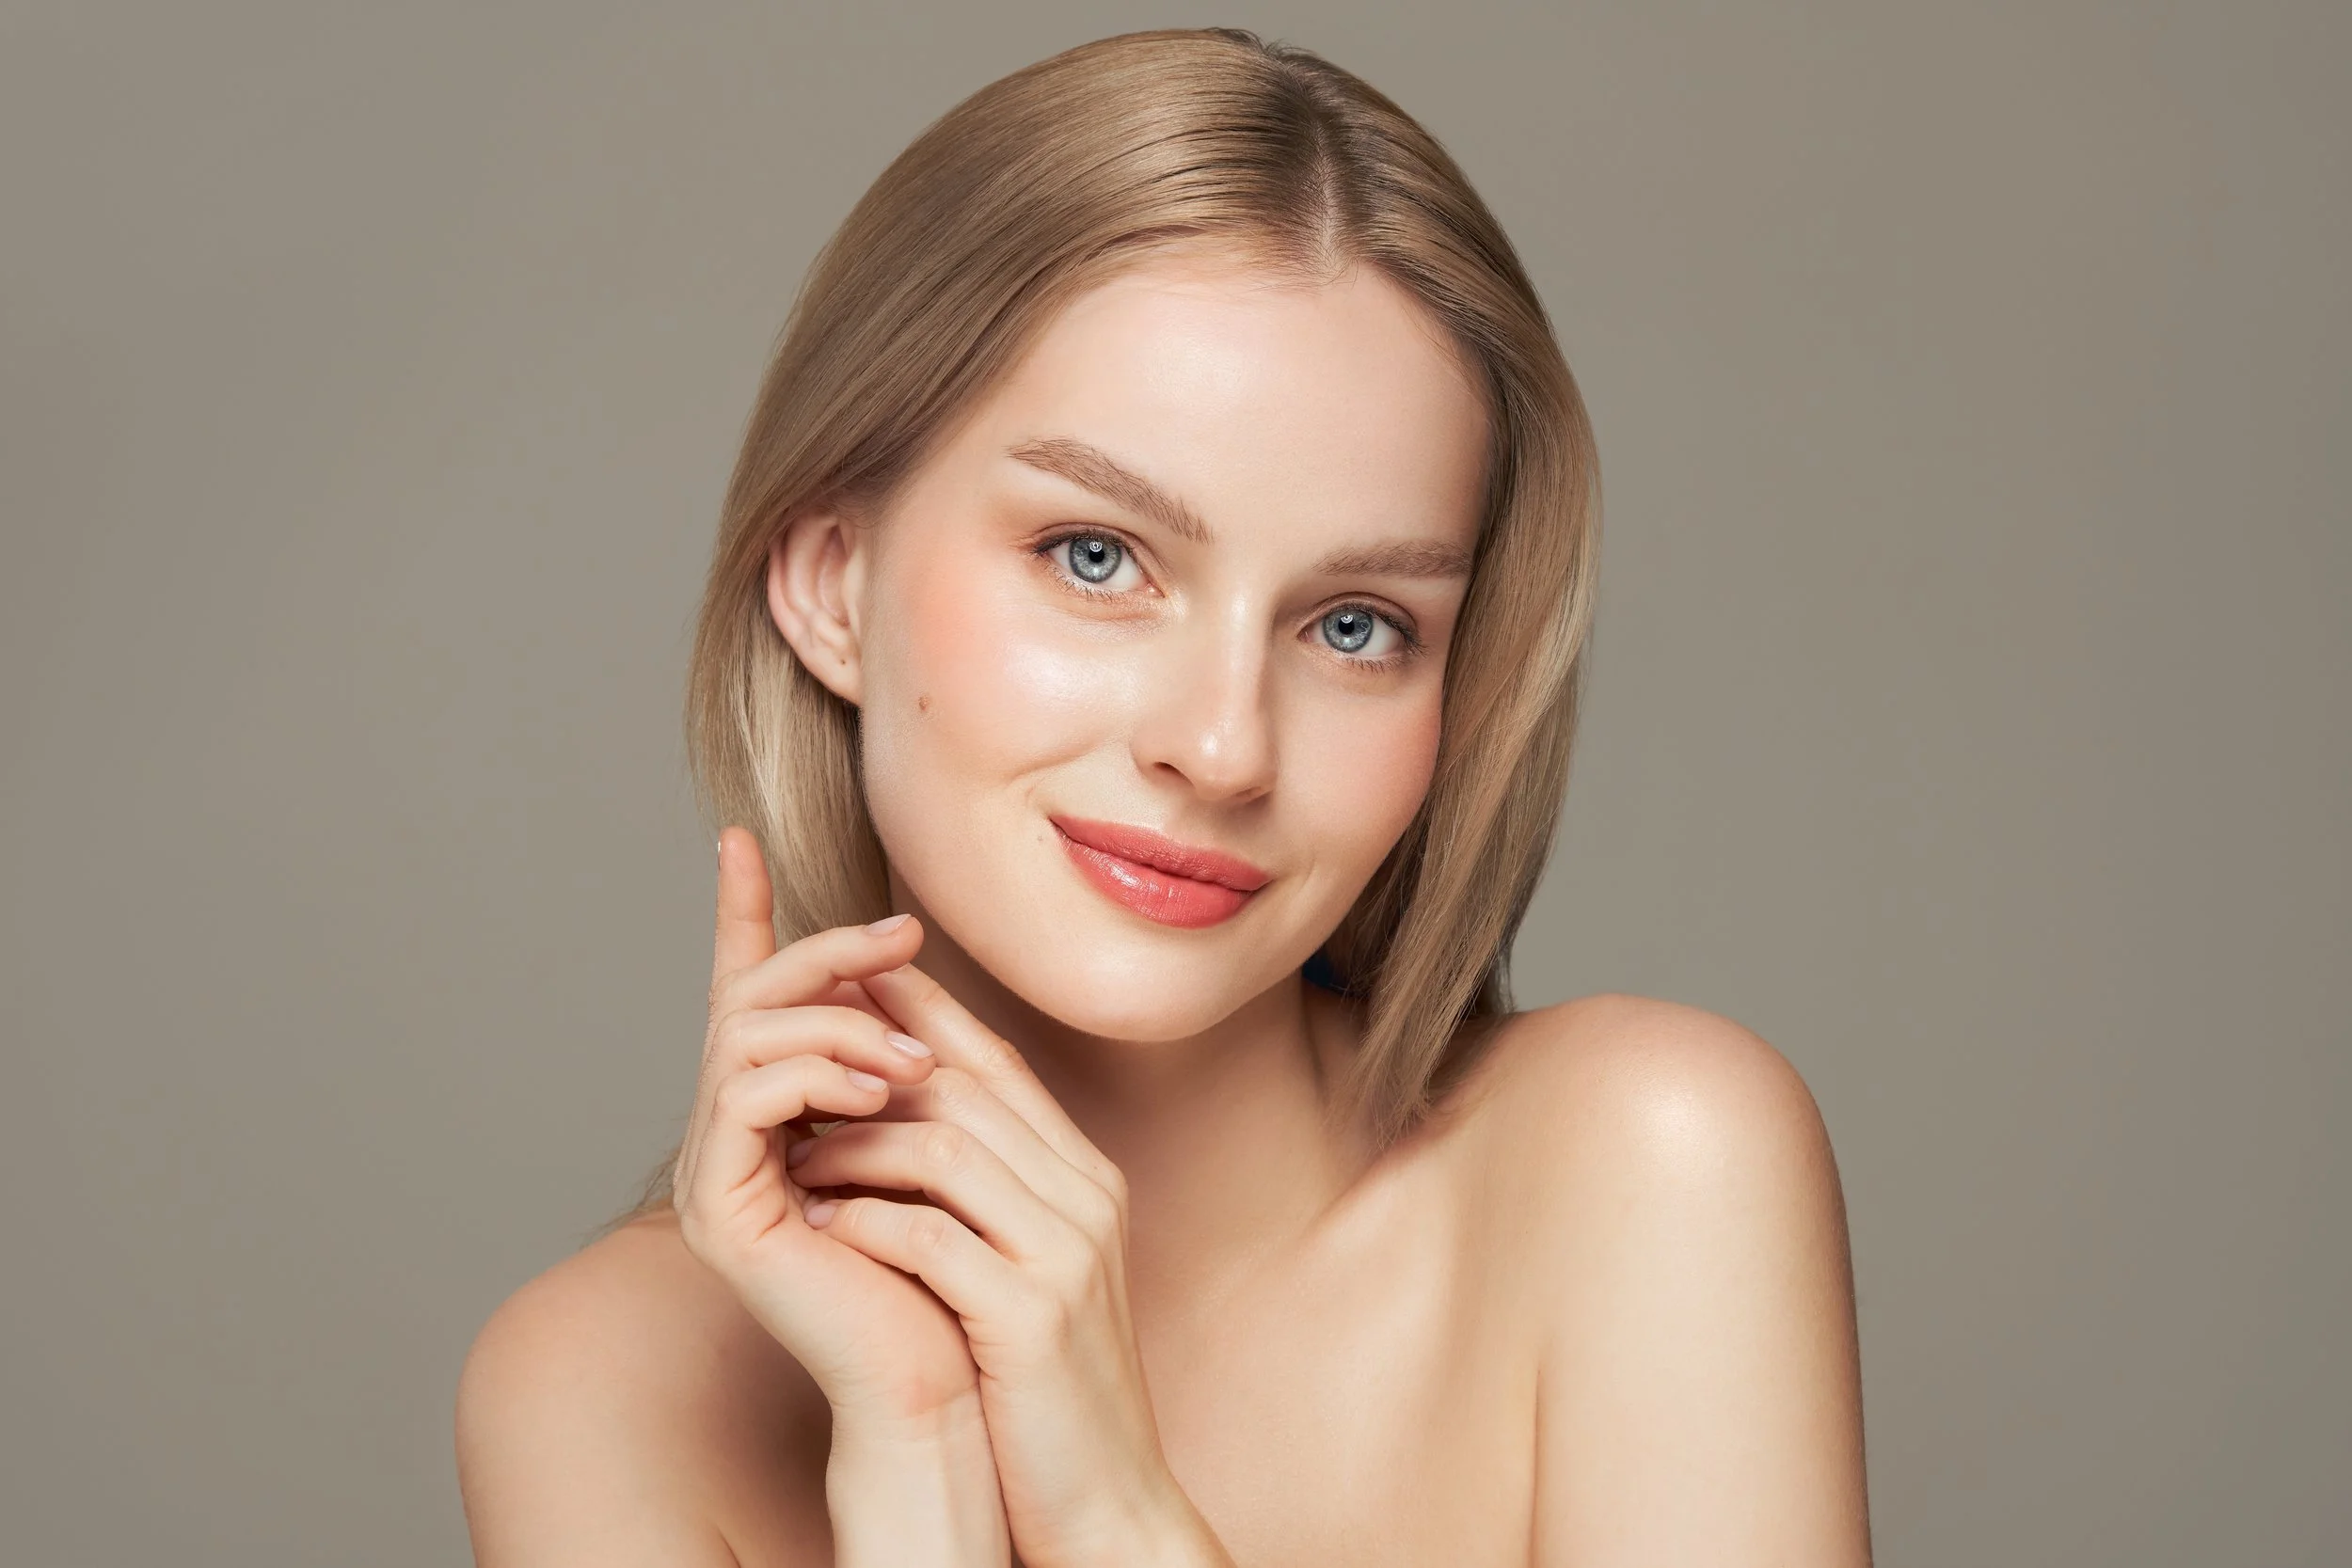
A natural makeup look is soft, blended makeup that makes the face look fresh and polished without appearing heavy or overdone. Instead of bold color, dramatic contour, or sharp lines, natural looking makeup focuses on even skin tone, subtle definition, and a healthy glow that looks like it belongs on the skin.
This is the opposite of full glam. There are no heavy contour stripes, no intense smokey eye makeup, no statement lips, and definitely no false lashes. Everything stays lightweight, diffused, and close to the skin's own texture. The goal is enhancing what is already there - not covering it up.
This guide is a natural makeup tutorial designed for beginners who want an easy natural makeup look for busy mornings, office days, or casual weekends. Every step is simple, repeatable, and easy to customize for any skin type or comfort level.
Prep Your Skin for a Fresh Face
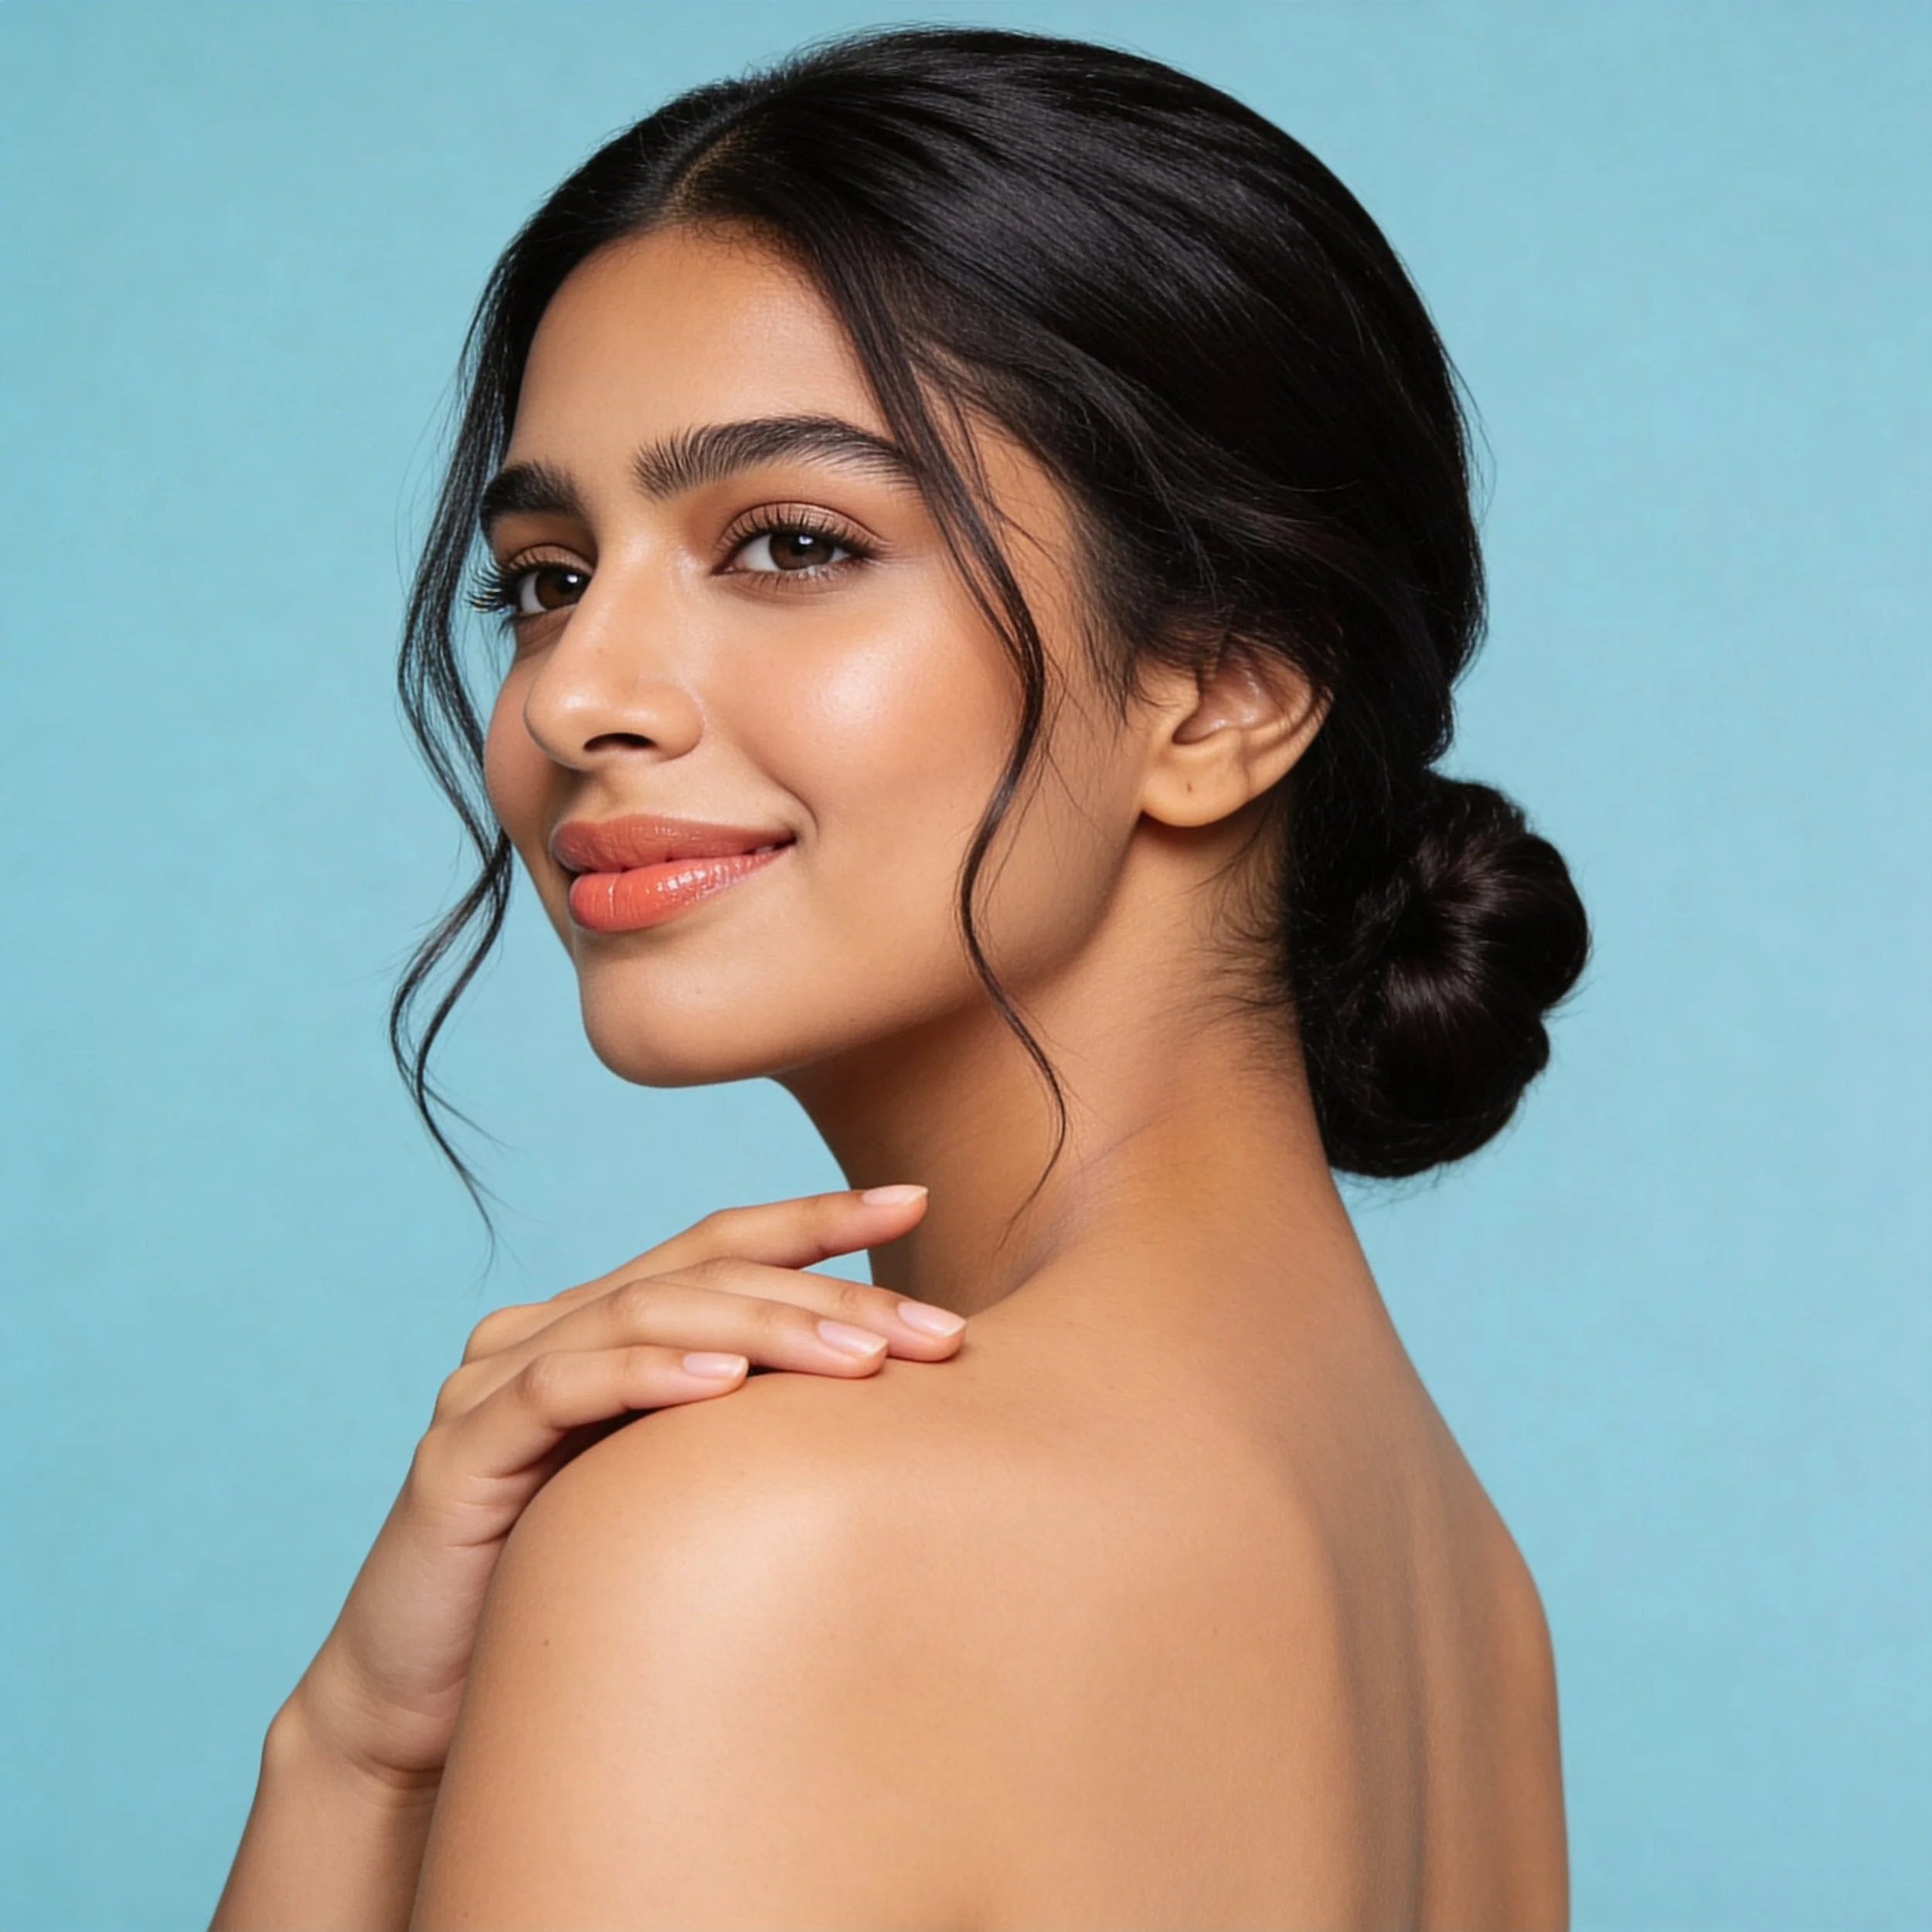
Hydration is paramount for a natural makeup look. When skin is well-moisturized, it reflects light more evenly, and every base product sits smoother. Dry patches, flakes, or rough texture get amplified the moment foundation or concealer touches the skin - even sheer formulas can look patchy on dehydrated skin. Skincare is essential before applying makeup, and skipping this step is one of the fastest ways to make a simple look feel cakey.
A quick skincare routine before makeup does not need to be complicated. Start with a gentle cleanser to remove overnight oils, follow with a lightweight moisturizer (something with hyaluronic acid or glycerin works well for most), and finish with SPF during the day. Daily skincare routines improve skin health and appearance over time, which means even bare skin starts looking better the more consistent the routine becomes. Research confirms that well-prepped, even skin registers as healthier and more attractive - and that effect multiplies when makeup is applied on top.
Moisturizer creates a glowy base for makeup, and well-prepped skin allows for less makeup usage overall. Applying makeup to bare skin without any moisturizer or SPF is not recommended - it leads to uneven application and faster fading. An optional smoothing or glowy primer can add extra blur or radiance, but it is not mandatory. Taking three to five minutes for skin prep can shorten the time needed to apply makeup and keep the final result looking like real skin instead of a mask.
Create a Lightweight, Natural Base
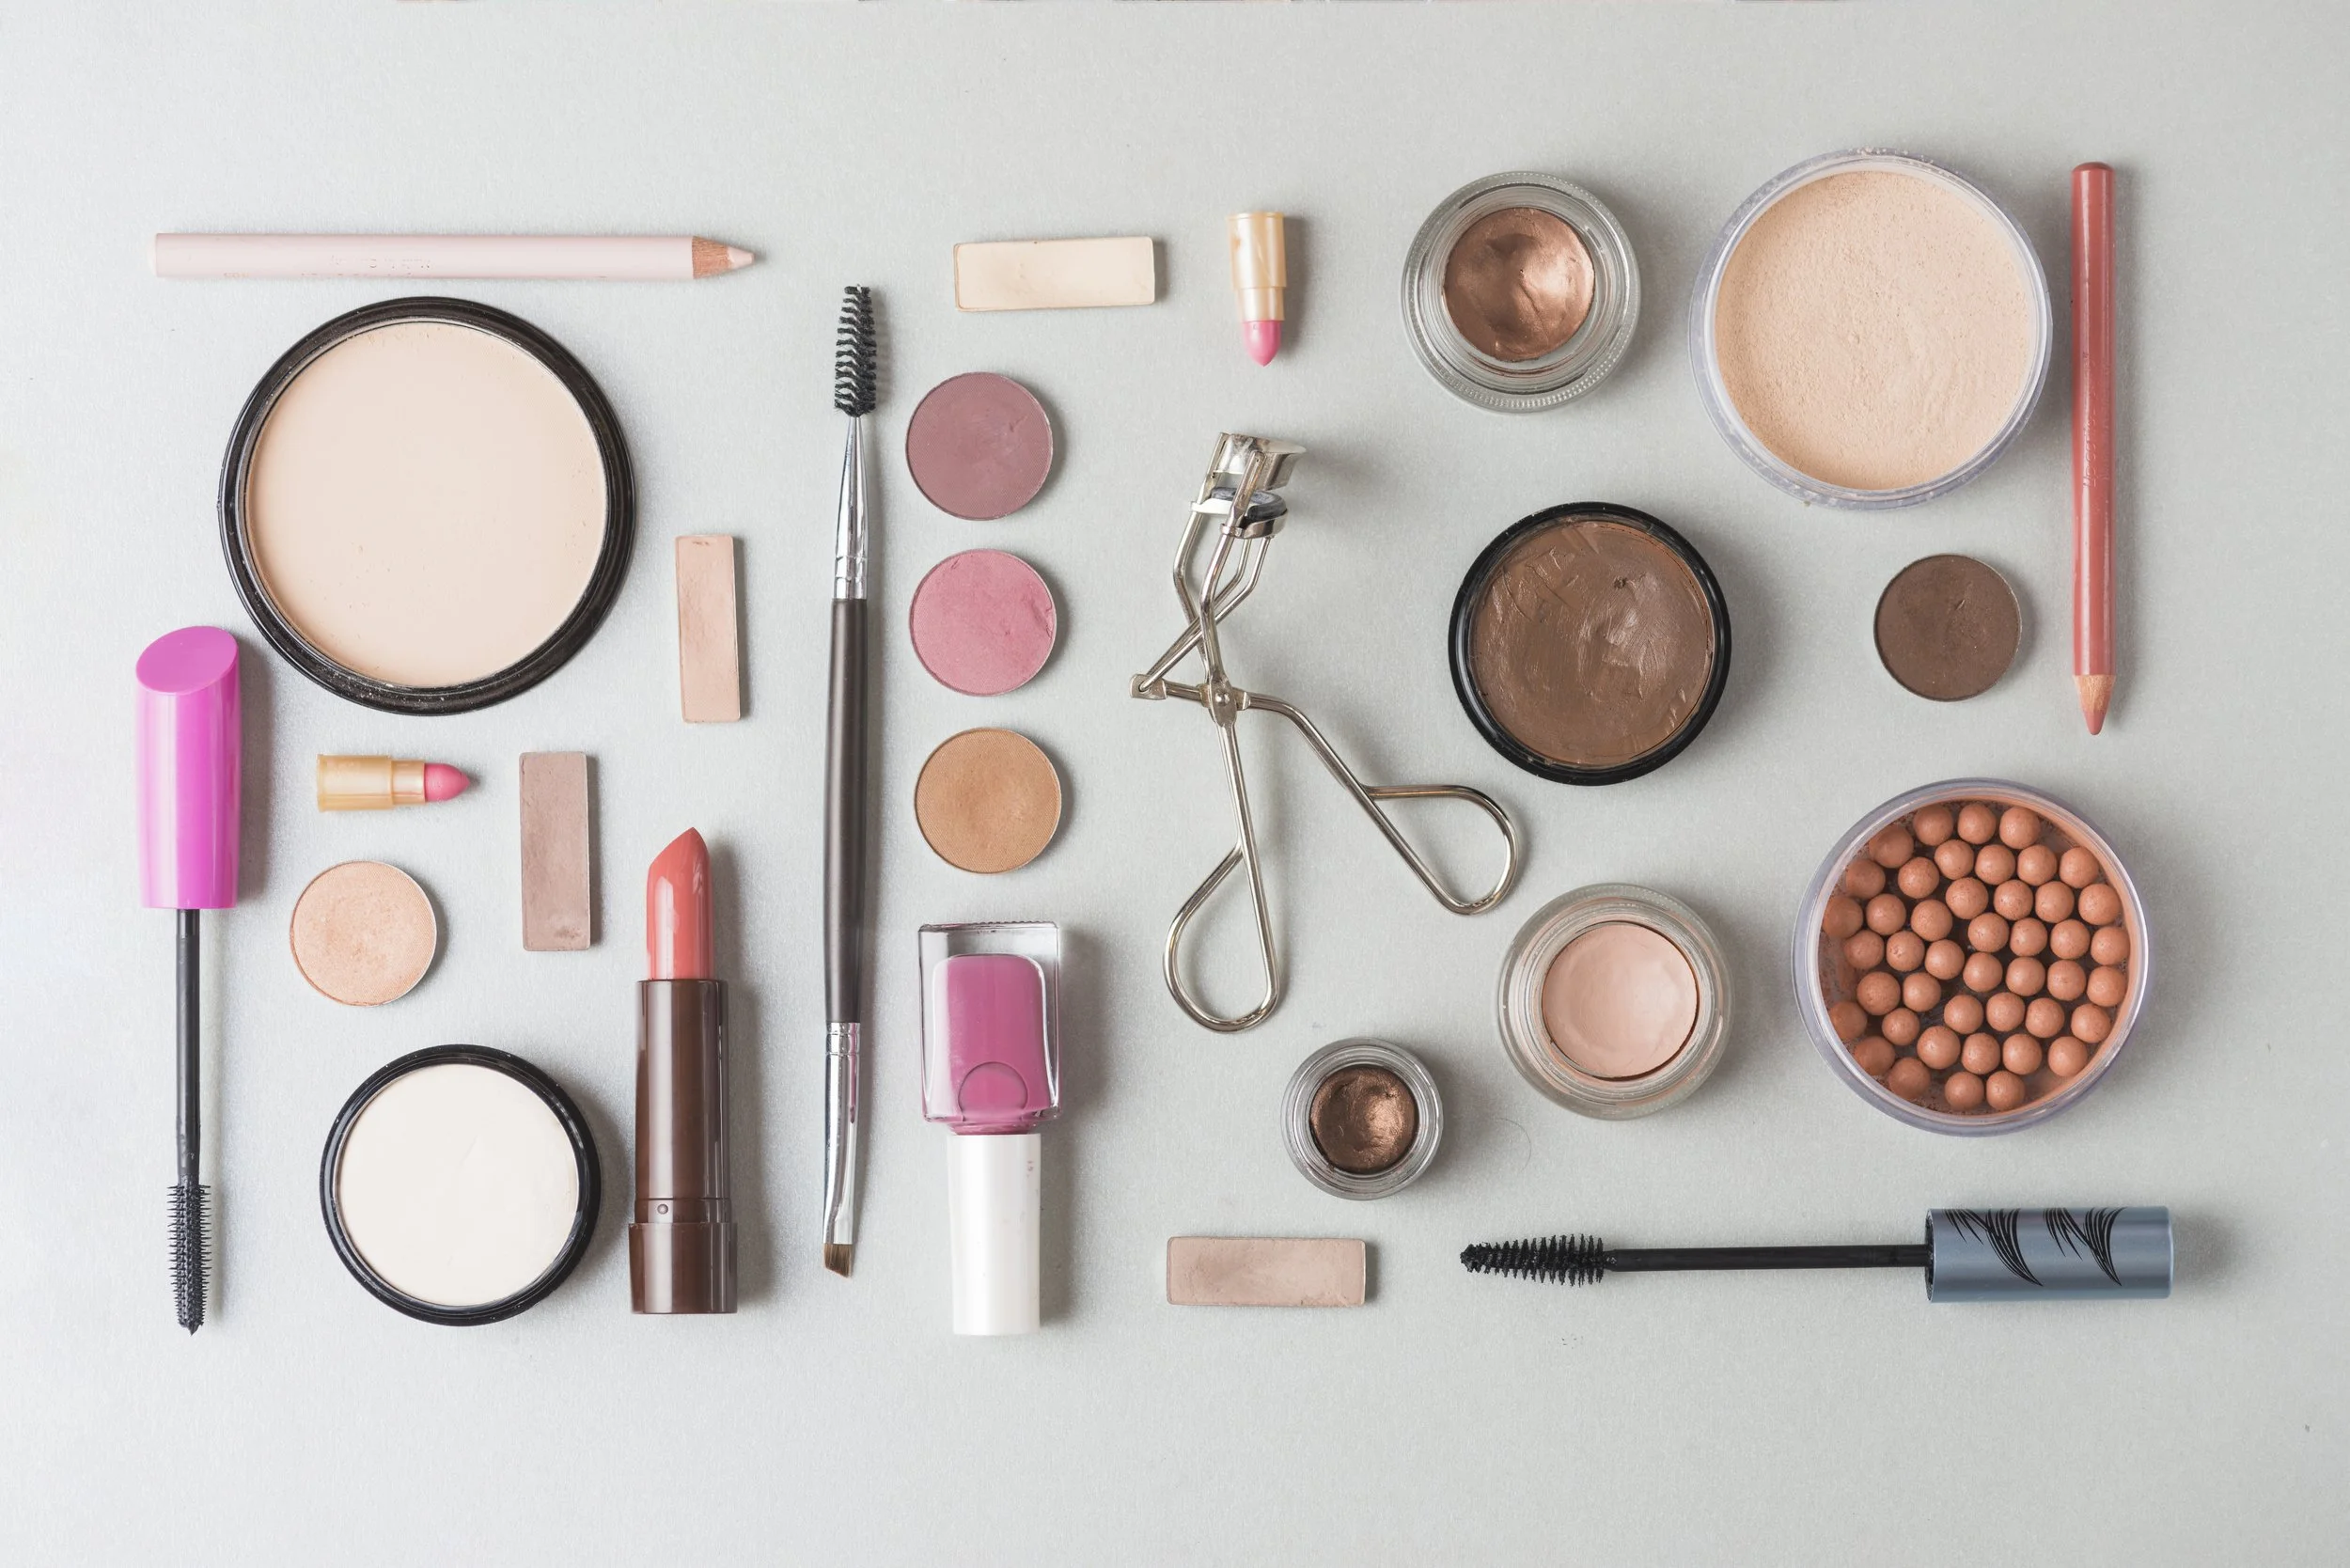
The base should even out the skin, not erase every pore and freckle. A natural foundation look means choosing sheer, breathable products that let real skin texture show through. The goal is natural looking coverage - just enough to smooth tone without looking like a layer of paint.
Opt for sheer coverage using tinted moisturizers or BB creams for the lightest result. A skin tint works beautifully for those who want almost invisible coverage, while a bb cream offers slightly more pigment with skincare benefits built in. Liquid foundations also provide natural-looking coverage for minimal makeup looks, as long as they are applied sparingly. Tinted moisturizers help achieve a natural, glowing complexion and work especially well on days when the skin is already in decent shape. Liquid foundations suit various skin types and tones, making them a versatile option in any makeup bag.
To apply makeup base, dot a small amount on the center of the face - forehead, around the nose, chin, and cheeks - then blend outward with fingers, a damp sponge, or a soft brush. Use a damp beauty sponge for seamless foundation application, pressing gently rather than swiping. Build more coverage only where needed instead of layering everywhere, so the skin's natural texture still shows through. Choose foundation that matches your skin tone for natural coverage, paying close attention to undertone. The right match - whether warm, cool, or neutral - helps the base disappear into the skin for a true no makeup makeup look. Fair skin tones may lean toward lighter, pink-based shades, while deeper skin tones should look for formulas with rich undertone variety to avoid ashiness. A dewy finish foundation or a medium coverage foundation applied lightly both work depending on preference.
Conceal Only Where You Need It
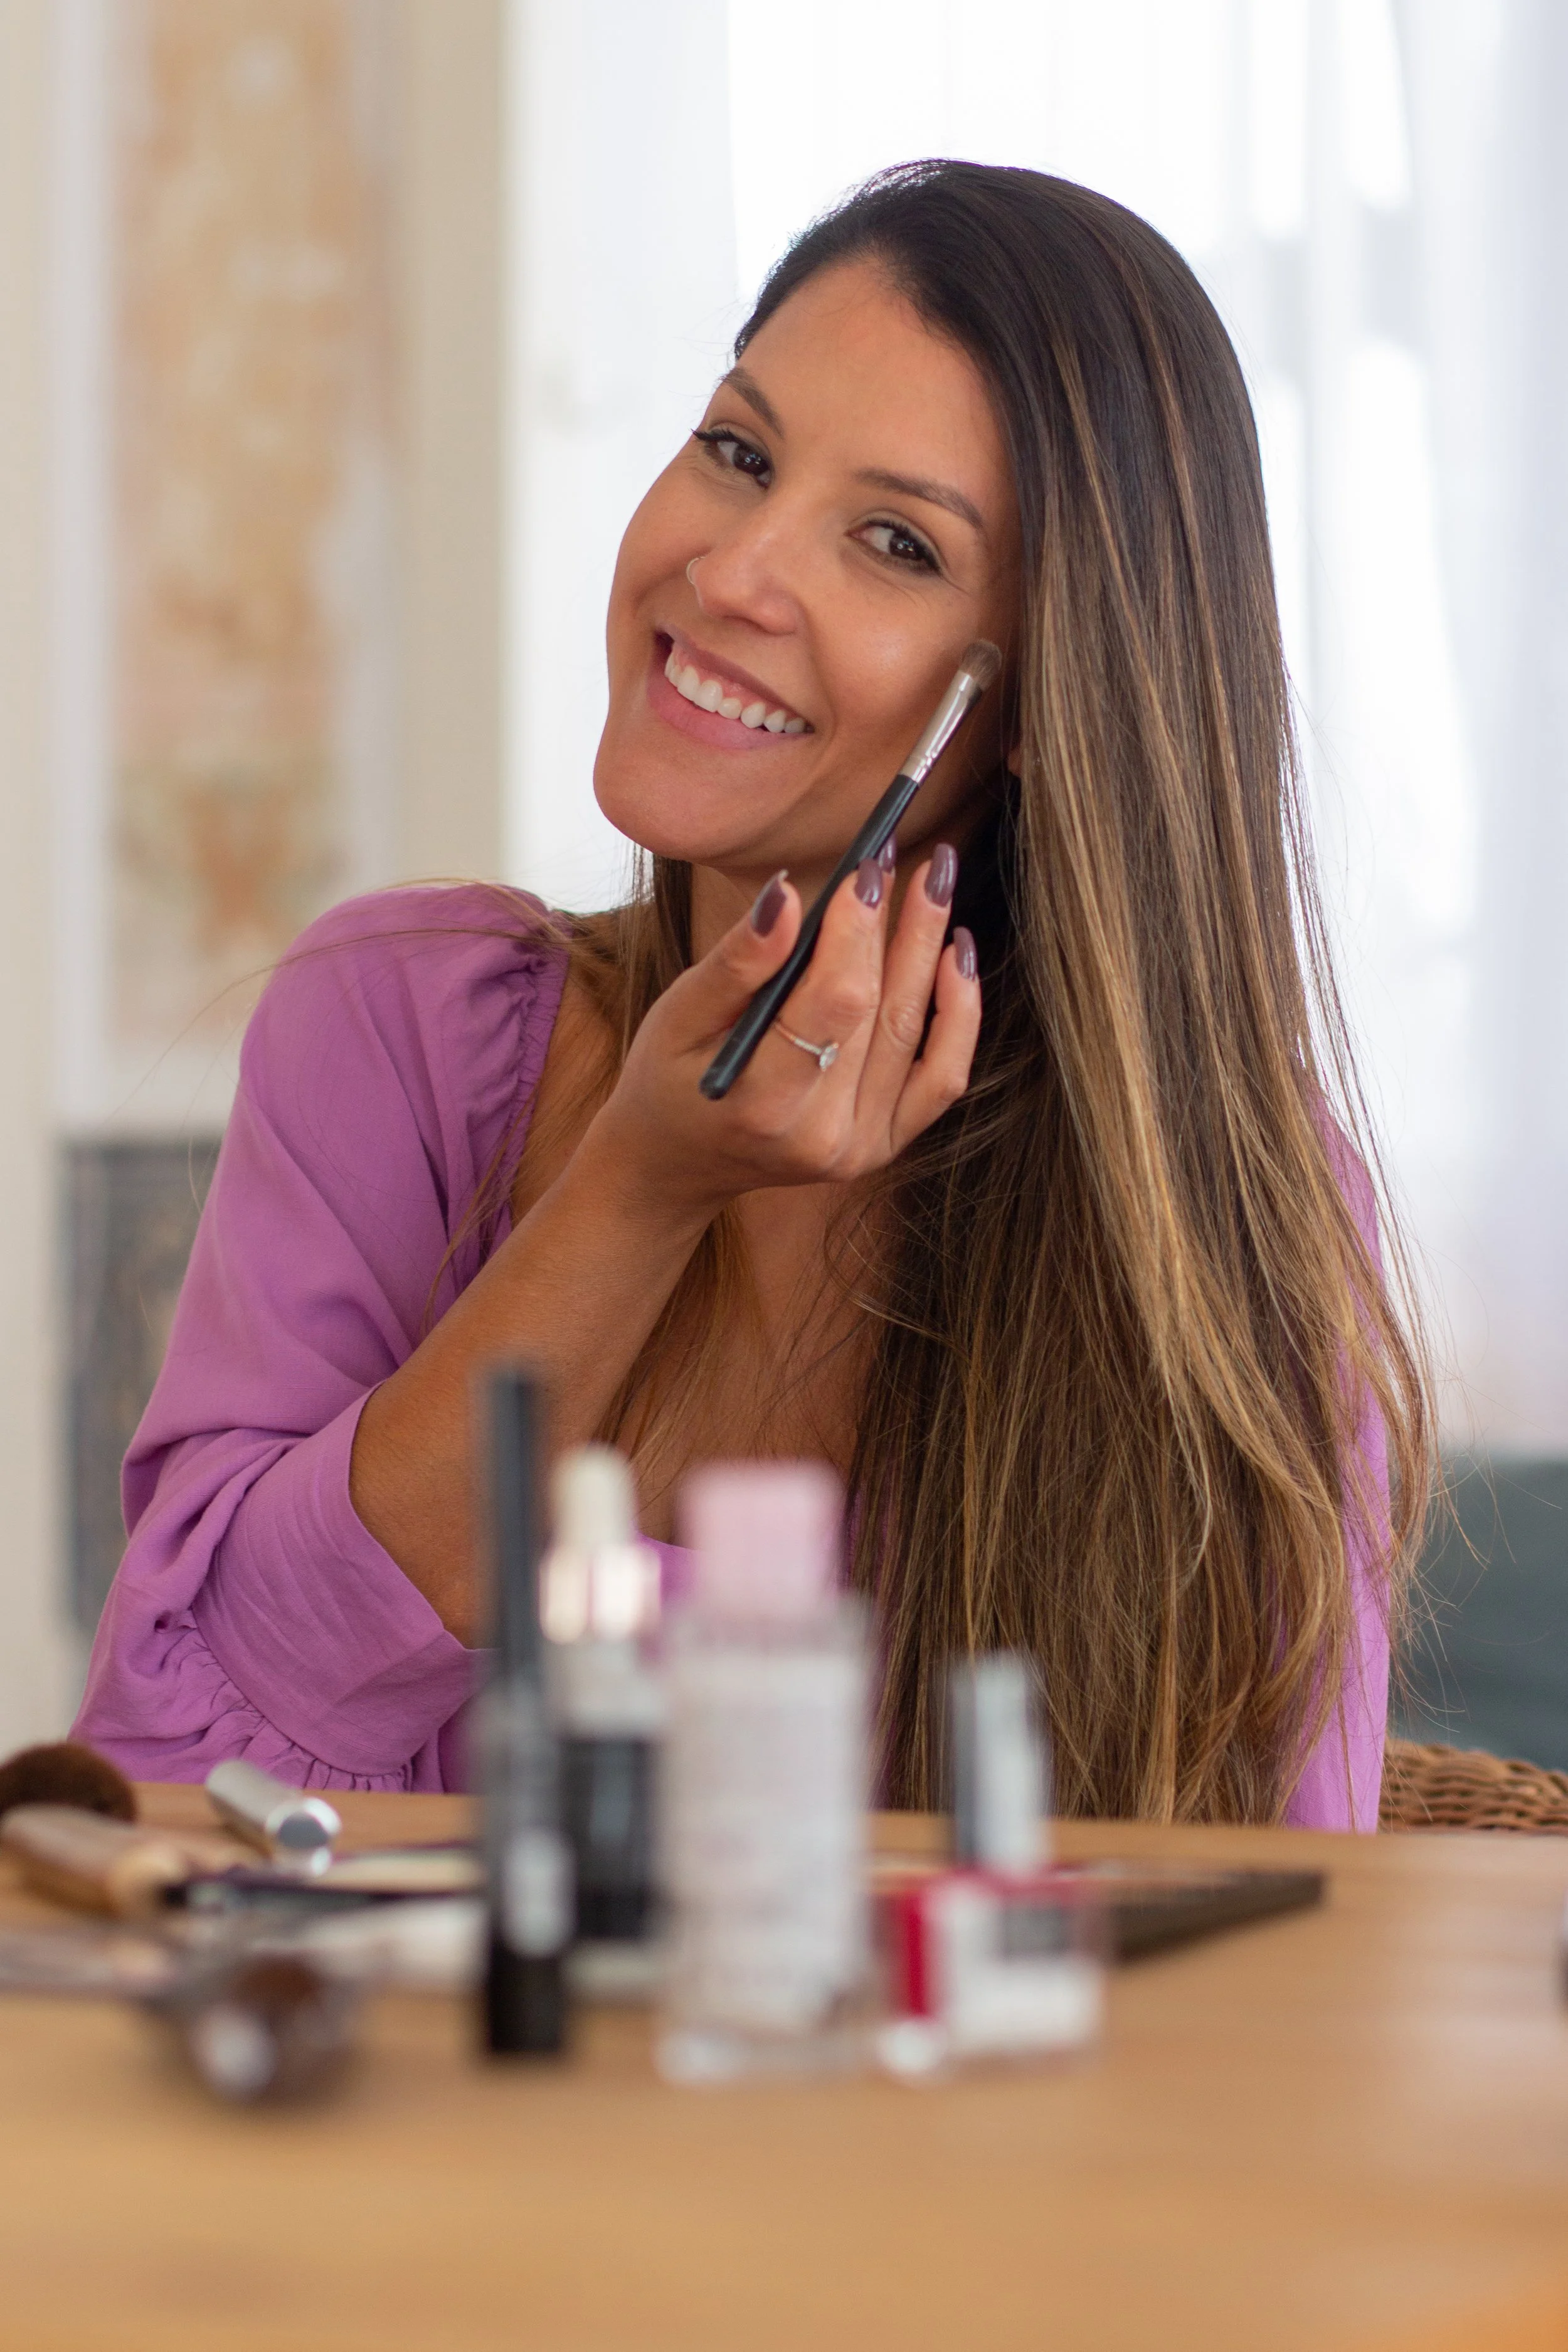
Selective concealing is what keeps an everyday makeup routine light and fresh. Instead of painting concealer across the entire face, use concealer sparingly - only where the skin actually needs a little extra help.
Common areas to target include the under eye area for dark circles, around the nostrils where redness tends to show, and individual blemishes or dark spots. Apply concealer one to two shades lighter than foundation for under-eye brightening, and use a closer skin-tone match for spot concealing blemishes. Apply medium-coverage concealer only where needed for coverage - there is no reason to reach for full coverage concealer when a few precise dabs will do. Concealers can be used to spot conceal blemishes and dark spots without adding weight.
Use a small brush or fingertip to tap concealer in a thin layer rather than swiping on thick stripes. A creamy formula blends more naturally and is less likely to settle into fine lines. Blend the edges well so there are no visible concealer lines in natural light. If the under eye area tends to crease, a light press of loose powder can help - but keep it minimal.
Add Soft Color With Blush, Bronzer, and Subtle Highlight
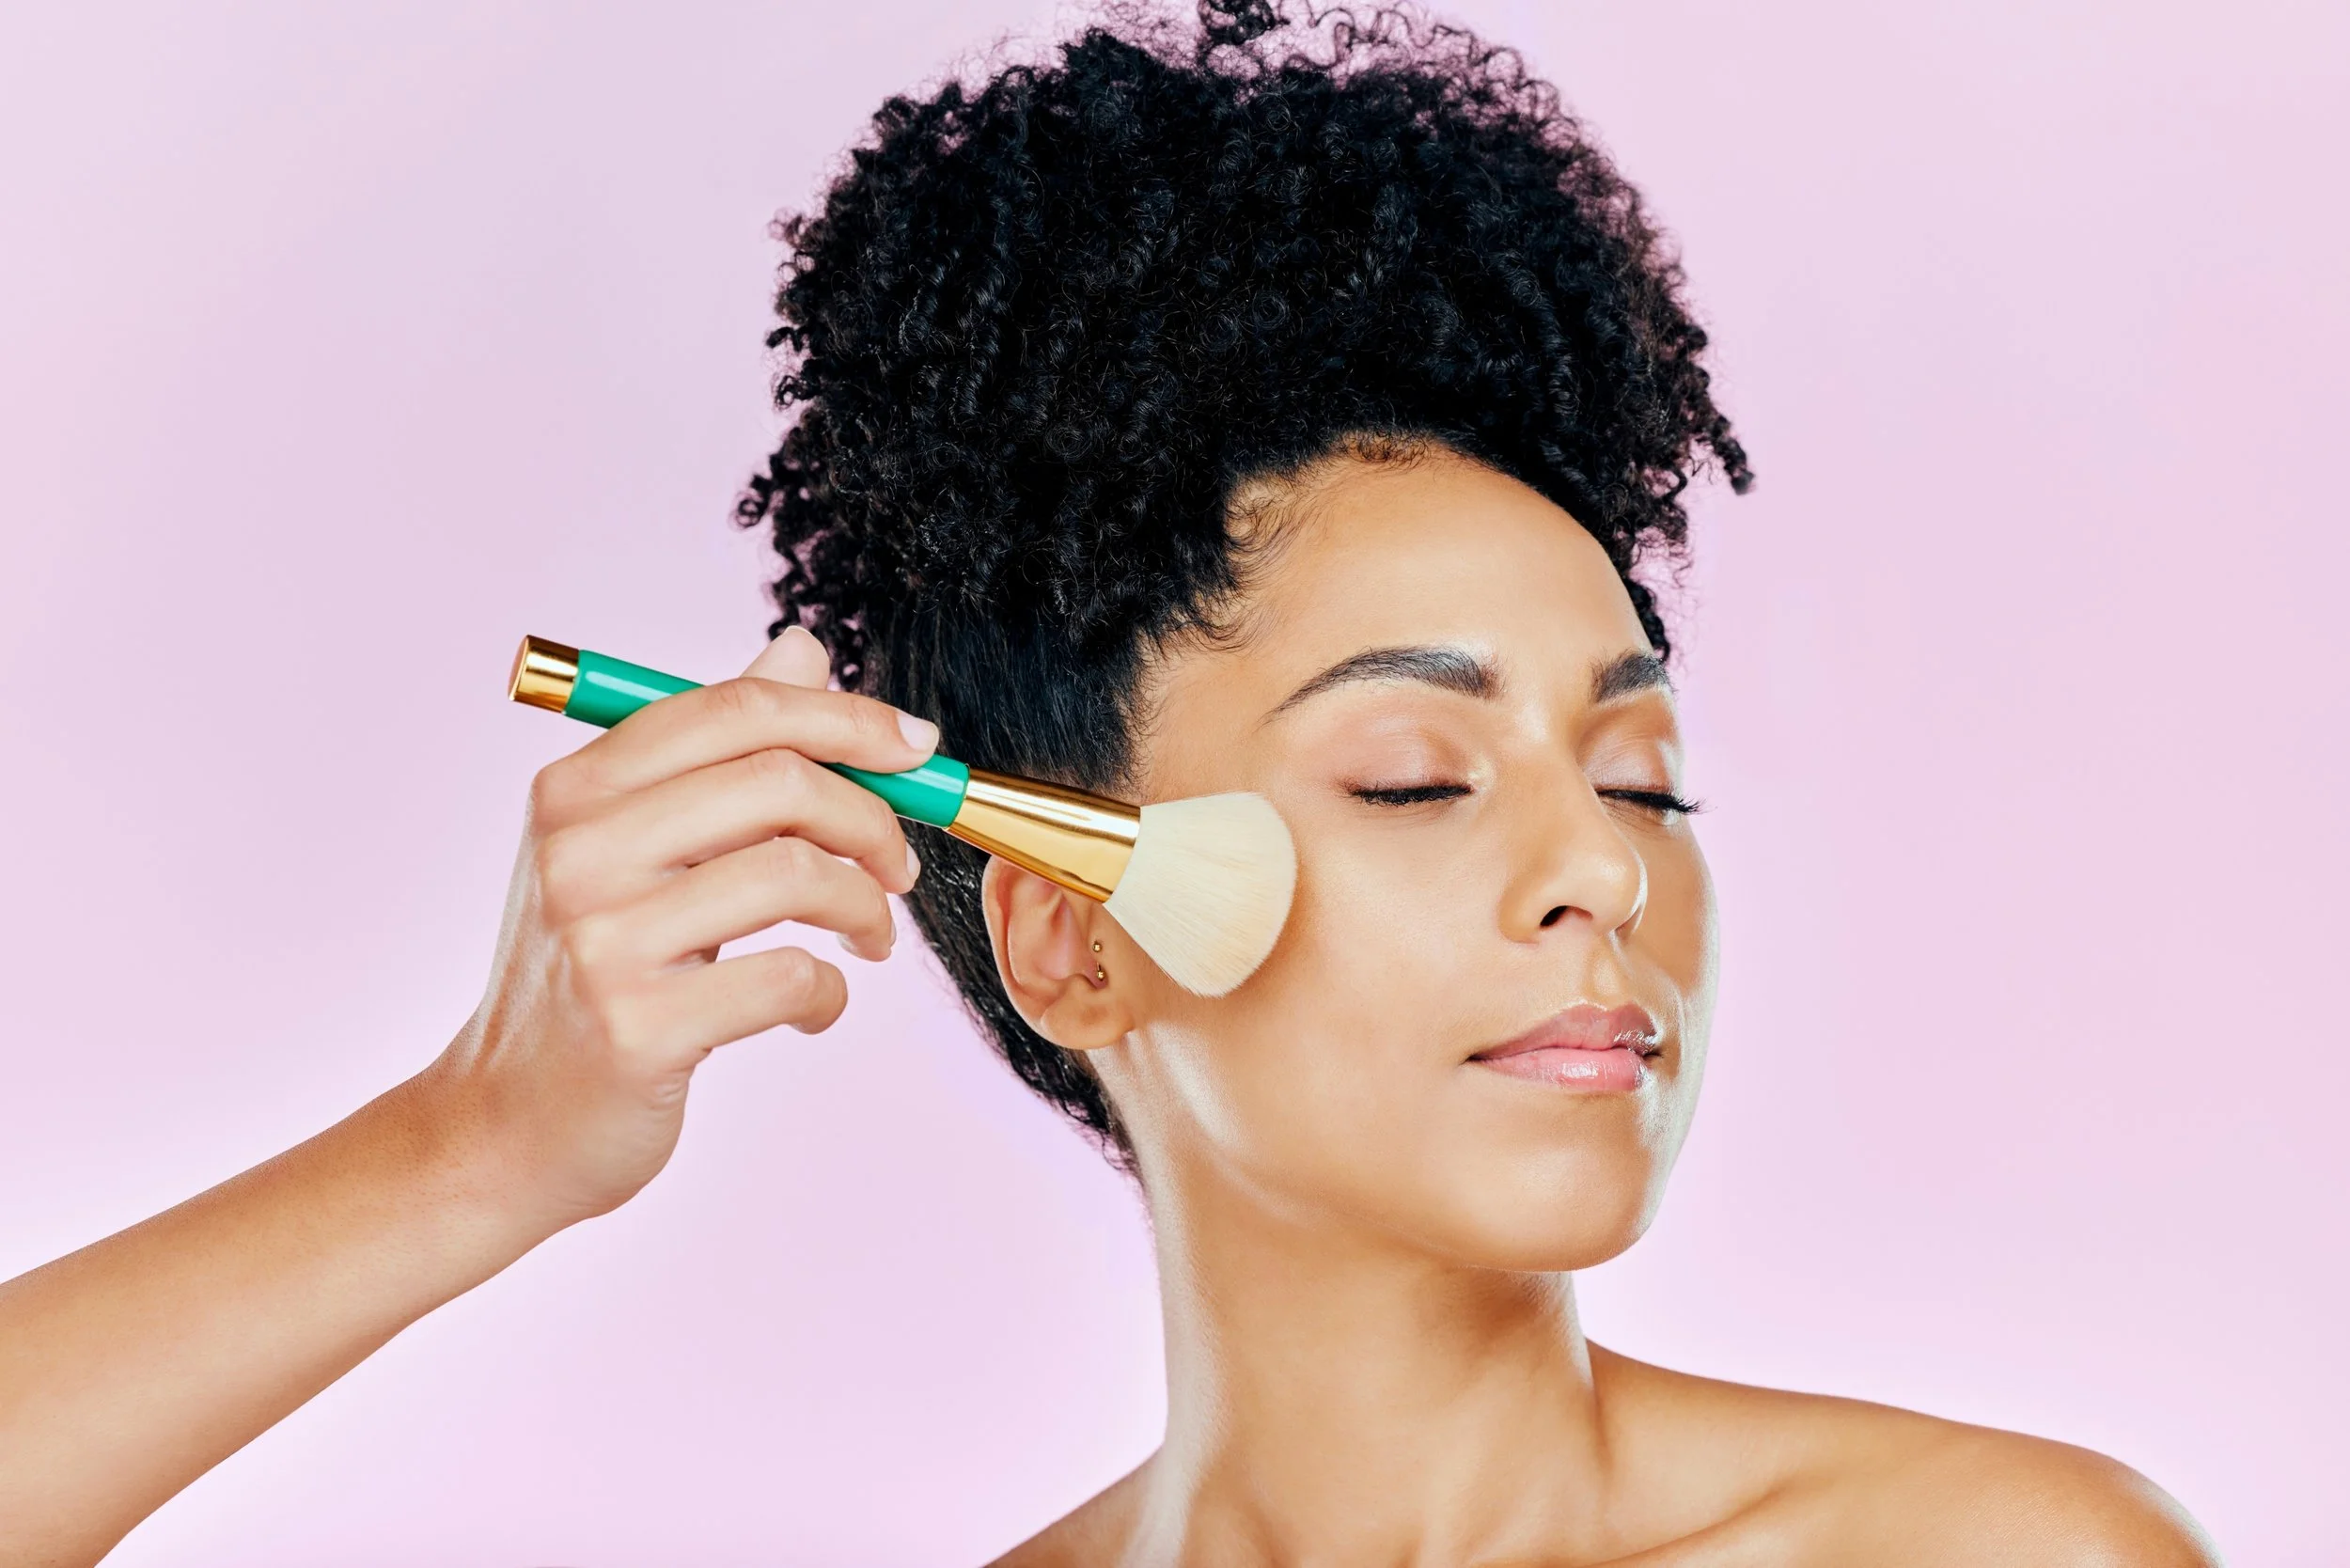
After applying base products, the face can look a bit flat. A little color on the cheeks and the high points of the face brings life back immediately, giving that natural flush that makes skin look healthy and awake.
Cream blush gives a dewy, natural blush makeup effect because it melts into the skin rather than sitting on top. Use cream blushes and bronzers instead of powder formulas for a dewy finish - especially on dry or normal skin. Powder blush can be better for oily skin or combination skin since it tends to last longer without sliding. Cream blushes provide a natural flush to the cheeks that looks incredibly realistic when blended properly. Warm cream products on the back of the hand before application to avoid over-application, then tap onto the skin with fingertips. Blend cream products thoroughly to melt them into the skin so no harsh edges remain.
Apply blush on the apples of your cheeks for a natural flush, then blend slightly up toward the temples for a lifted, everyday look. Select blush that complements your skin tone for a natural flush - soft pinks and peaches for lighter tones, warm rose or berry for deeper tones. For a sun kissed look, sweep a light wash of bronzer along the perimeter of the face - temples, under cheekbones, jawline - keeping it soft and diffused, never harsh or stripey.
A tiny amount of subtle highlighter can be tapped on the high points (tops of cheekbones, bridge of nose, Cupid's bow) for a natural glow. The key word is subtle - this should look like a hydrated glow, not a glittery stripe.
Keep Brows Groomed and Natural
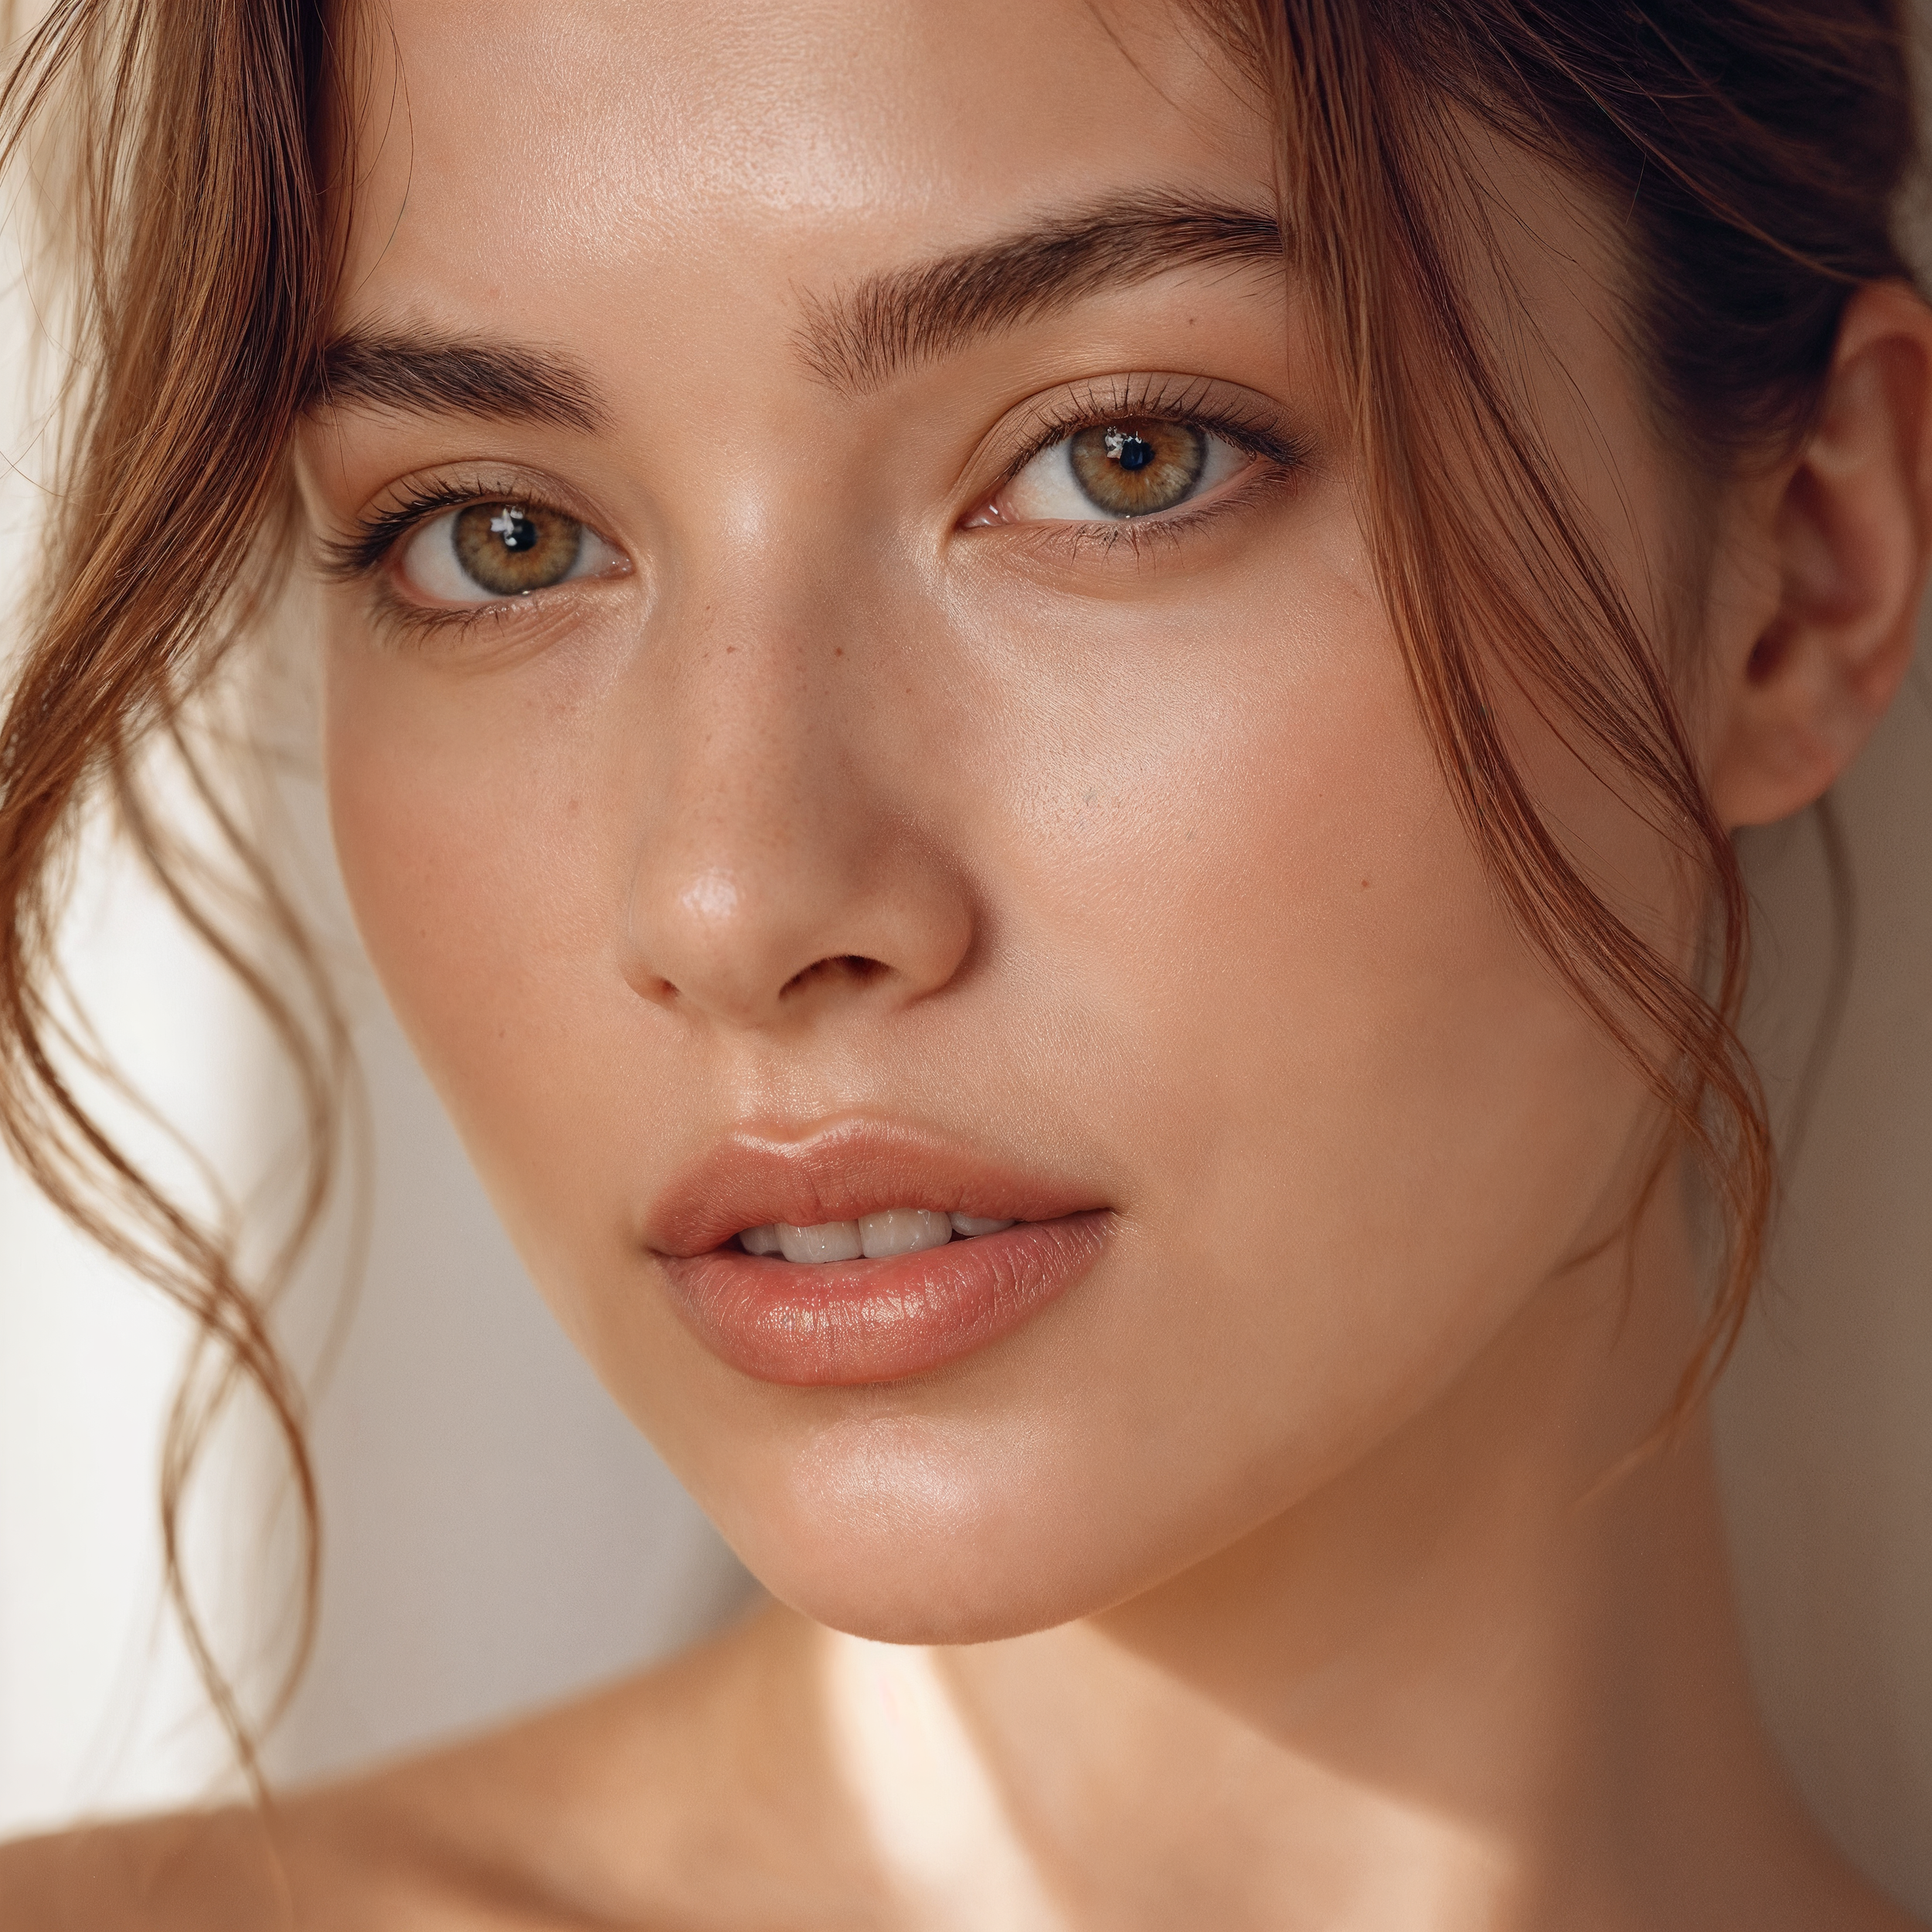
Brows frame the face and can change the whole makeup look in seconds. Overdone brows are one of the fastest ways to make a minimalist makeup routine look heavy, so the goal here is soft and groomed - not sculpted.
Start by brushing brows upward with a spoolie to see the natural shape and identify any sparse areas. Fill only those gaps with light, hair-like strokes using a brow pencil, powder, or tinted brow gel. Use a fine point brow pencil for natural looking brows - it gives the most realistic effect because each stroke mimics a real hair. Avoid choosing a darker shade than the natural brow color; a medium shade or one that matches the existing hairs keeps things wearable.
A clear or tinted brow gel is a perfect go to step for busy mornings. It holds hairs in place, adds a touch of definition, and takes less than thirty seconds. The result is natural looking brows that frame the face without drawing too much attention.
Simple, Natural Eye Makeup
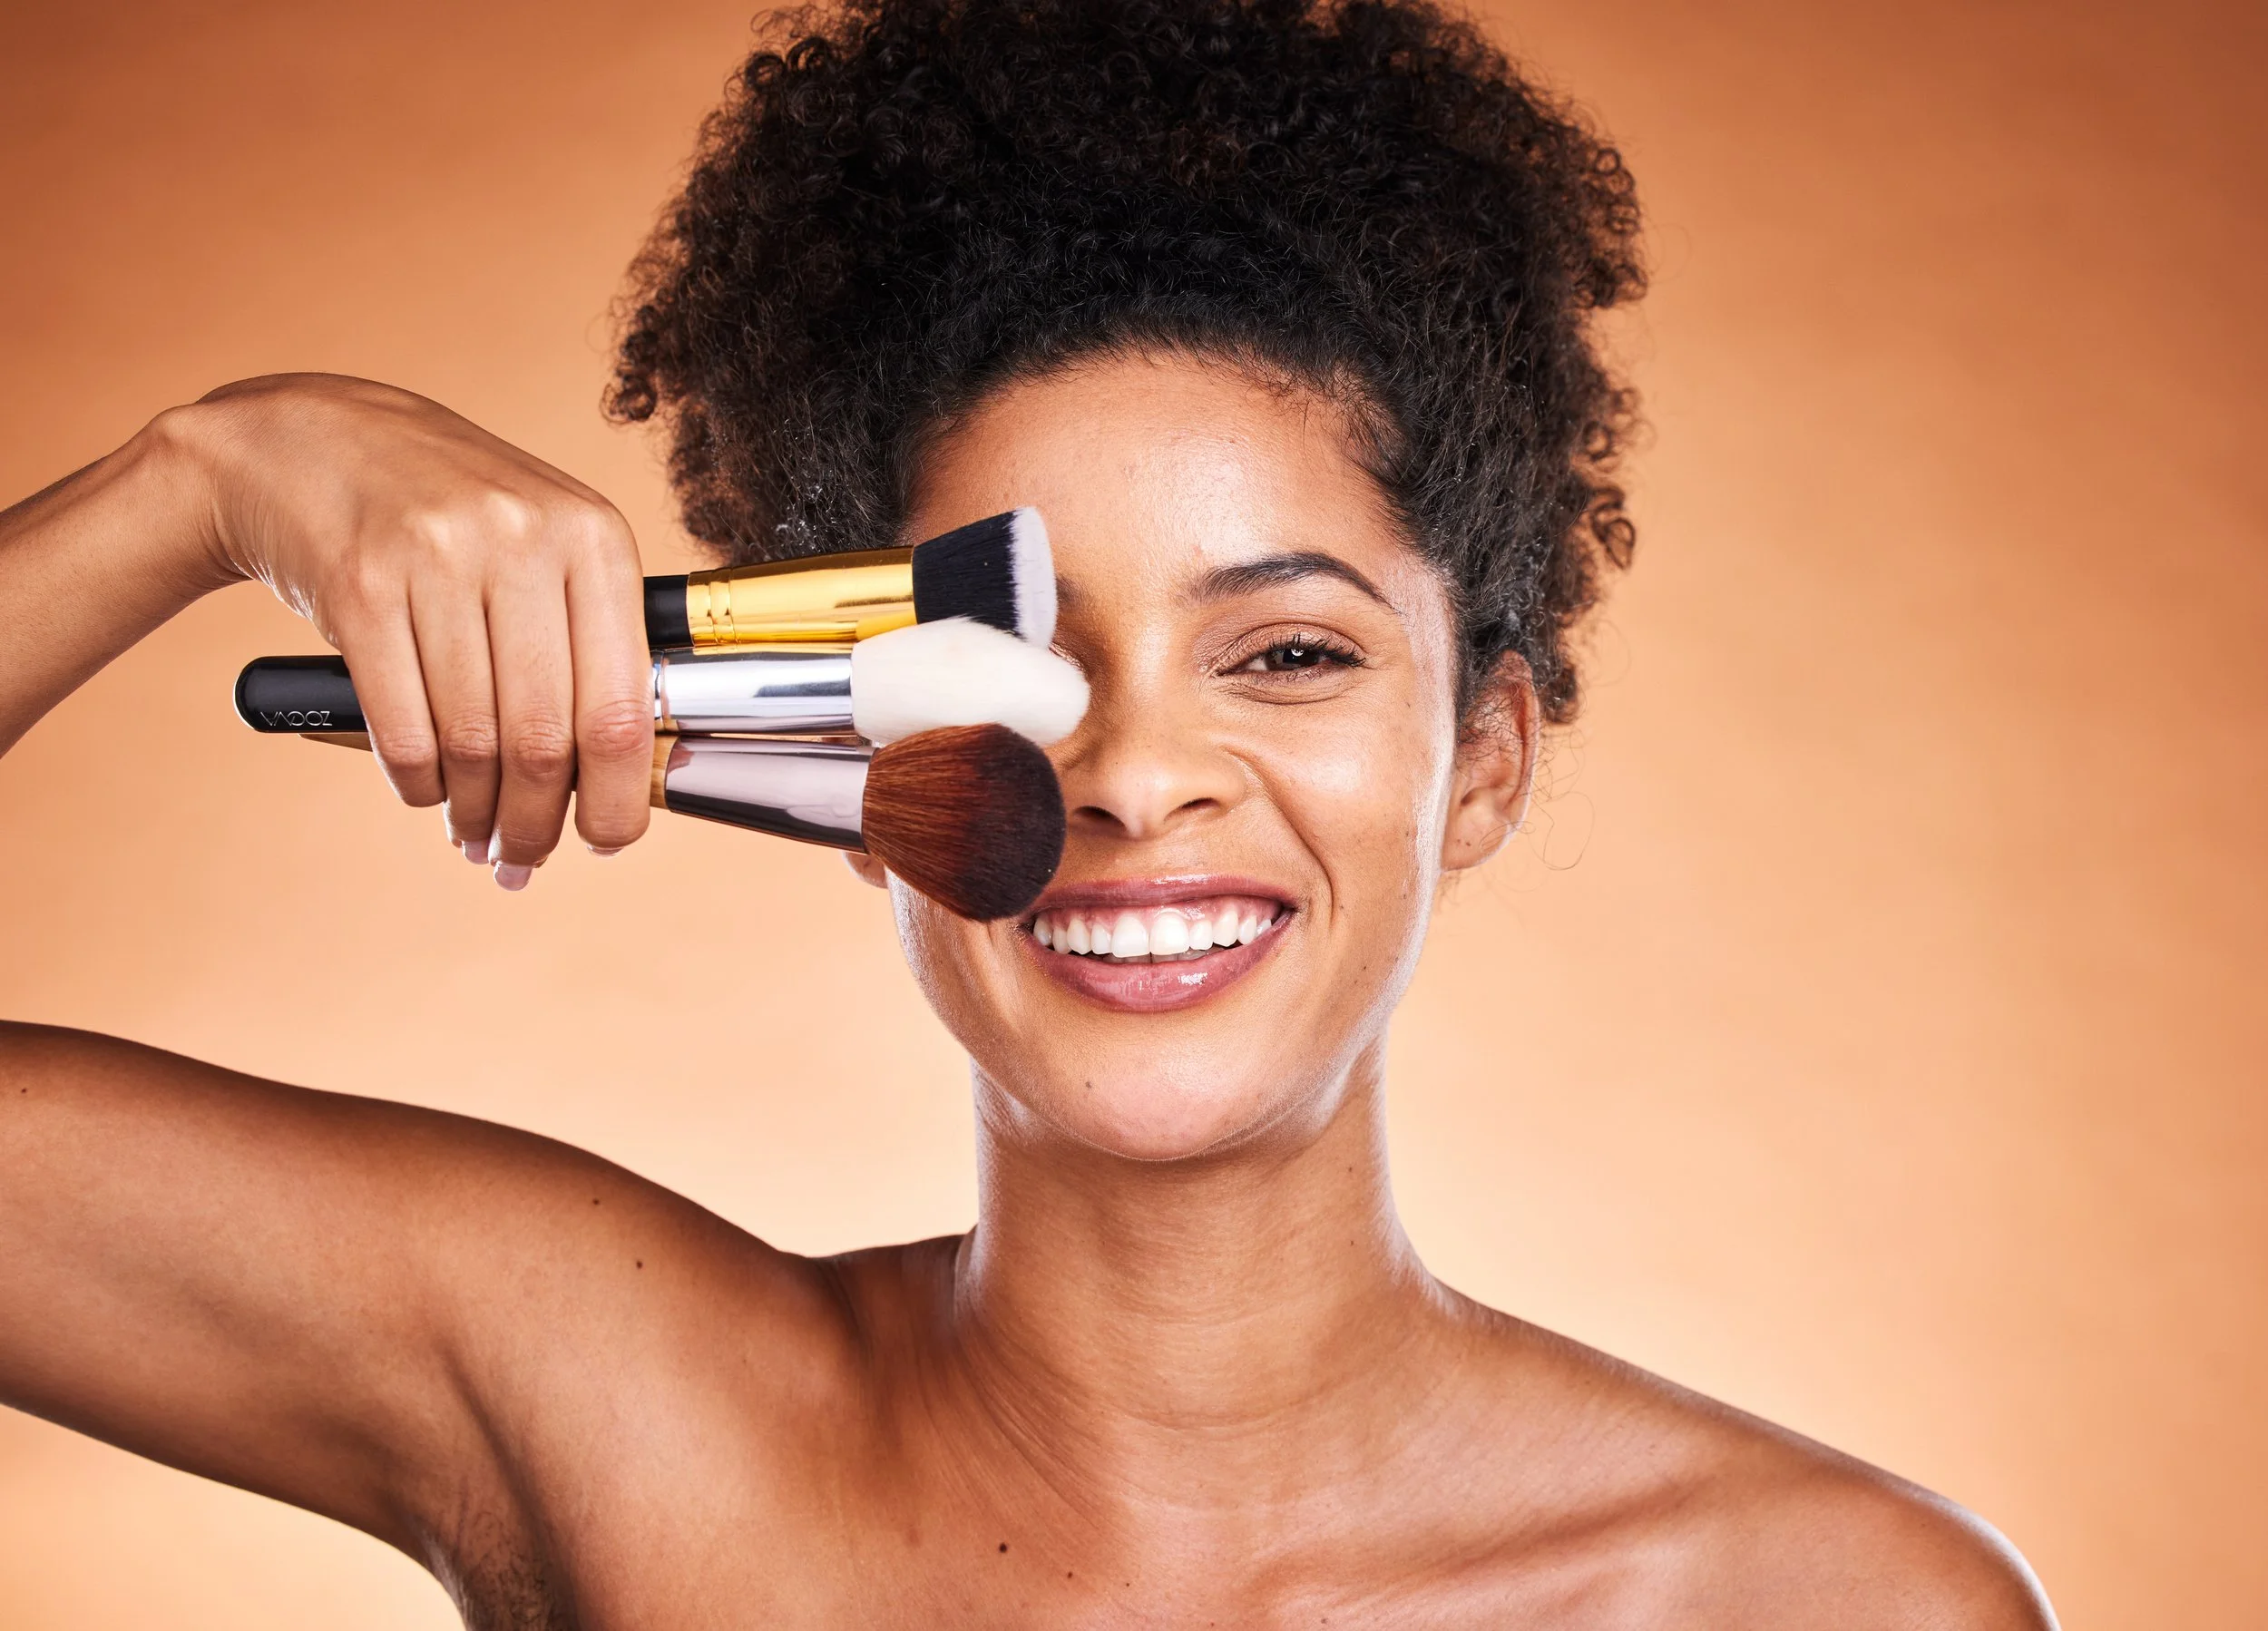
Natural eye makeup adds definition without heavy smokey eyes or thick eyeliner. The approach is soft, quick, and easy to repeat - perfect for beginners or anyone who wants polished eyes without spending fifteen minutes blending.
Define eyes with soft washes of neutral shades rather than dark colors. A wash of light beige or taupe on the lid, a slightly deeper soft brown in the crease, and an optional soft shimmer on the center of the lid for brightness is all it takes. Blend neutral shades for a soft, natural eye look - the edges should be seamless and barely visible. On very minimal days, skipping shadow entirely and going straight to mascara is completely fine.
For subtle liner, a thin line of brown or soft black pencil along the upper lash line - or tightlining right at the lash roots - can make lashes look fuller while staying barely there. This works for any eye shape and adds definition without drama. Finish with one to two coats of mascara on the top lashes. Use a single coat of mascara to enhance lashes without heaviness, and lightly coat the bottom lashes if desired. Avoid clumps by wiggling the wand from root to tip.
Natural Lip Makeup: Balm, Tint, and Soft Definition
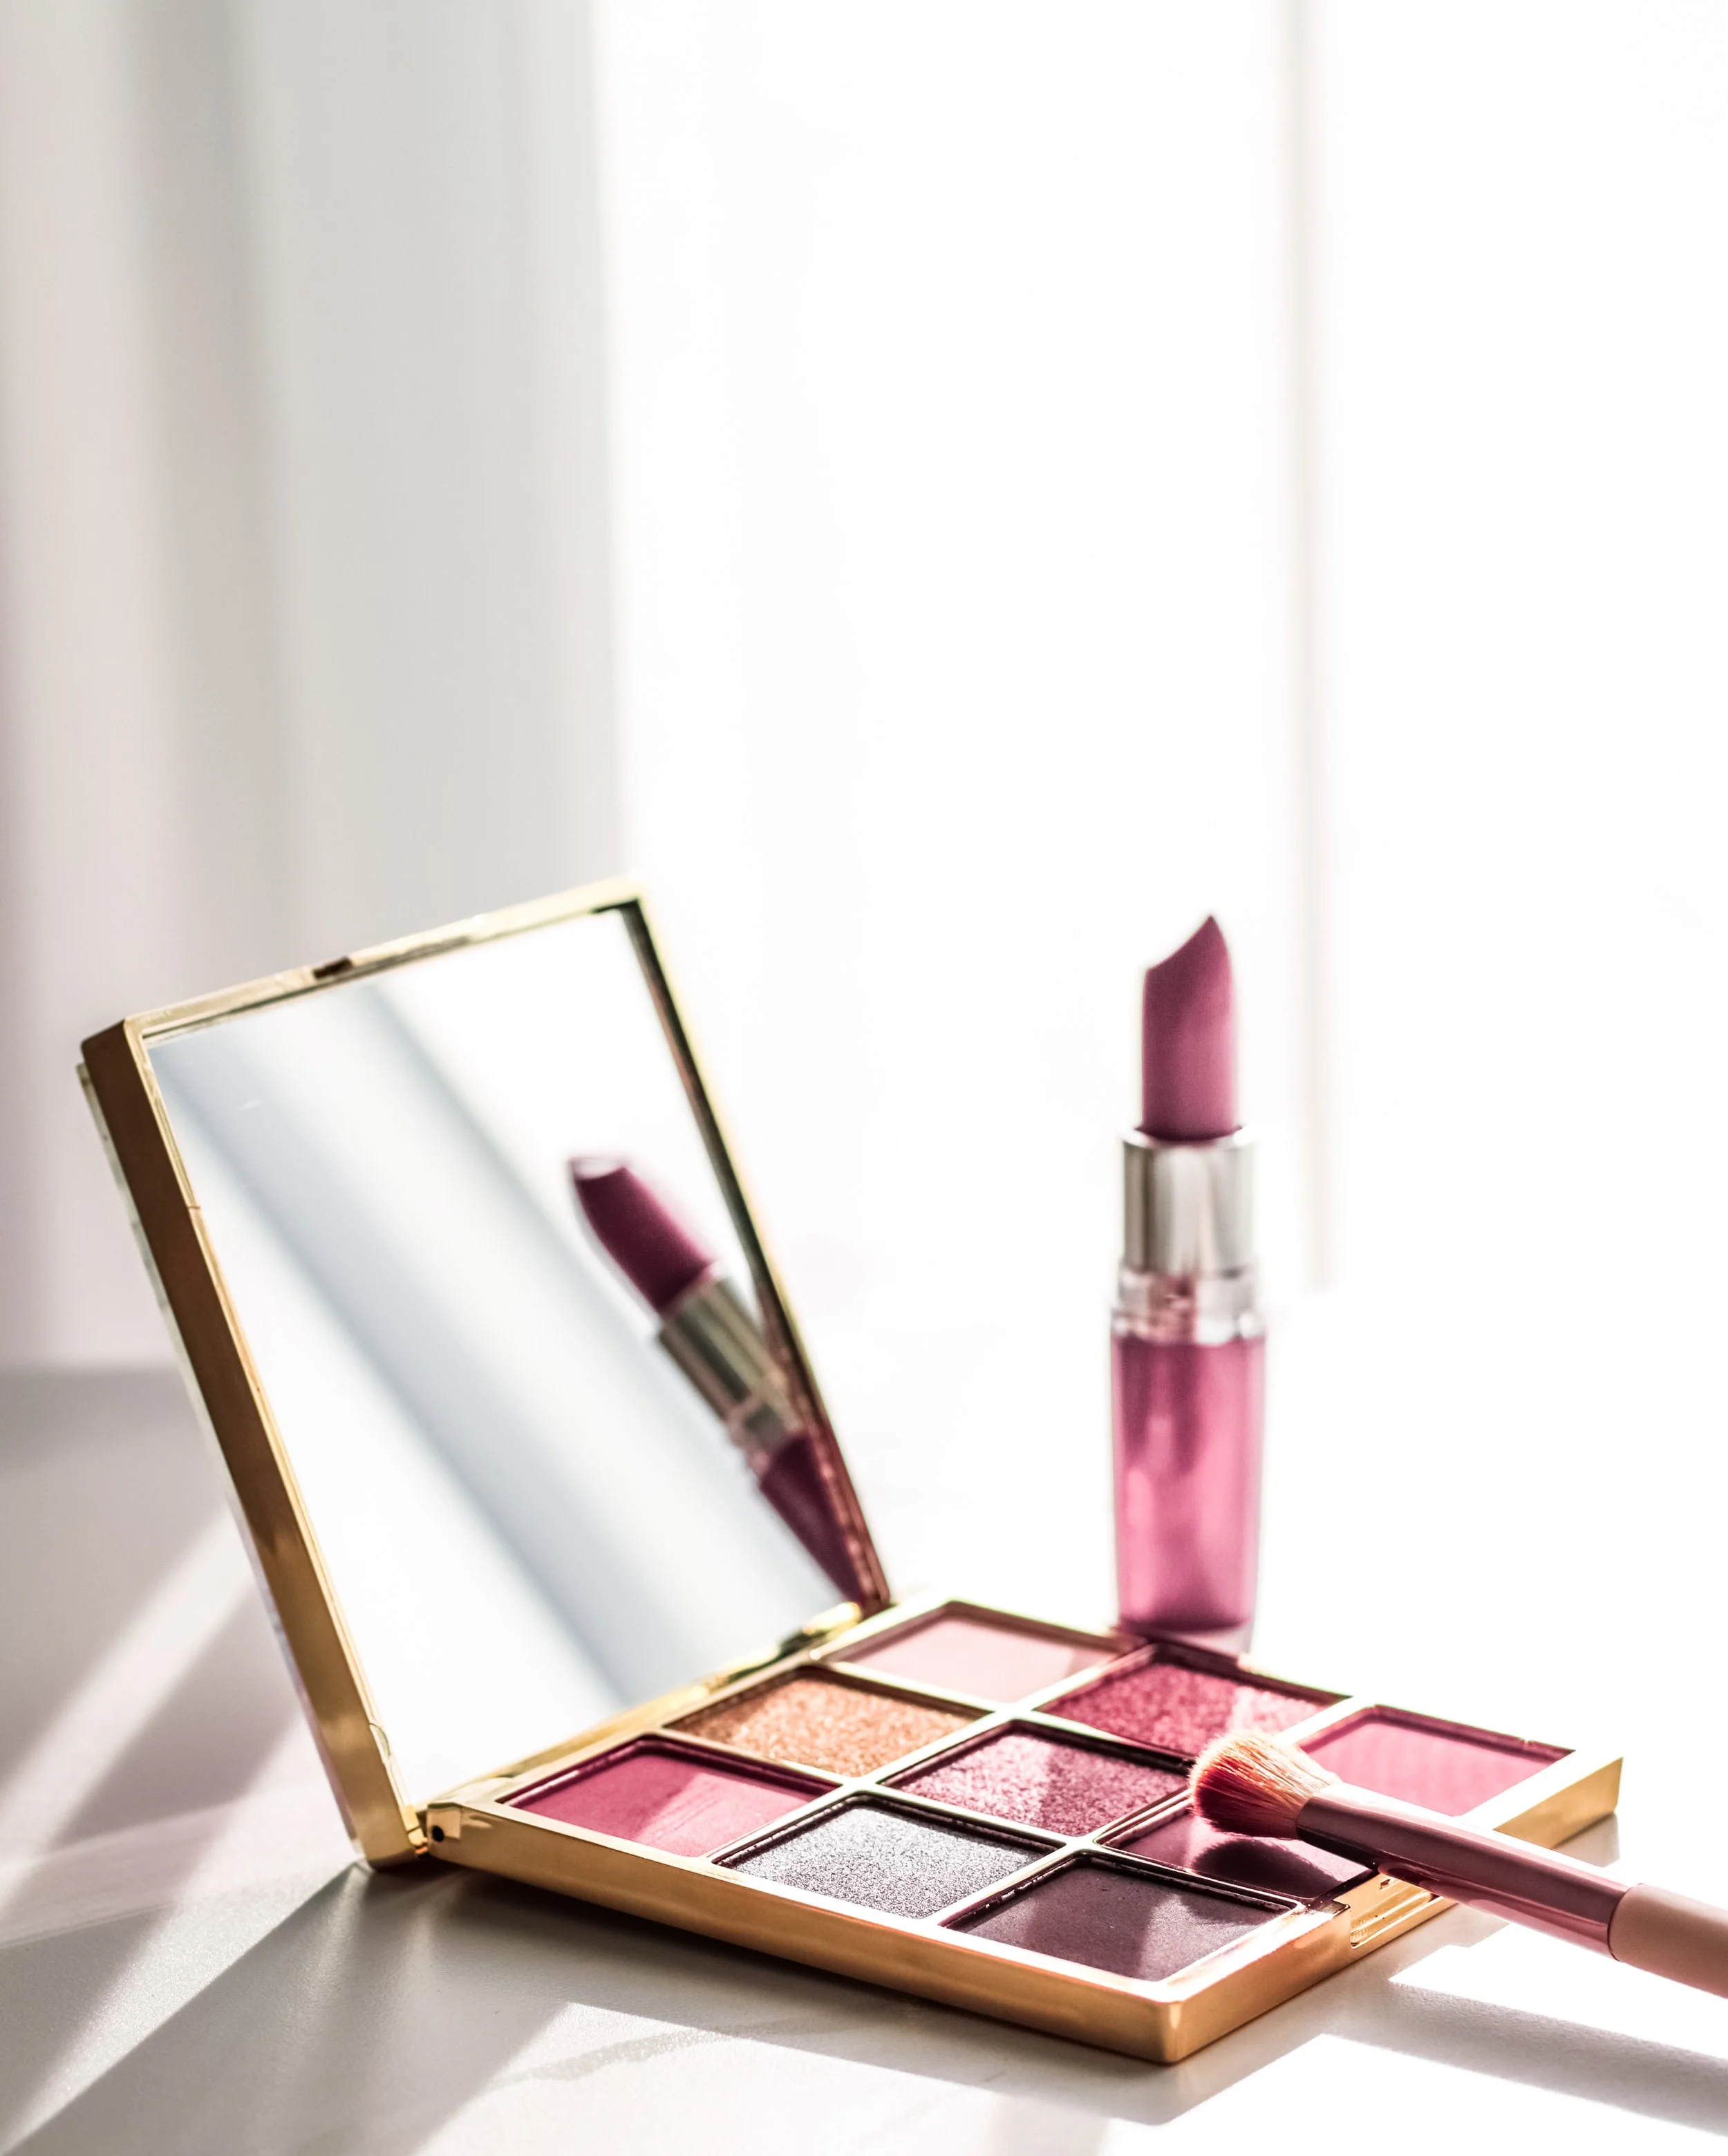
Lips complete the everyday natural makeup look and can stay comfortable all day with the right products. This step does not need to be complicated - even a swipe of color takes the whole face from "just okay" to polished.
Start with lip balm or hydrating lip treatments to smooth and condition the lips before adding color. Dry, flaky lips make even the prettiest shade look rough, so a few seconds of prep makes a difference. Sheer options work best here: a tinted lip balm, lip tint, or soft nude lipstick that is close to the natural lip color. A tinted balm offers easy color with a moisturizing feel. Lip gloss adds shine for those who like a fuller, glossy effect. For gentle definition, a subtle lip liner can lightly outline and fill in the lips - just keep the edges soft and smudged rather than sharply drawn.
Choose textures that feel moisturizing and look soft rather than heavy matte. Satin, sheer, and balmy finishes all read as more natural and effortless. Pick a natural shade that either matches or sits one to two shades deeper than the natural lip tone for that "enhanced but not obvious" result.
Set Your Makeup Without Losing the Glow
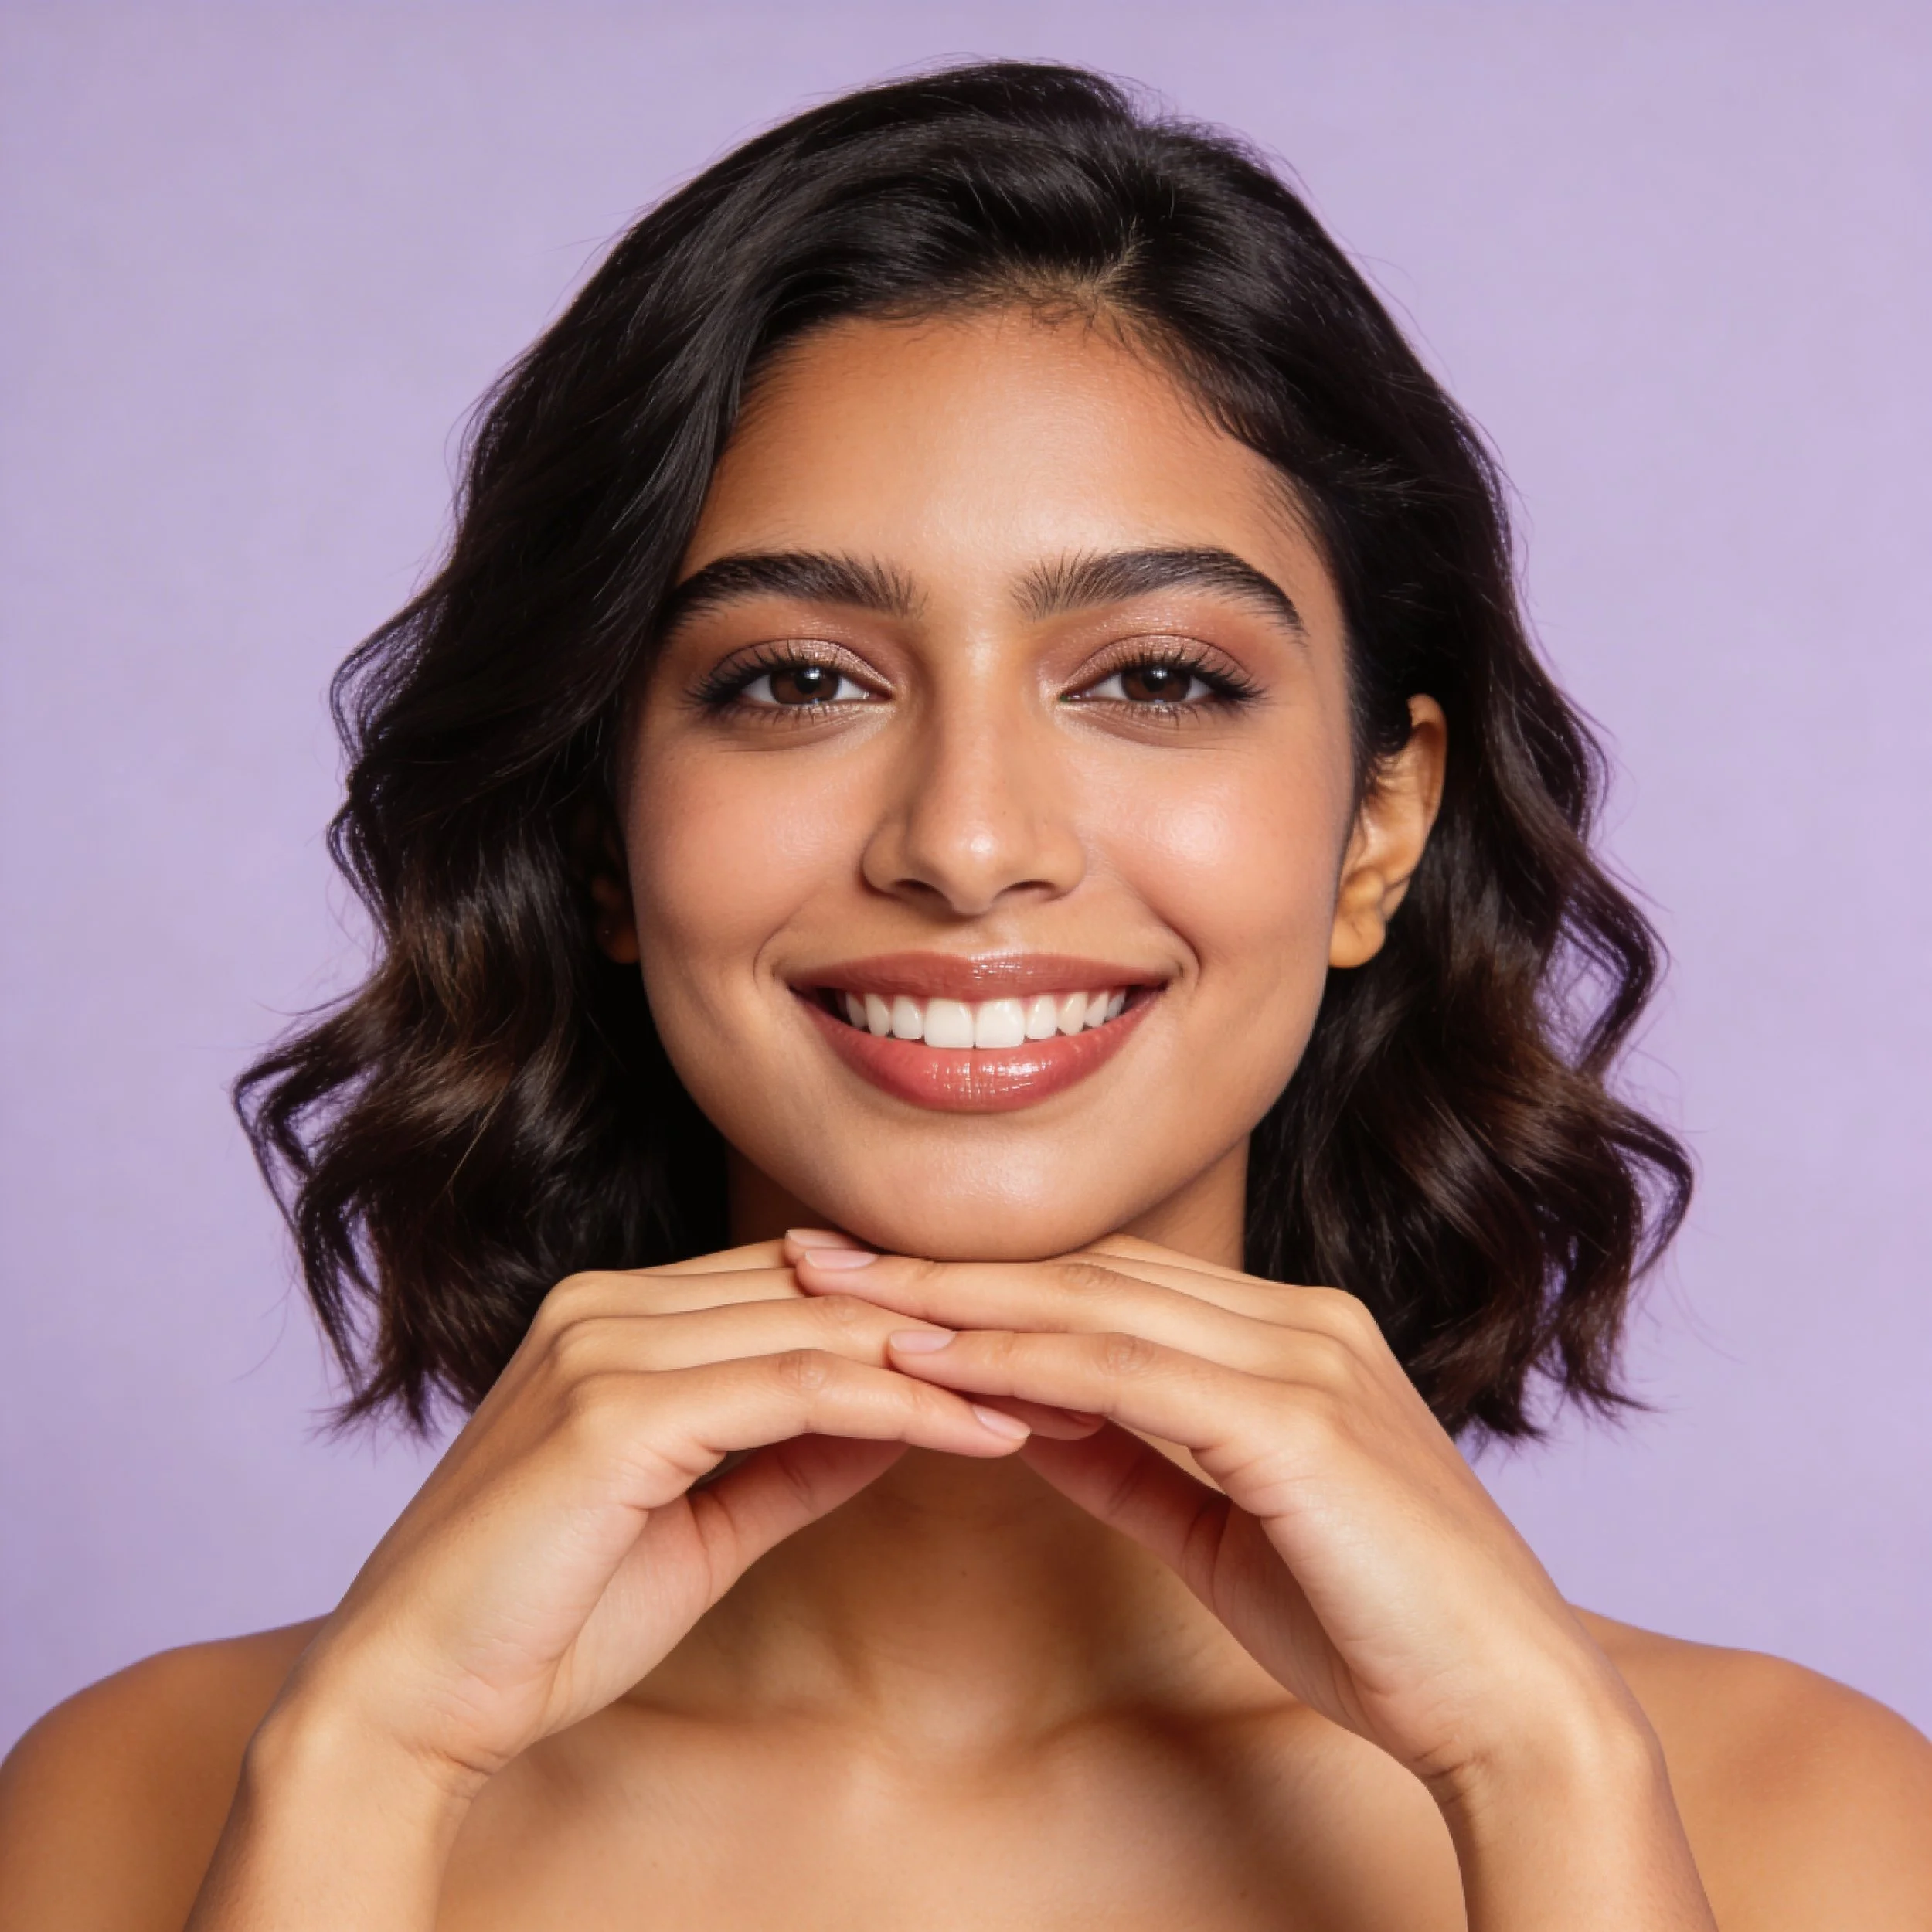
Setting makeup helps it last through a full day without turning powdery or sliding off. The trick is using just enough to lock things in place without killing the skin-like finish.
Set makeup lightly with translucent powder focusing on the center of the face - the T-zone, sides of the nose, and under eyes are the spots that benefit most. Setting powders help to reduce shine and set makeup in place, but only where oil actually builds up. Press the translucent powder in with a small brush or velour puff instead of sweeping large amounts all over the face. Over-powdering flattens dimension and makes the skin look dry and chalky.
A setting spray is an optional final step that can melt layers together and keep everything looking like skin rather than product. Mist lightly from arm's length. The natural finish should still look dewy and alive - it is always better to under-powder than over-powder.
Common Natural Makeup Mistakes to Avoid
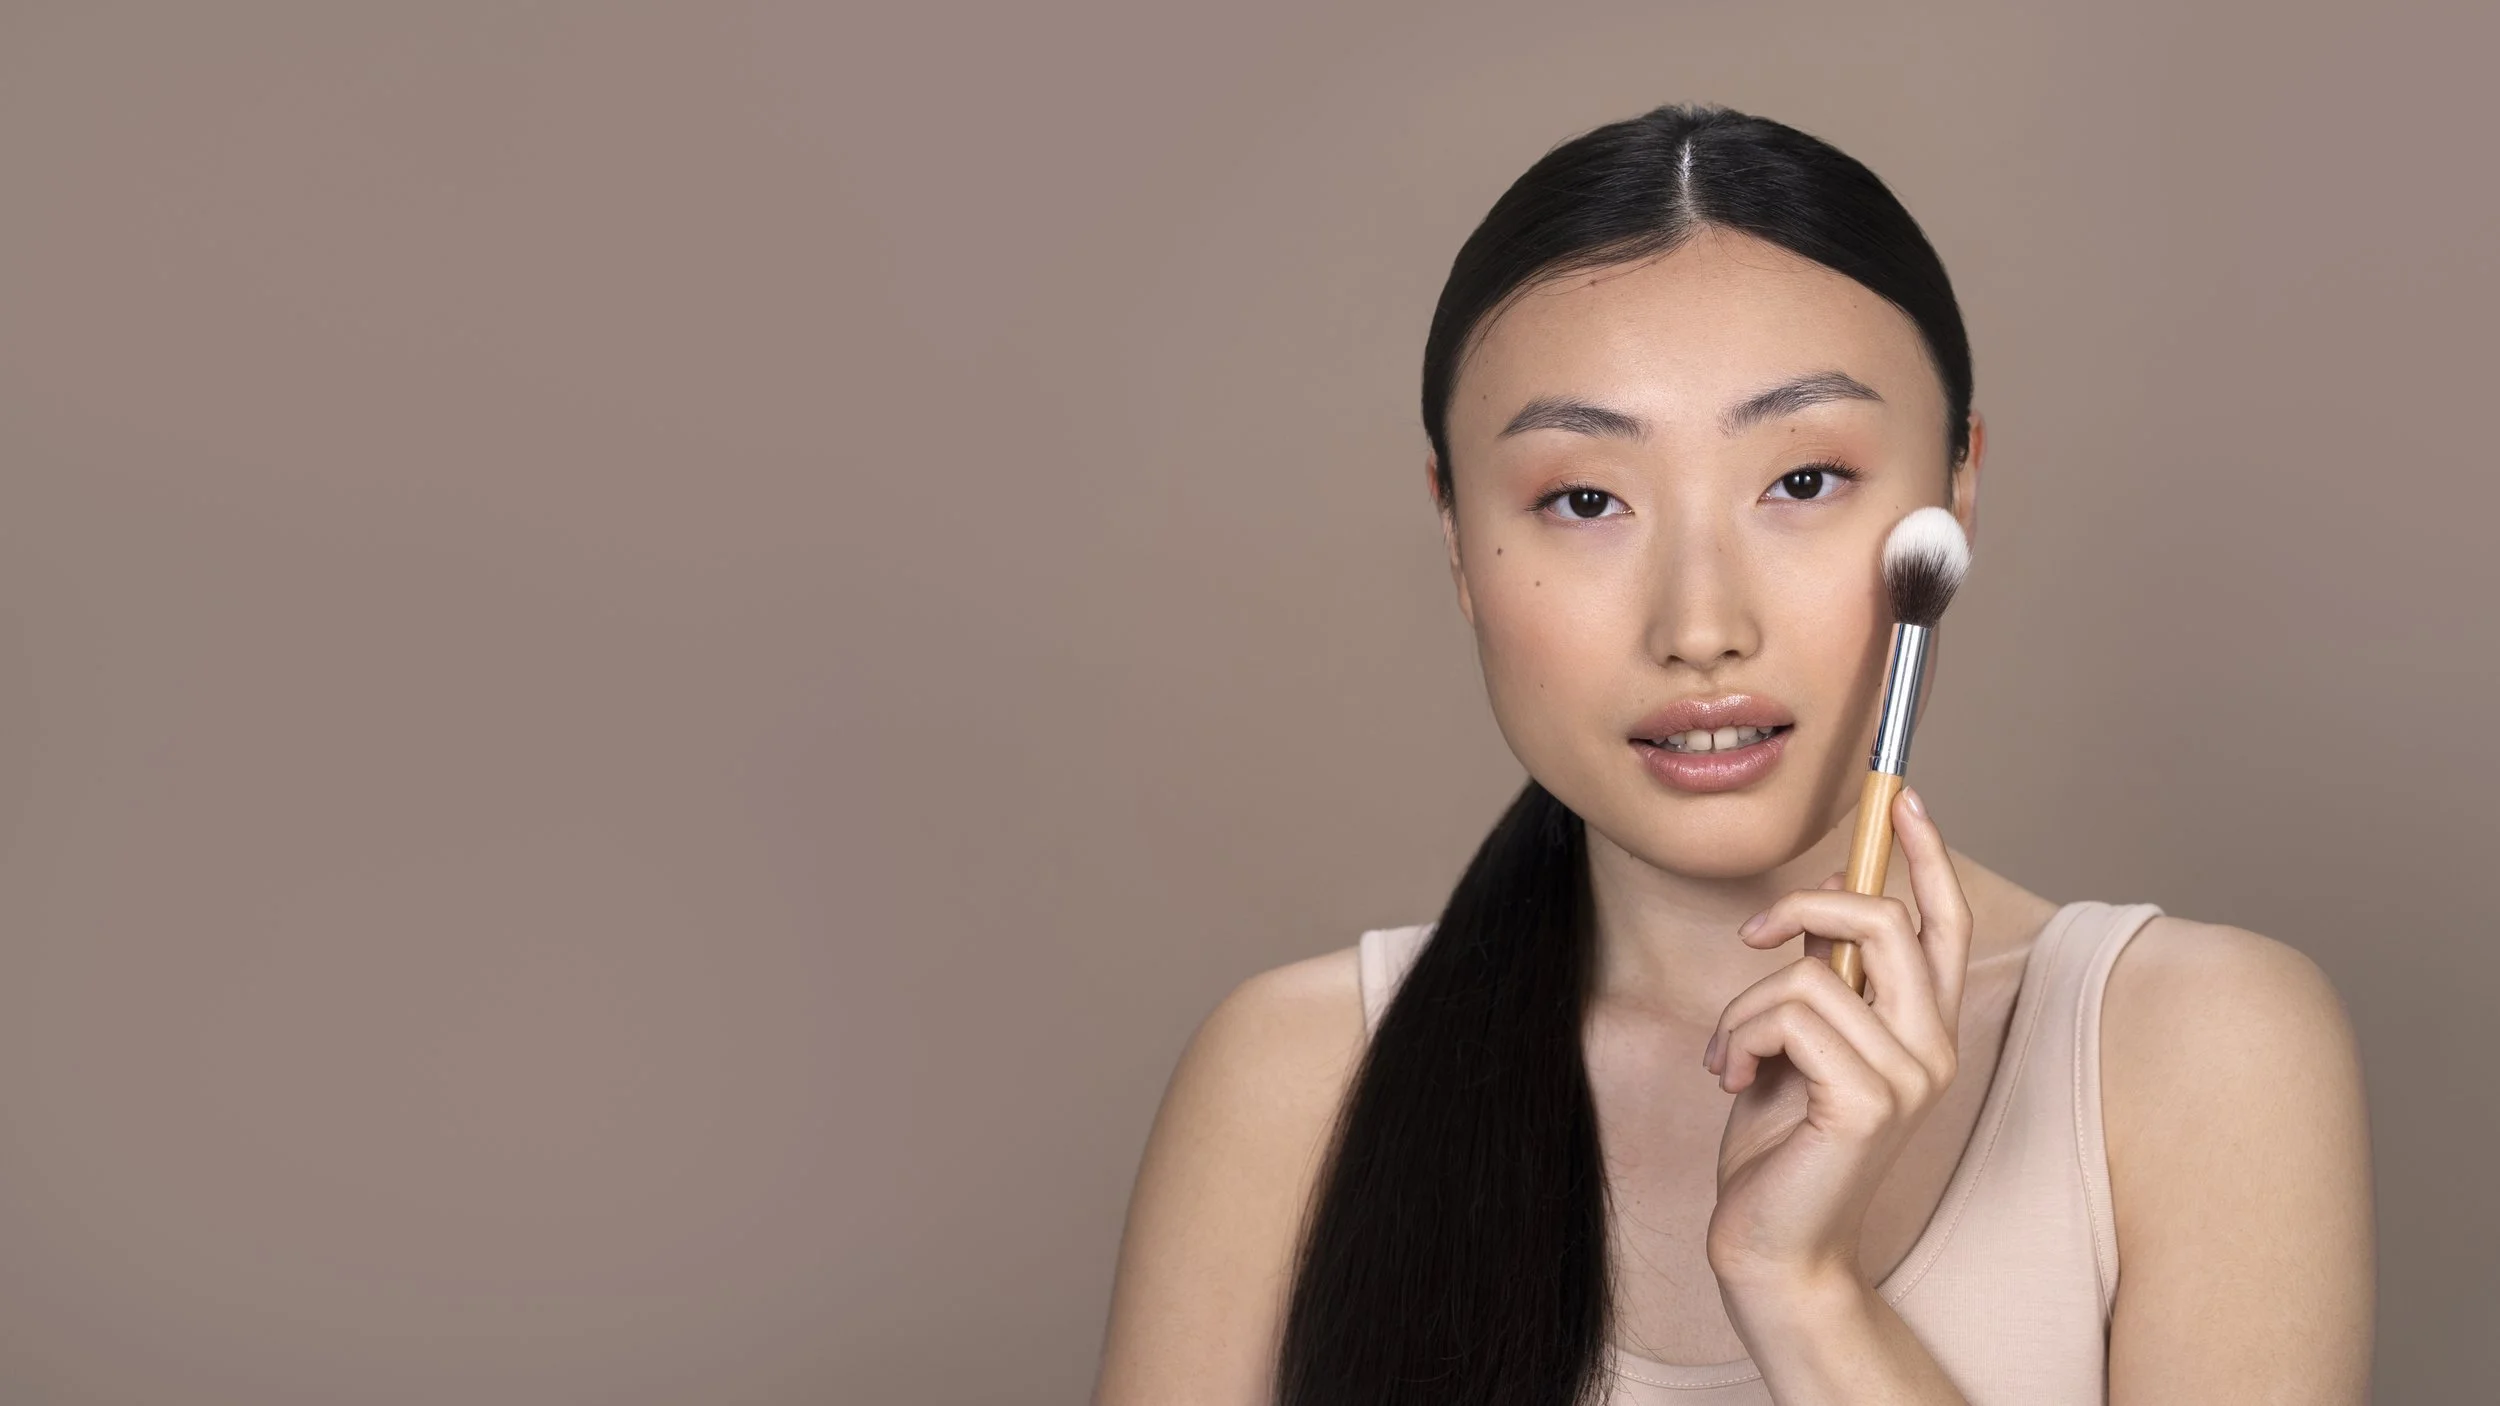
Even the simplest makeup routine has a few common traps. Here are the ones beginners run into most often, along with quick fixes.
Using too much foundation. Full coverage foundation layered everywhere defeats the purpose. Fix: use a damp sponge to sheer out product, or switch to a lighter formula like a tinted moisturizer.
Skipping skin prep. Jumping straight to makeup without moisturizer or SPF leads to patchy, uneven results. Fix: always hydrate first, even if it adds a few minutes.
Piling concealer under the eyes. Thick layers crease and look heavy. Fix: apply in a thin layer and blend well with fingertips or a small brush.
Choosing shades that are too harsh. Brow pencils that are too dark, bronzer that pulls orange, or lip liner that is dramatically deeper than the lip color can make the look feel off. Fix: always go one shade lighter than instinct suggests.
Overusing powder. Sweeping loose powder across the entire face removes every trace of glow. Fix: powder only where oil tends to show up, and press - do not sweep.
Not blending blush and bronzer. Visible stripes of color along the cheeks or jawline are a giveaway. Fix: use a clean brush or sponge to soften edges.
Forgetting to check makeup in natural light. Bathroom lighting hides mismatches and harsh edges. Fix: step near a window or outside before leaving to see the true result.
As one celebrity makeup artist principle goes: applying blush should look like a natural flush, not a stripe - and the same rule applies to every product in a simple makeup routine.
Quick Everyday Natural Makeup Routine (Step-by-Step)
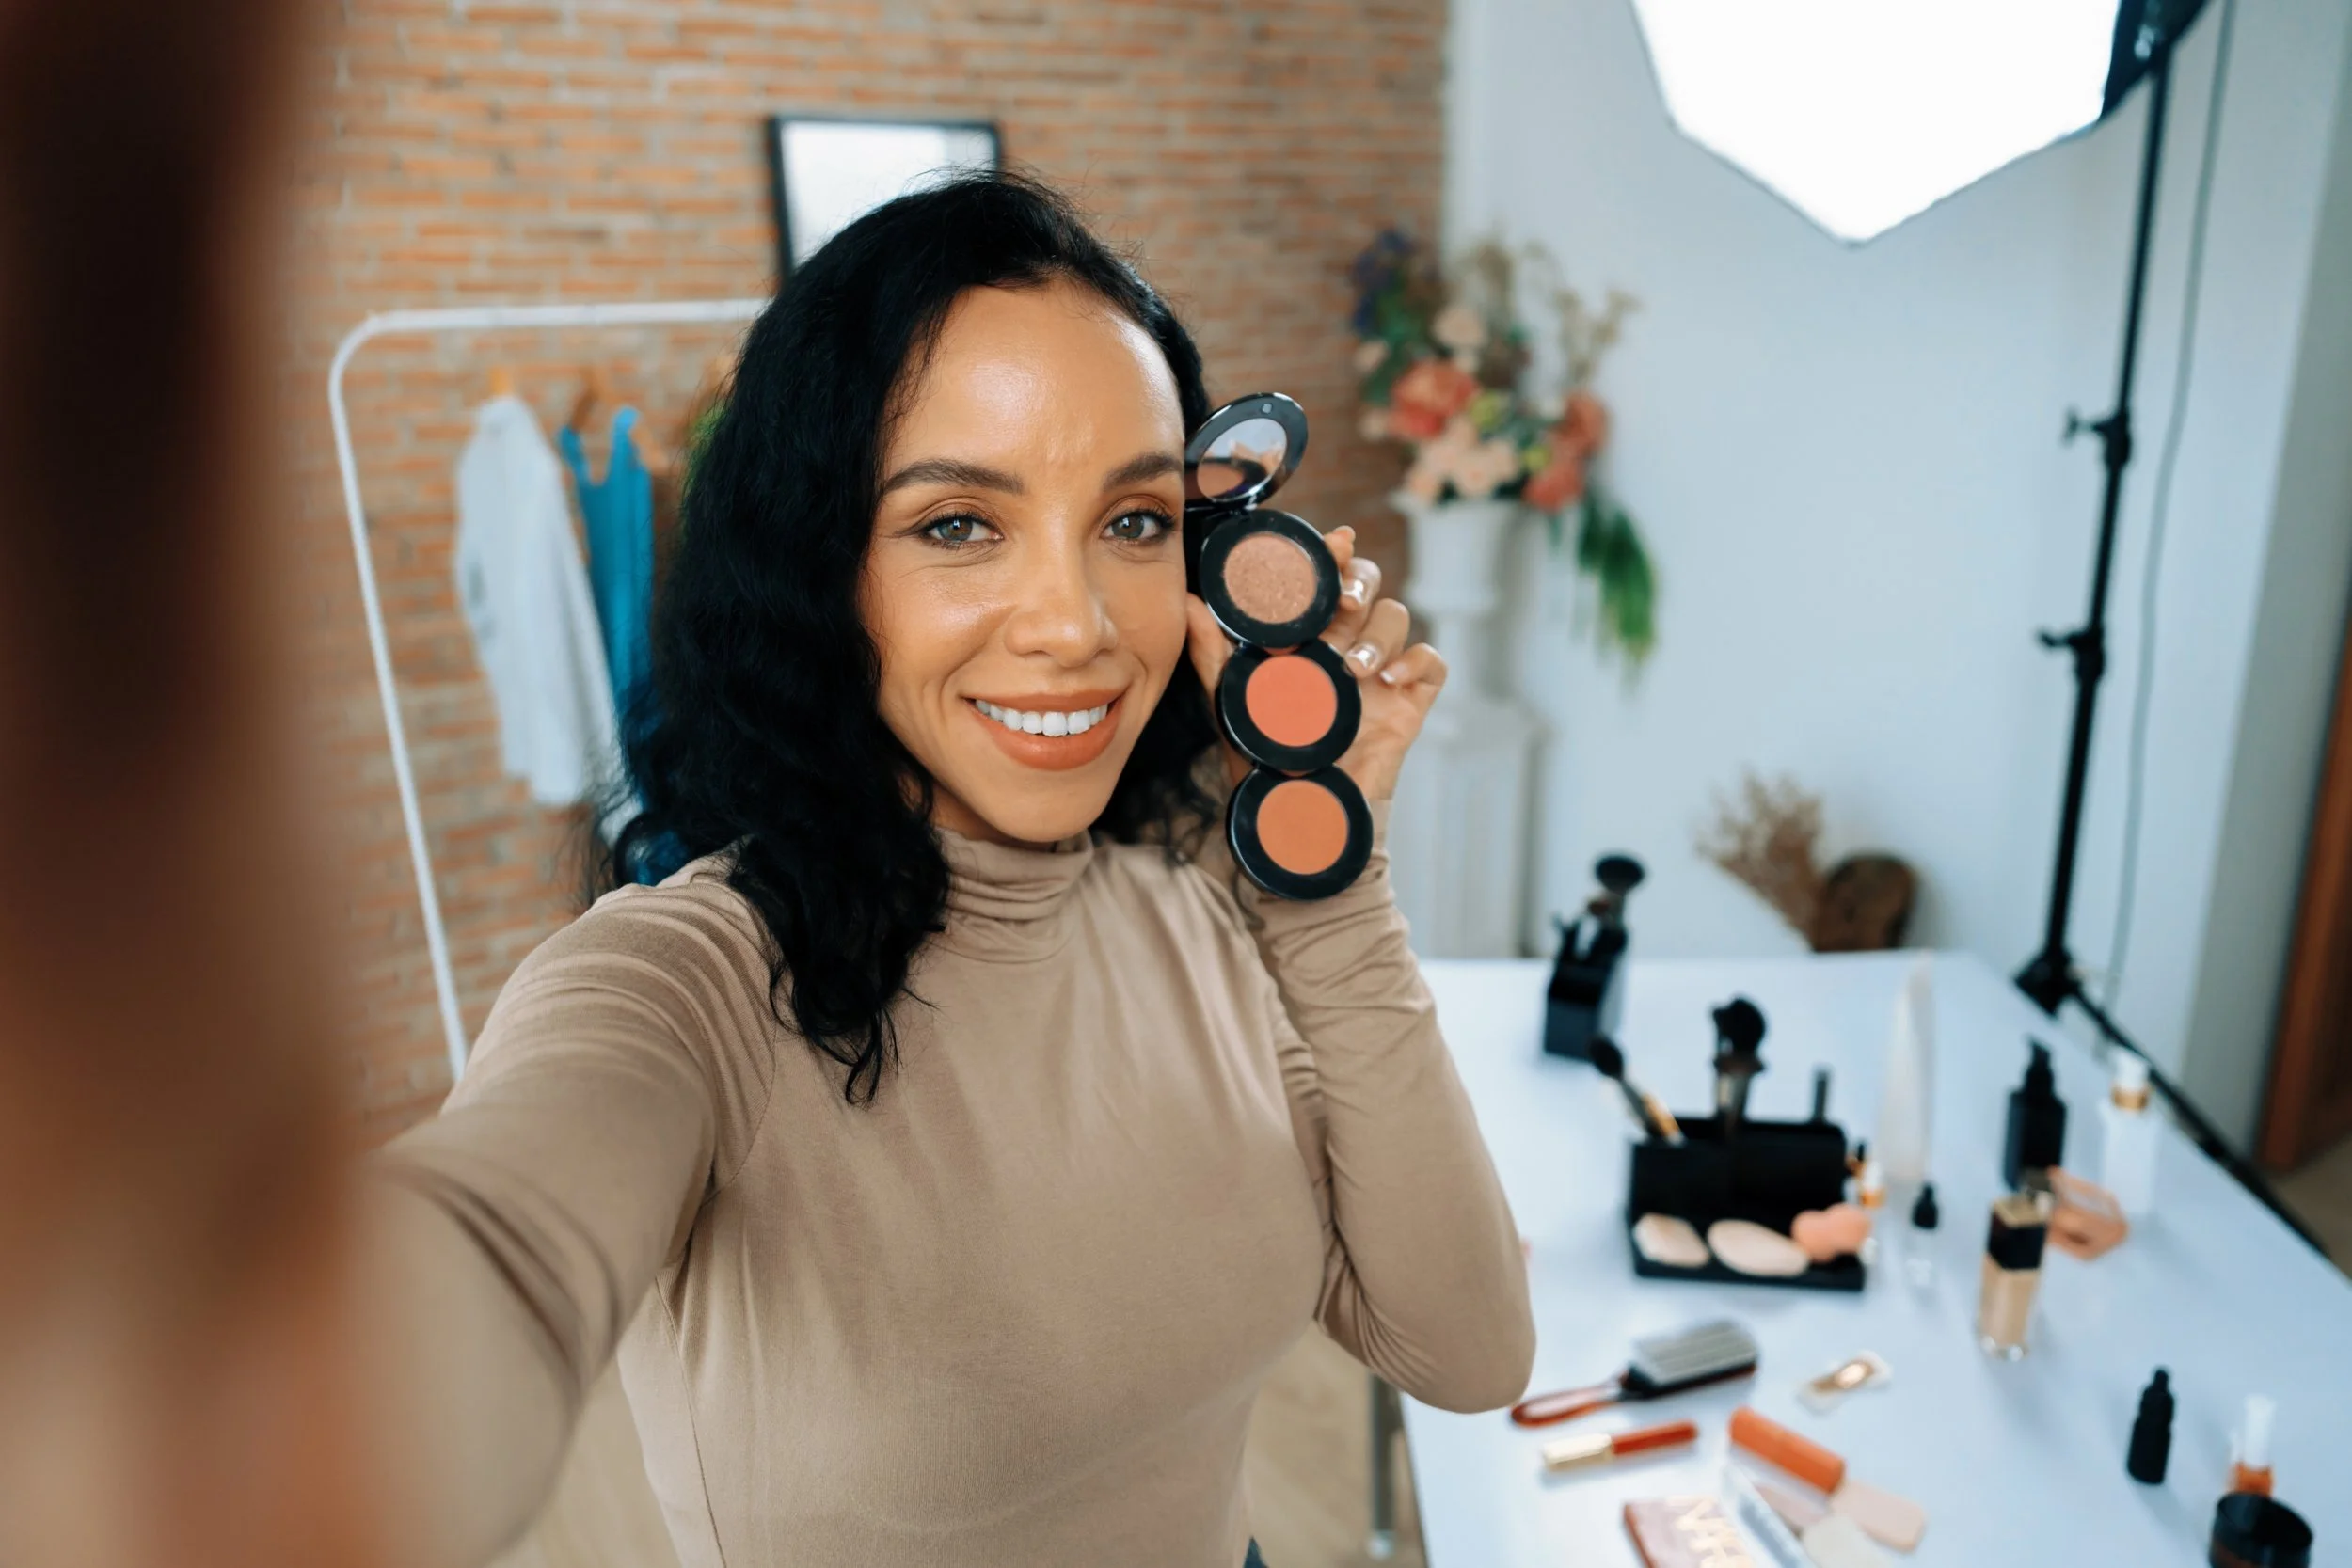
Here is a streamlined everyday makeup routine that takes roughly ten minutes from start to finish. Every step can be adjusted based on how much time is available and what feels right.
Start with skincare and SPF - about three minutes. Apply moisturizer, let it absorb, then layer SPF. This is the foundation of the entire look.
Next, apply a lightweight base in about one to two minutes. Dot a skin tint, tinted moisturizer, or light foundation on the center of the face and blend outward with a damp sponge or fingers. Follow with spot concealer in under a minute - just dab on the under eye area, any redness, and blemishes, then blend edges.
Add soft blush to the apples of your cheeks in about thirty seconds, with optional bronzer and a touch of highlight on the high points. Groom brows in under a minute with a spoolie and a quick pass of brow pencil or tinted gel. For eye makeup, a swipe of neutral shadow and one coat of mascara takes about a minute. Apply mascara from root to tip without pumping the wand.
Finish with a natural lip color - a tinted lip balm or lip tint - and a light press of powder or mist of setting spray only where needed. The whole makeup routine can be customized: skip eyeshadow on a busy morning, swap tinted balm for a nude lipstick on days that call for something a little more polished, or add a touch of drugstore makeup shimmer for weekend plans.
Consistency is key. The more this routine is repeated, the faster and more intuitive it becomes - whether for work, school, or casual outings. Over time, every step becomes a go to habit rather than a process.
Natural Makeup Checklist
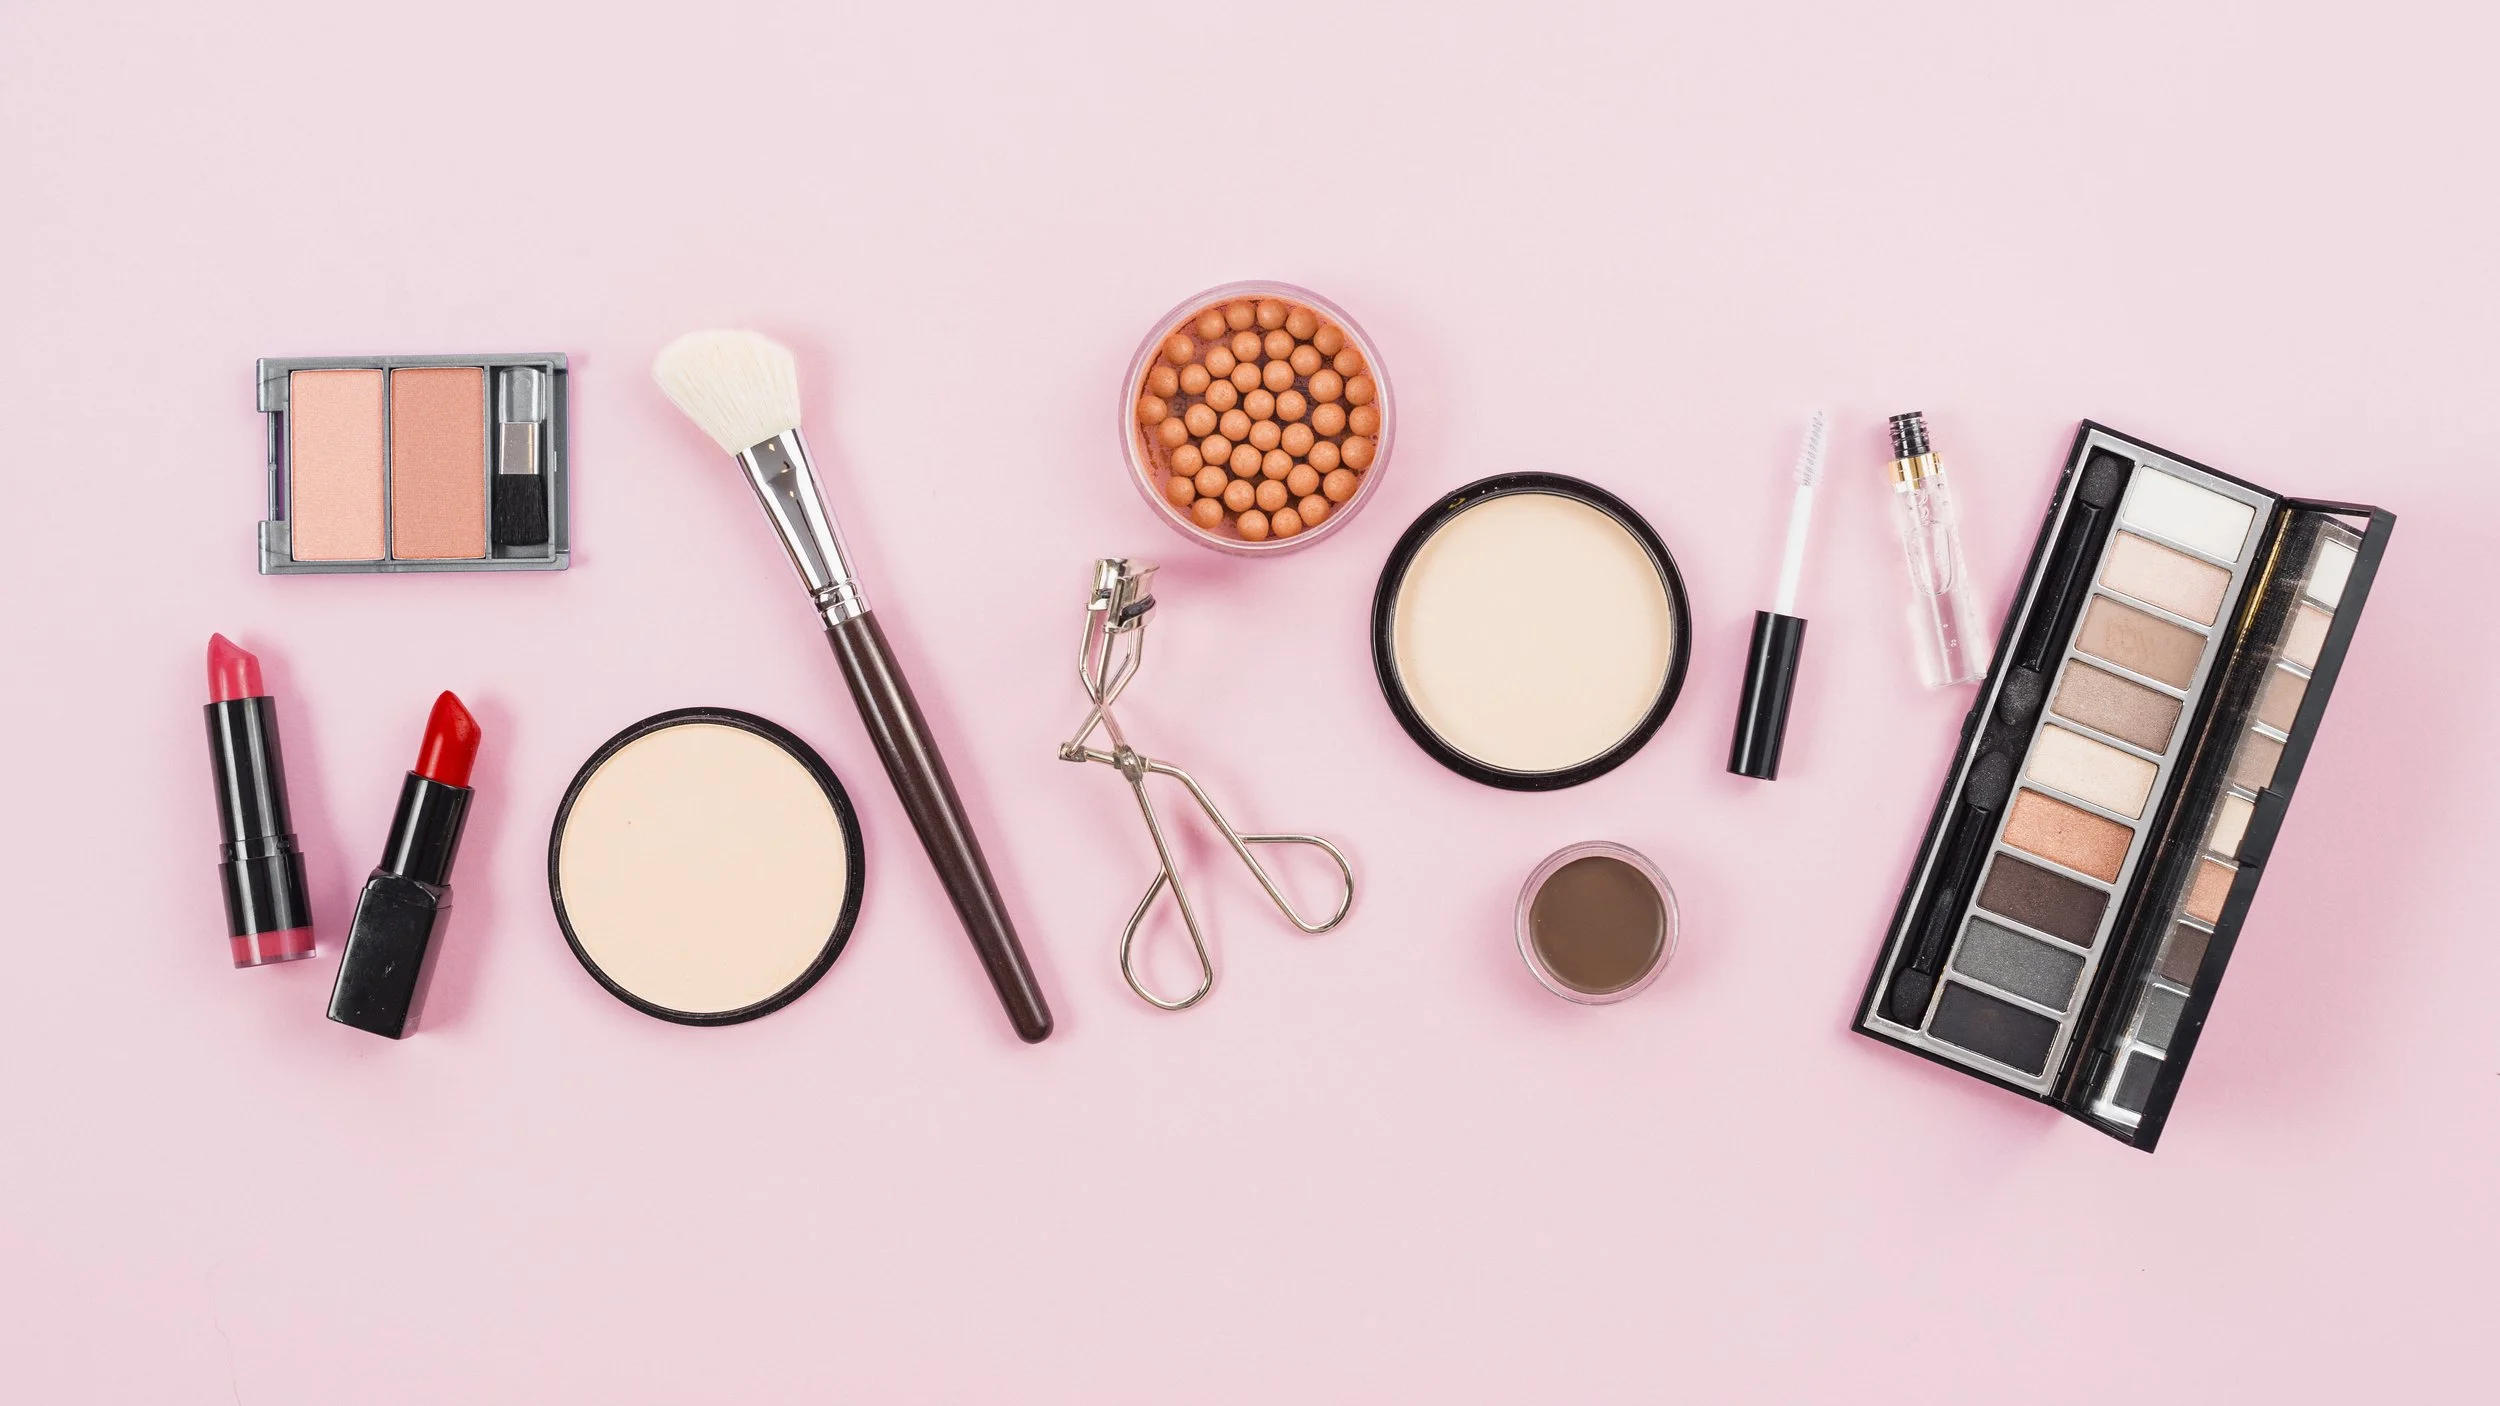
Run through this quick list while looking in the mirror before heading out:
Skin prepped with moisturizer and SPF - healthy looking skin starts here
Base looks lightweight and matches skin tone - no visible edges or mask effect
Concealer is used only where needed and fully blended - no thick patches
Soft blush adds a natural looking flush, with optional bronzer for warmth
Brows are groomed but not harsh - filled lightly if needed
Eye makeup is limited to simple neutrals, soft liner if desired, and mascara
Lips look hydrated with a natural shade from balm, tint, or lipstick
Powder applied only where oily, not all over
Overall makeup look checked in natural light - soft, polished, and effortless
Conclusion
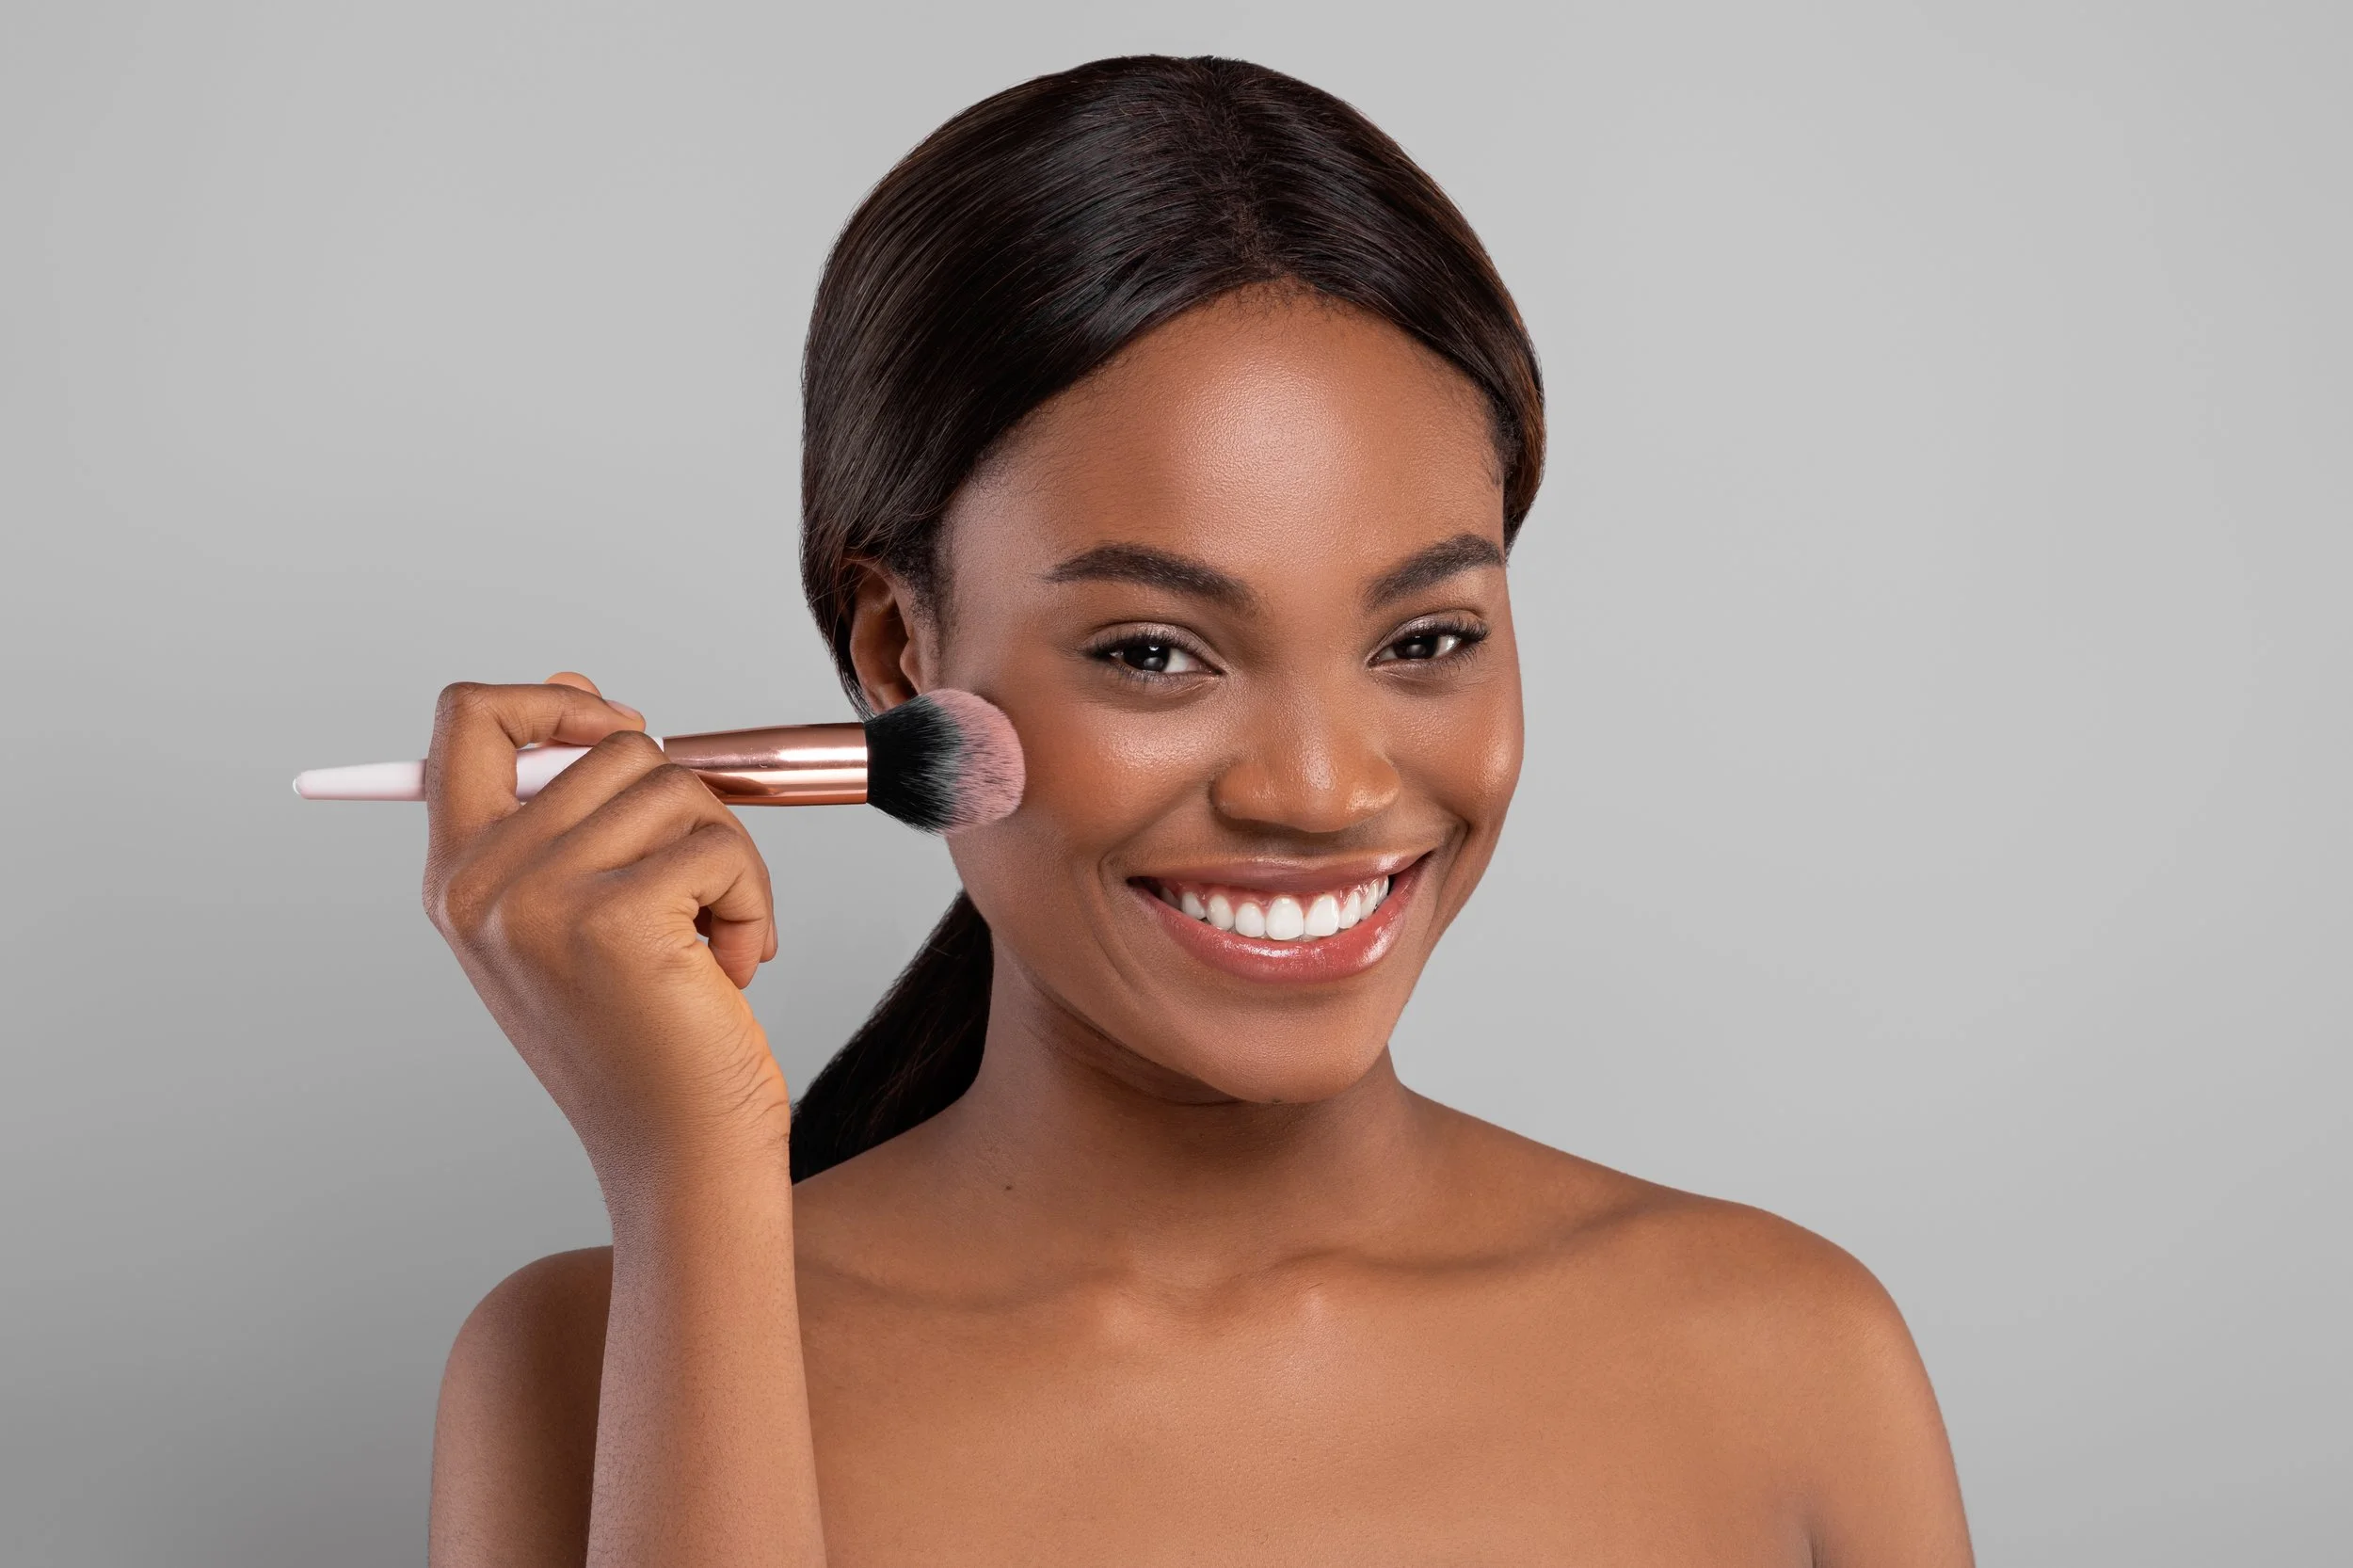
A natural makeup look should feel easy, pretty, and wearable every single day. It does not require a packed makeup bag, hours in front of a mirror, or advanced blending skills. Achieving a natural no-makeup makeup look enhances features rather than covering them - and that simplicity is what makes it so appealing.
The goal is never perfection. Real skin has texture, real cheeks have their own warmth, and real brows have character. The best minimalist makeup routine works with those details, not against them. Experiment within this framework to find a personal version that suits lifestyle, skin type, and confidence level. Whether leaning toward a completely barely there face or a soft glam everyday makeup moment, the foundation stays the same: prep the skin, keep it light, blend everything, and let the natural beauty lead.
Feeling fresh, polished, and confident does not requires makeup miracles - just a simple everyday natural makeup routine and a few minutes of intention each morning.
FAQ
These answers cover extra beginner questions that go beyond the main routine - practical, timeless tips to keep things simple.
How can I make a natural makeup look last all day on oily skin?
For oily skin, start with a lightweight, oil-free moisturizer and apply a small amount of mattifying primer only on the areas that tend to get shiny - usually the T-zone. Choose a long-wear skin tint or light foundation that sets to a natural finish rather than staying dewy. Set the T-zone with a thin layer of translucent powder, but skip powdering the rest of the face. Carry blotting papers for midday touch-ups instead of piling on more coverage. This keeps the look fresh without adding weight. Many makeup tutorials suggest reapplying foundation throughout the day, but blotting is a far better approach for maintaining a natural finish.
What is the best way to adjust a natural makeup look for the evening?
Slightly deepen the eye makeup by adding a darker shade of neutral shadow in the outer corner, or trace a soft brown or charcoal eyeliner along the upper lash line for extra definition. Keep the overall eye still simple - this is not the time for a full smokey eye. Upgrade lips from a tinted balm to a richer lip tint or satin lipstick in a rose or berry tone for a little more presence. A touch of extra highlighter on the high points of the face adds a subtle night-time glow. These small shifts take the same daytime routine into evening territory without starting over, and they work for any makeup artist level.
How often should I clean my makeup brushes and sponges for a fresh look?
Wash foundation and concealer tools - especially beauty sponges and base brushes - at least once a week. Product buildup on dirty tools can make even the best skincare products and makeup look patchy and uneven. Eye and blush brushes benefit from cleaning every one to two weeks. A quick spot clean with brush spray between uses helps when switching shades frequently. Clean tools also reduce the chance of breakouts, which matters for anyone investing in a consistent skincare routine to keep skin clear and healthy.
Can I still get a natural makeup look if I have acne or textured skin?
Absolutely. Natural looking makeup is possible on textured skin by focusing on thin layers of coverage instead of trying to fully erase every mark. Use a light base all over to even tone, then spot conceal blemishes carefully with a slightly more coverage concealer, tapping it on with a small brush. Accept that some texture will show - and that is completely fine. Skin that looks like skin, even with a few visible imperfections, reads as far more realistic and pretty than a thick, mask-like layer. Many skincare products designed for acne-prone skin also work well under makeup without clogging pores. Watching youtube videos and makeup tutorials from creators with similar skin concerns can also help build confidence in technique.
How do I choose natural-looking shades for blush and lip color?
Pick blush in tones that mimic a real flush - soft peach or rose for fair skin and light-medium tones, warm coral or berry for deeper tones. Testing applying blush in natural light rather than store lighting gives the most accurate read. For lips, choose tints or balms one to two shades deeper than the natural lip color so they enhance without looking obviously "made up." A good test: the shade should look like a more polished, slightly warmer version of what the lips look like after a brisk walk. This approach to shade selection works for any budget, from powder kosas cloud set products to everyday drugstore makeup picks.