How to Apply Blush for Your Face Shape

Key Takeaways
Learning how to apply blush for your face shape changes how lifted, soft, or balanced your entire makeup looks.
The best blush placement depends on face shape: round faces usually suit higher, angled placement, while long faces benefit from softer, more horizontal placement.
Both cream blush and powder blush can deliver a natural blush look when blended well with the right tool, whether that is a soft blush brush or just your fingers.
Choosing the right blush shade and avoiding the wrong shade matters just as much as placement for a fresh, flattering flush.
Face-shape guidelines are exactly that-guides, not strict rules. Experimenting is always encouraged.
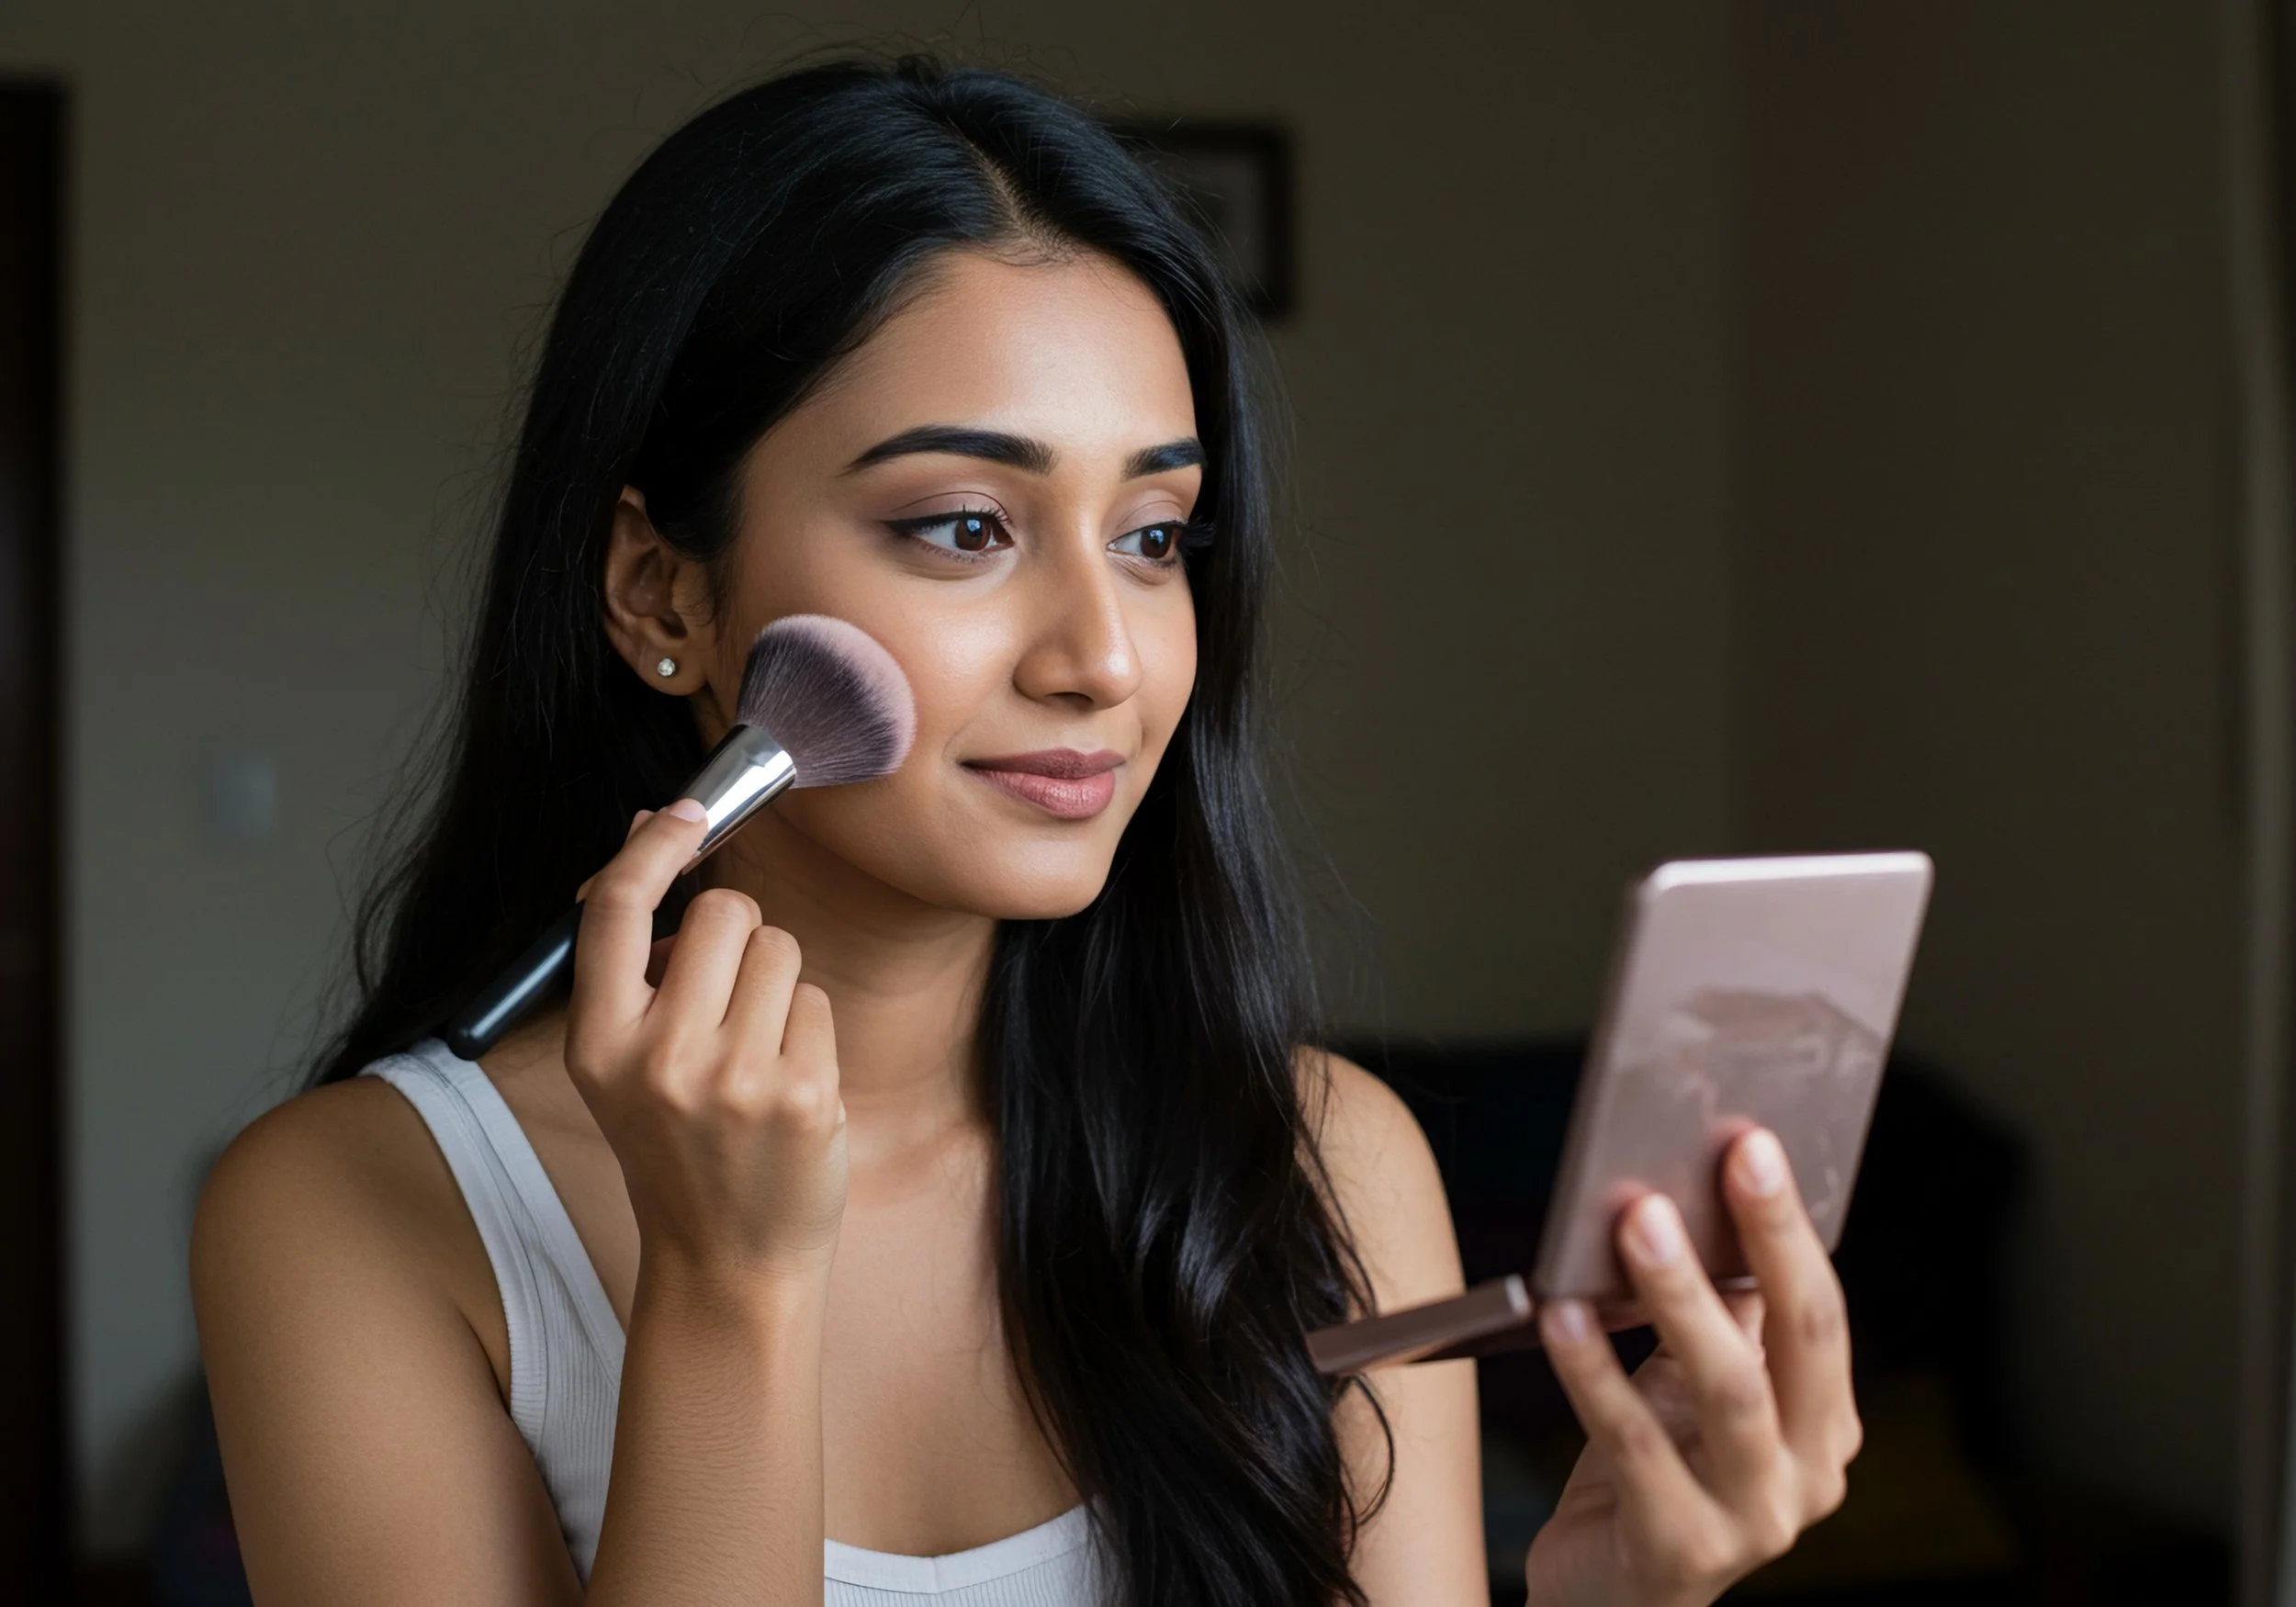
Why Blush Is Your Secret Shortcut to a Fresh Face
Blush is one of the fastest ways to make any makeup look feel fresh, glowy, and alive. A single sweep of color instantly brightens the complexion, adds warmth, and gives skin that healthy glow that looks effortlessly pretty. Understanding how to apply blush for your face shape is really the key to making it all look natural rather than painted on.
This guide is a beginner-friendly blush placement guide built around face shape. Whether cream blush, liquid blush, or powder formulas are already in the makeup bag, these tips will help every reader place blush exactly where it flatters most. Think of it as advice from a beauty-obsessed big sister who just wants every cheek to look its absolute best.
Why Blush Placement Matters
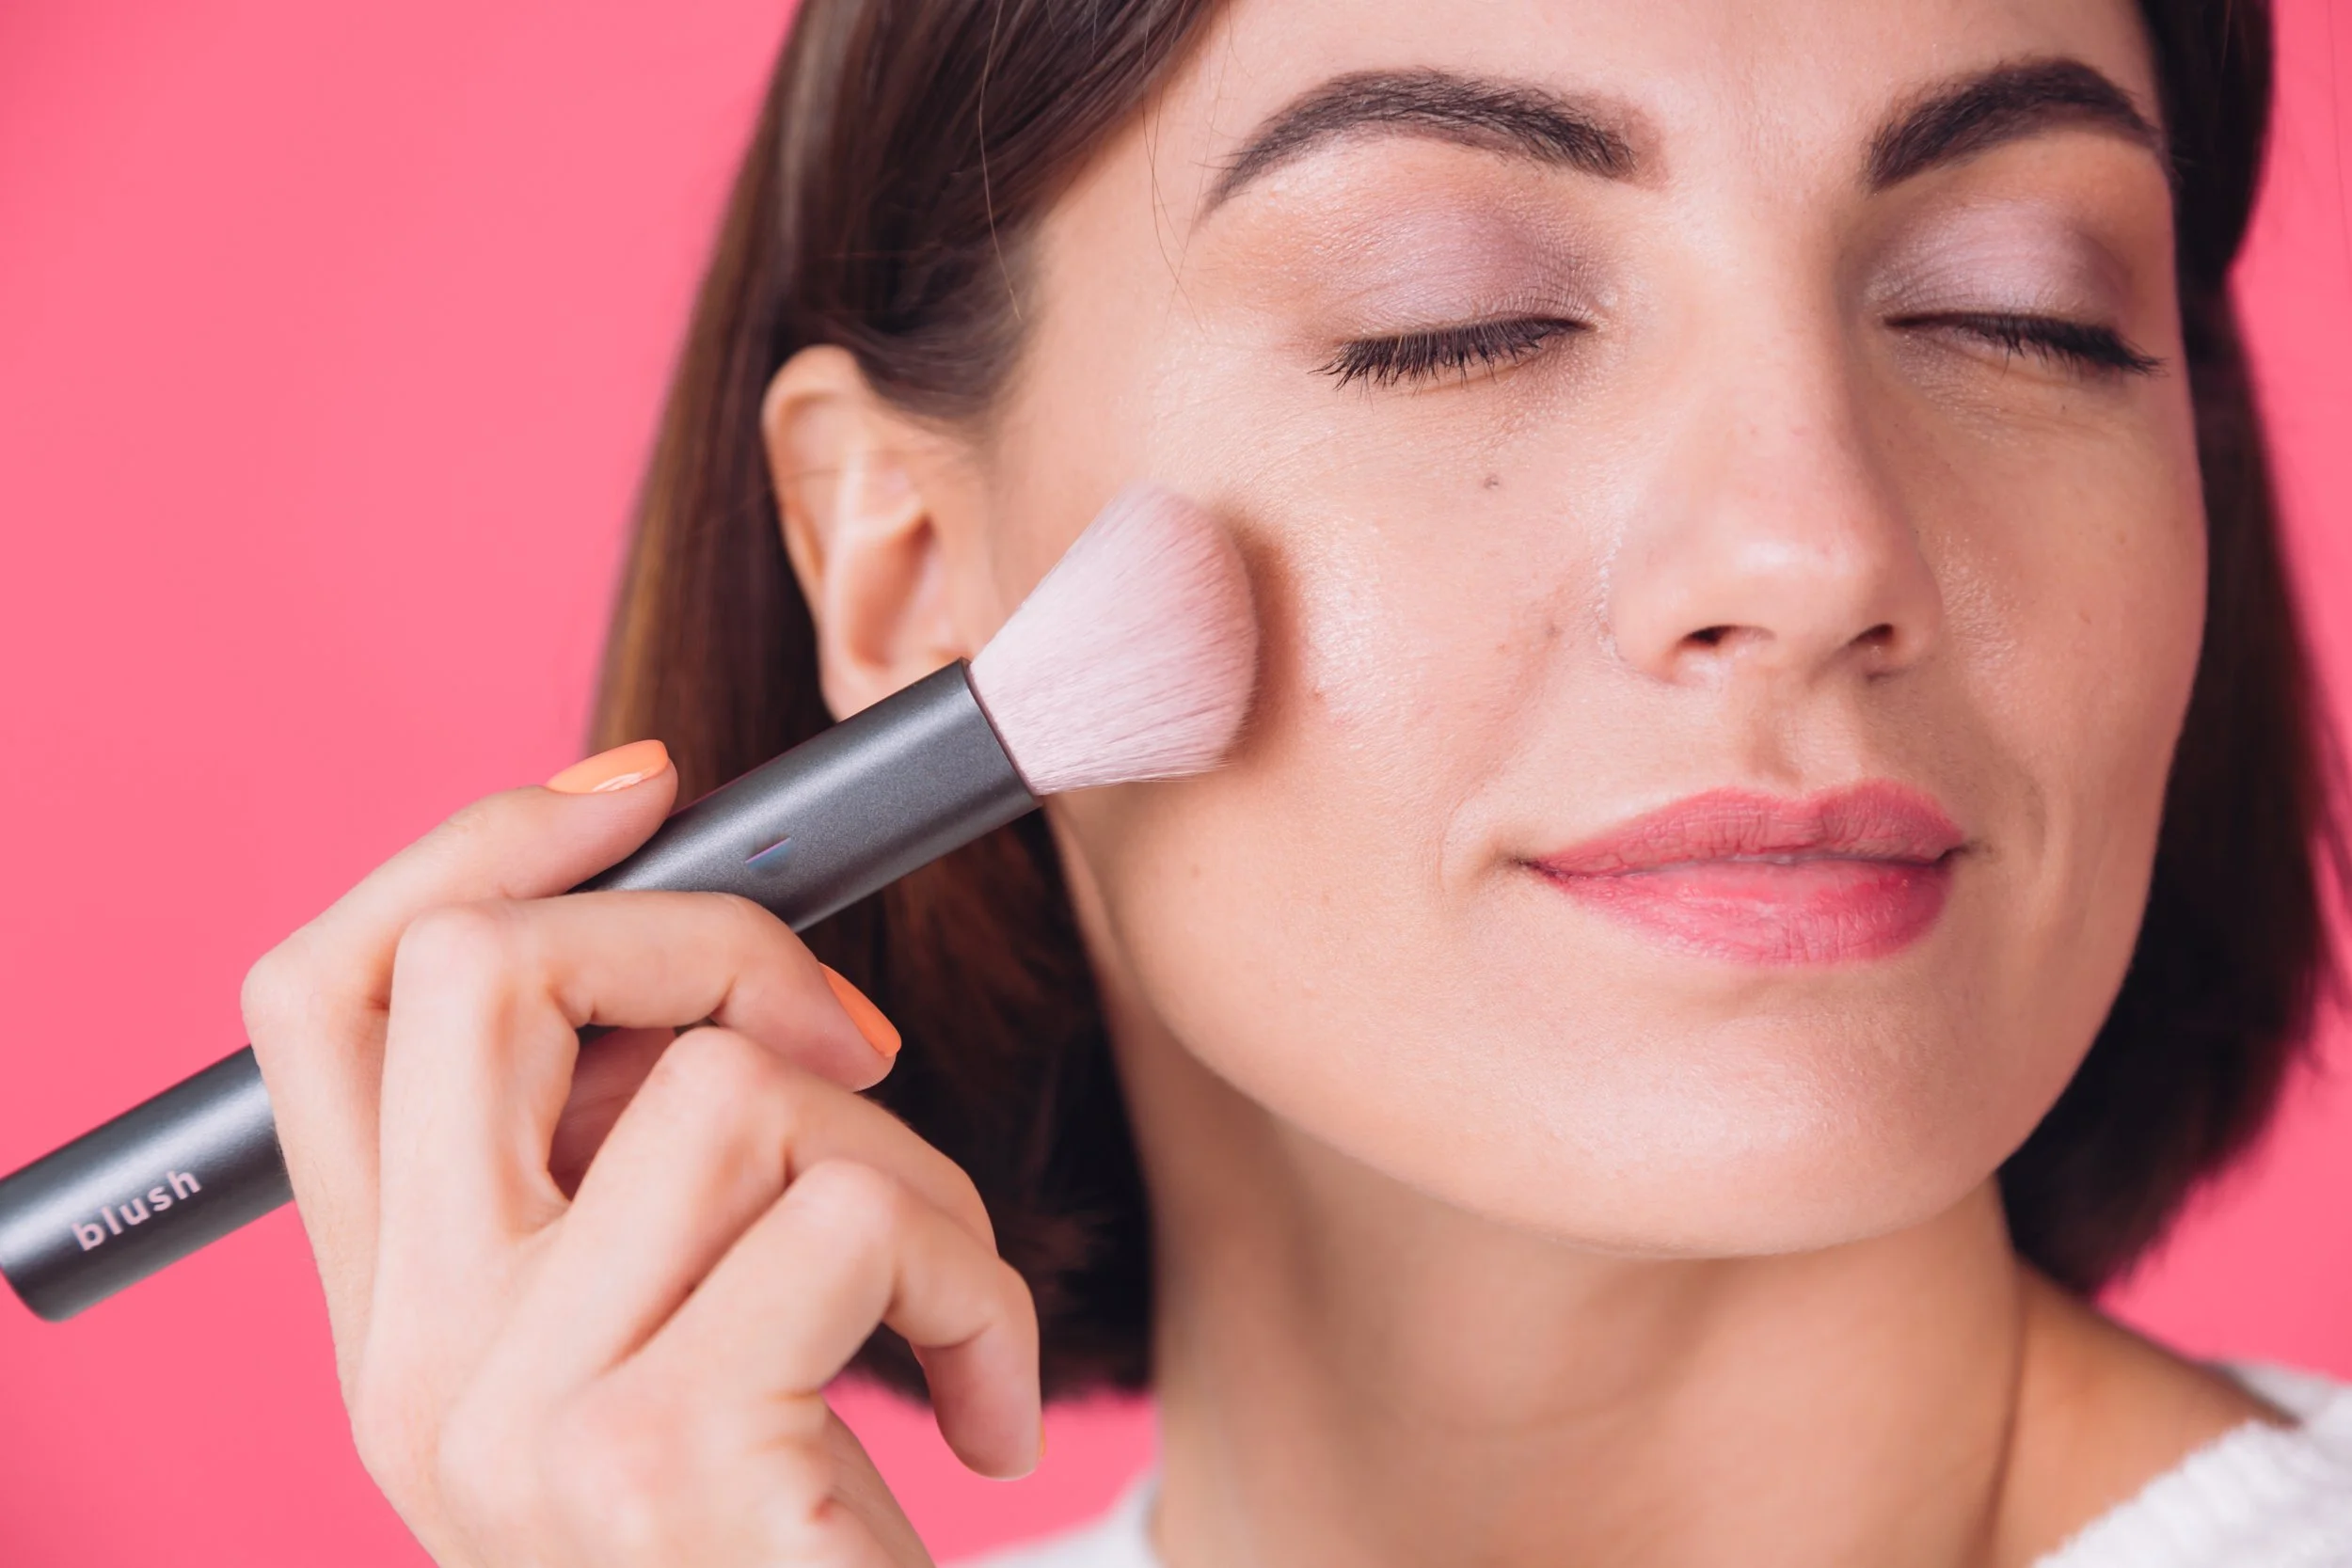
Where you place blush on the face can visually lift the cheeks, shorten or lengthen the face, soften features, or add dimension. Blush can balance facial proportions by creating lift, and blush application techniques can sculpt or soften features depending on placement. Applying blush incorrectly can actually elongate the face's appearance or make it look wider than it is.
Blush placed too low or too close to the nose tends to drag the face downward and add unwanted width. Higher, lifted blush placement gives a more youthful vibe and keeps features looking fresh. Coordinating blush with bronzer, highlighter, and even your liquid foundation finish helps the whole look feel polished. The goal is always a natural blush look-soft color that melts into skin, never obvious stripes.
How to Figure Out Your Face Shape (Fast)

There is no need to overthink this. Pull hair back, look straight into a mirror, and compare the width of the forehead, cheekbones, and jawline against overall face length.
Round: Width and length are similar, with soft curves at the jaw and fullness at the cheeks.
Oval: Slightly longer than wide, cheekbones are the widest point, and the face is naturally balanced.
Square: Forehead and jaw are roughly the same width with strong, angular lines.
Heart-shaped: Wide forehead, high cheekbones, and a narrower chin that may come to a pointed chin.
Long/oblong: Noticeably longer than wide, with forehead, cheeks, and jaw close in width. A rectangular face falls into this category too.
Diamond: Widest at the cheekbones, with a narrower forehead and chin and often prominent cheekbones.
Many people are a mix of shapes, so treat this blush placement guide as flexible. Once the closest match is clear, adjusting where to apply blush becomes much simpler.
Prepping Skin and Choosing the Right Blush Formula
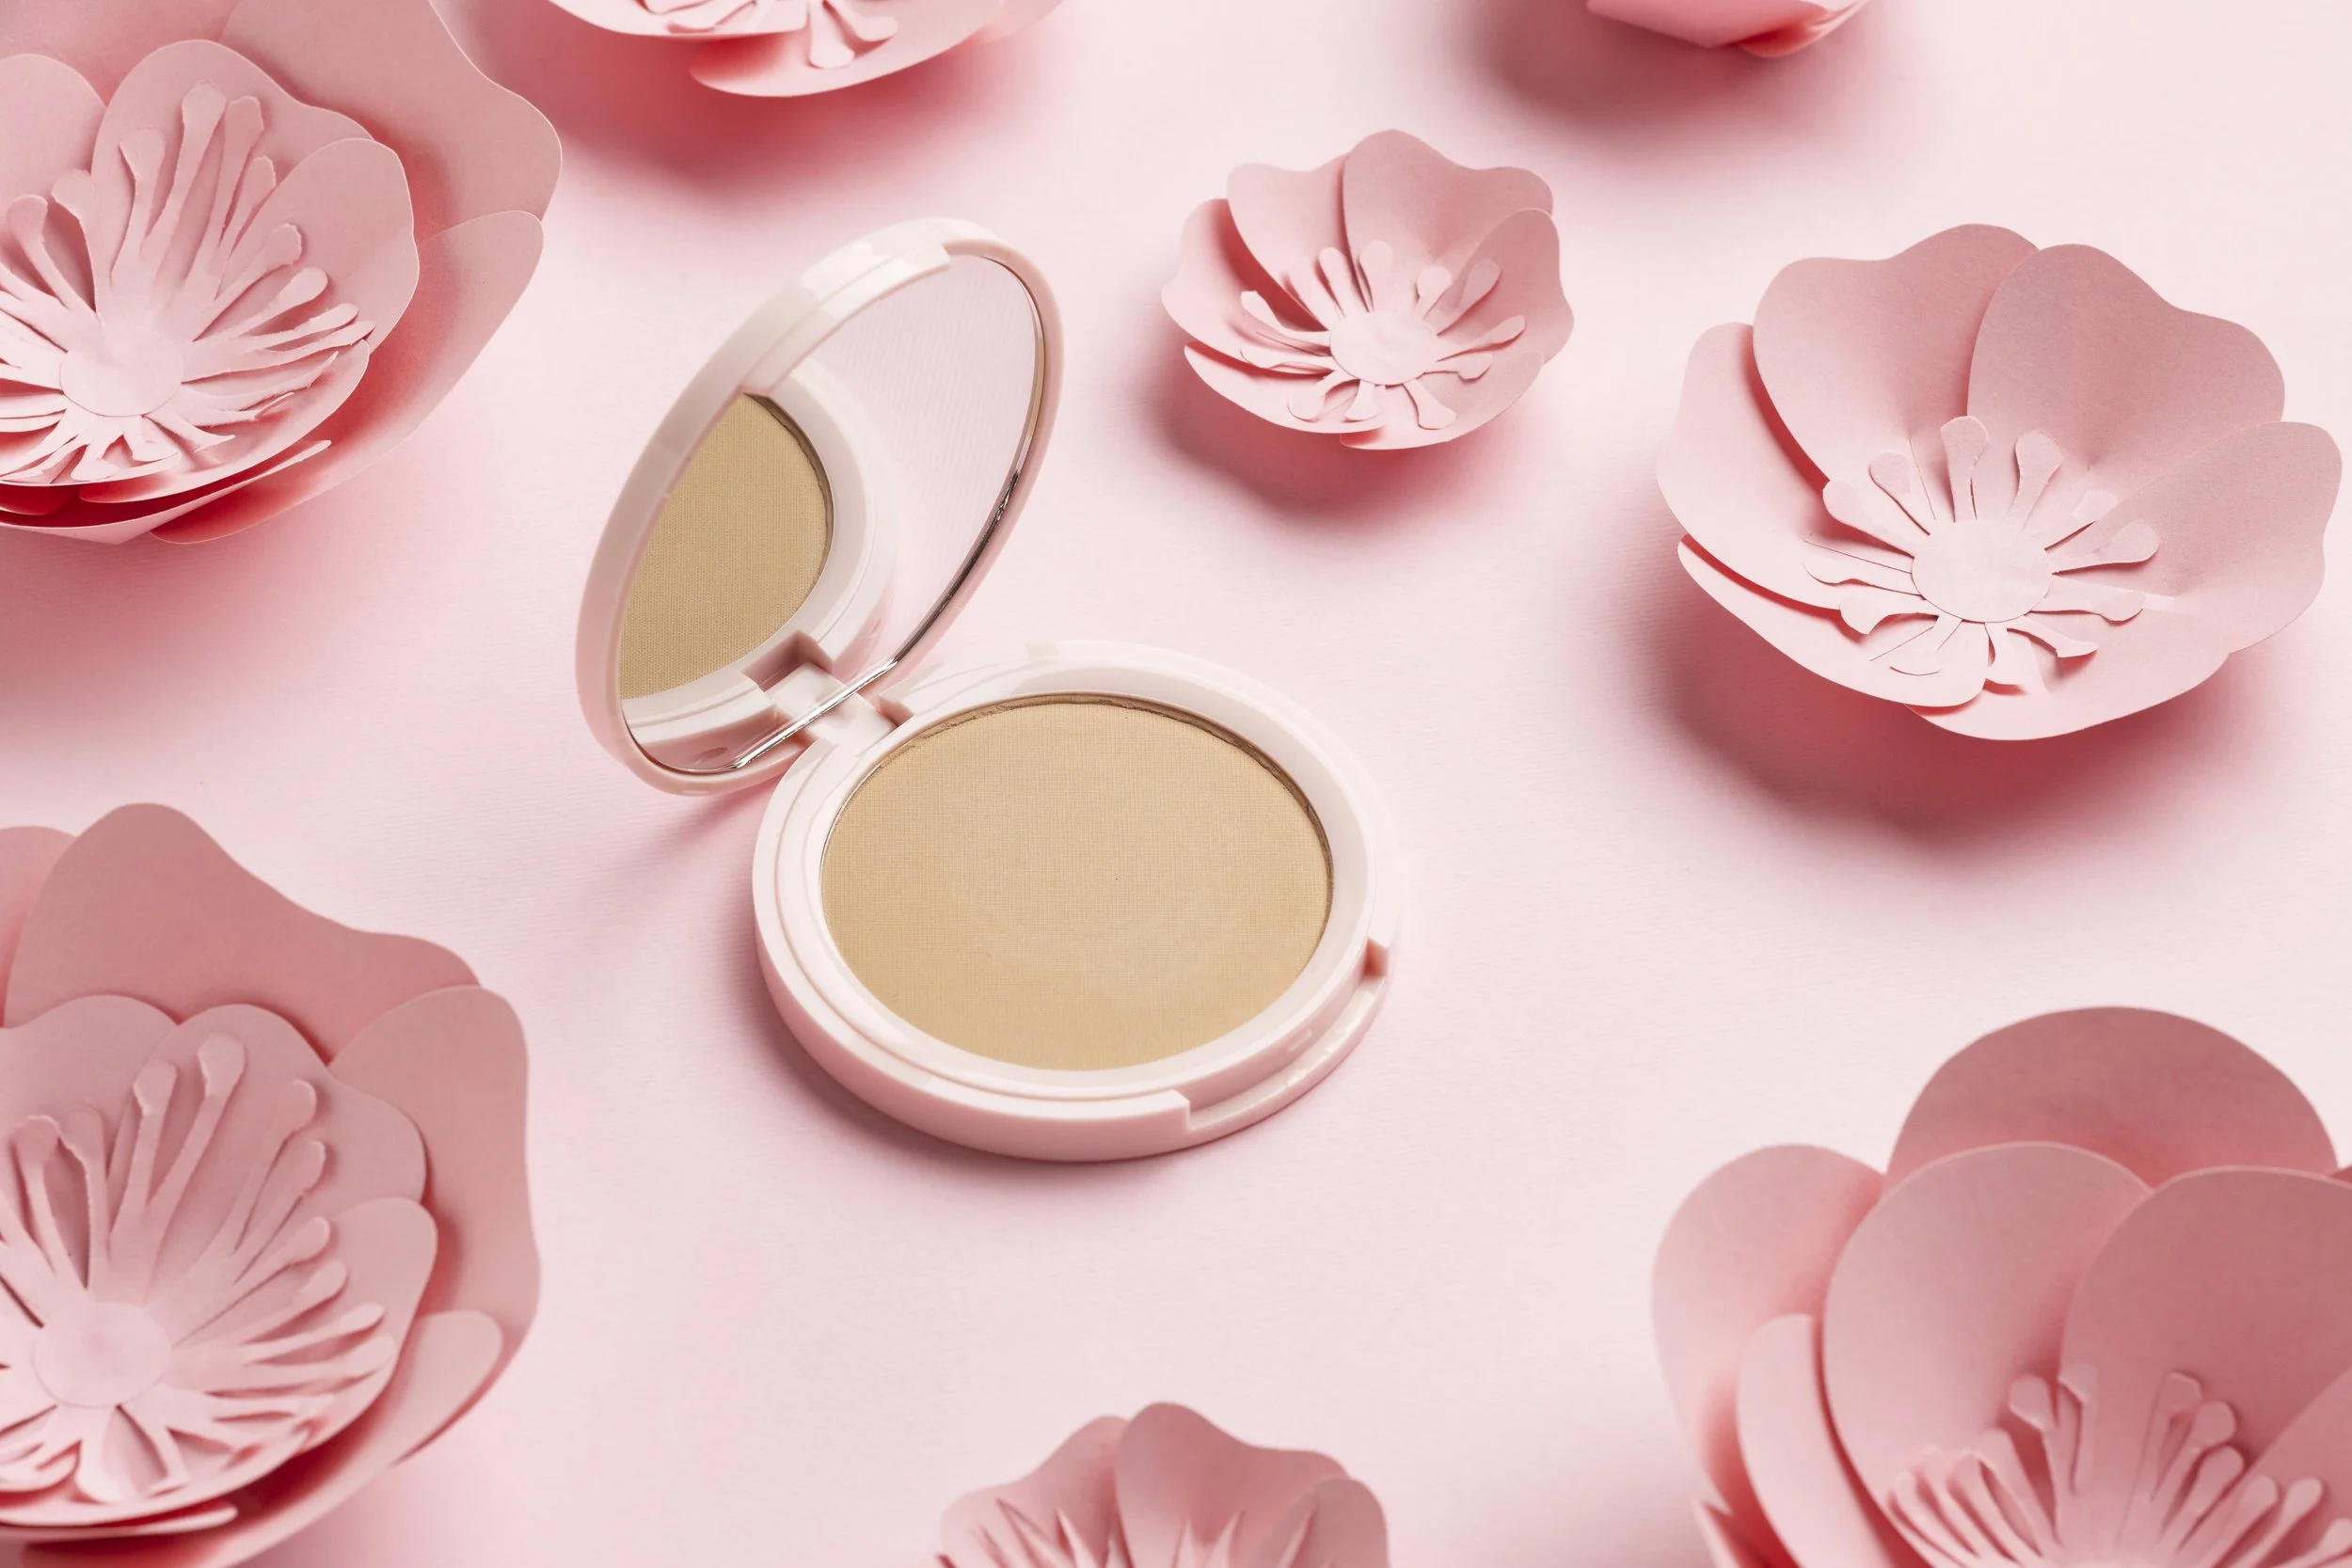
A smooth base makes any blush formula blend more naturally. After skincare, apply the usual base makeup-tinted moisturizer, BB cream, or foundation-and lightly set only where needed. Those with sensitive skin or mature skin should keep the cheek area hydrated so blush doesn't cling to dry patches.
Cream or liquid blush: Best for a dewy finish and a skin like finish over liquid bases. Start with cream blush for a dewy finish on dry skin. Apply cream blush right after foundation, before heavy powder.
Powder blush: Great for longer wear, especially on oily or combination skin. Apply powder blush over set or semi-set makeup for the smoothest result. A powder formula tends to hold up well in heat and humidity.
Matte blush: Helpful for controlling shine on combination skin or the T-zone area.
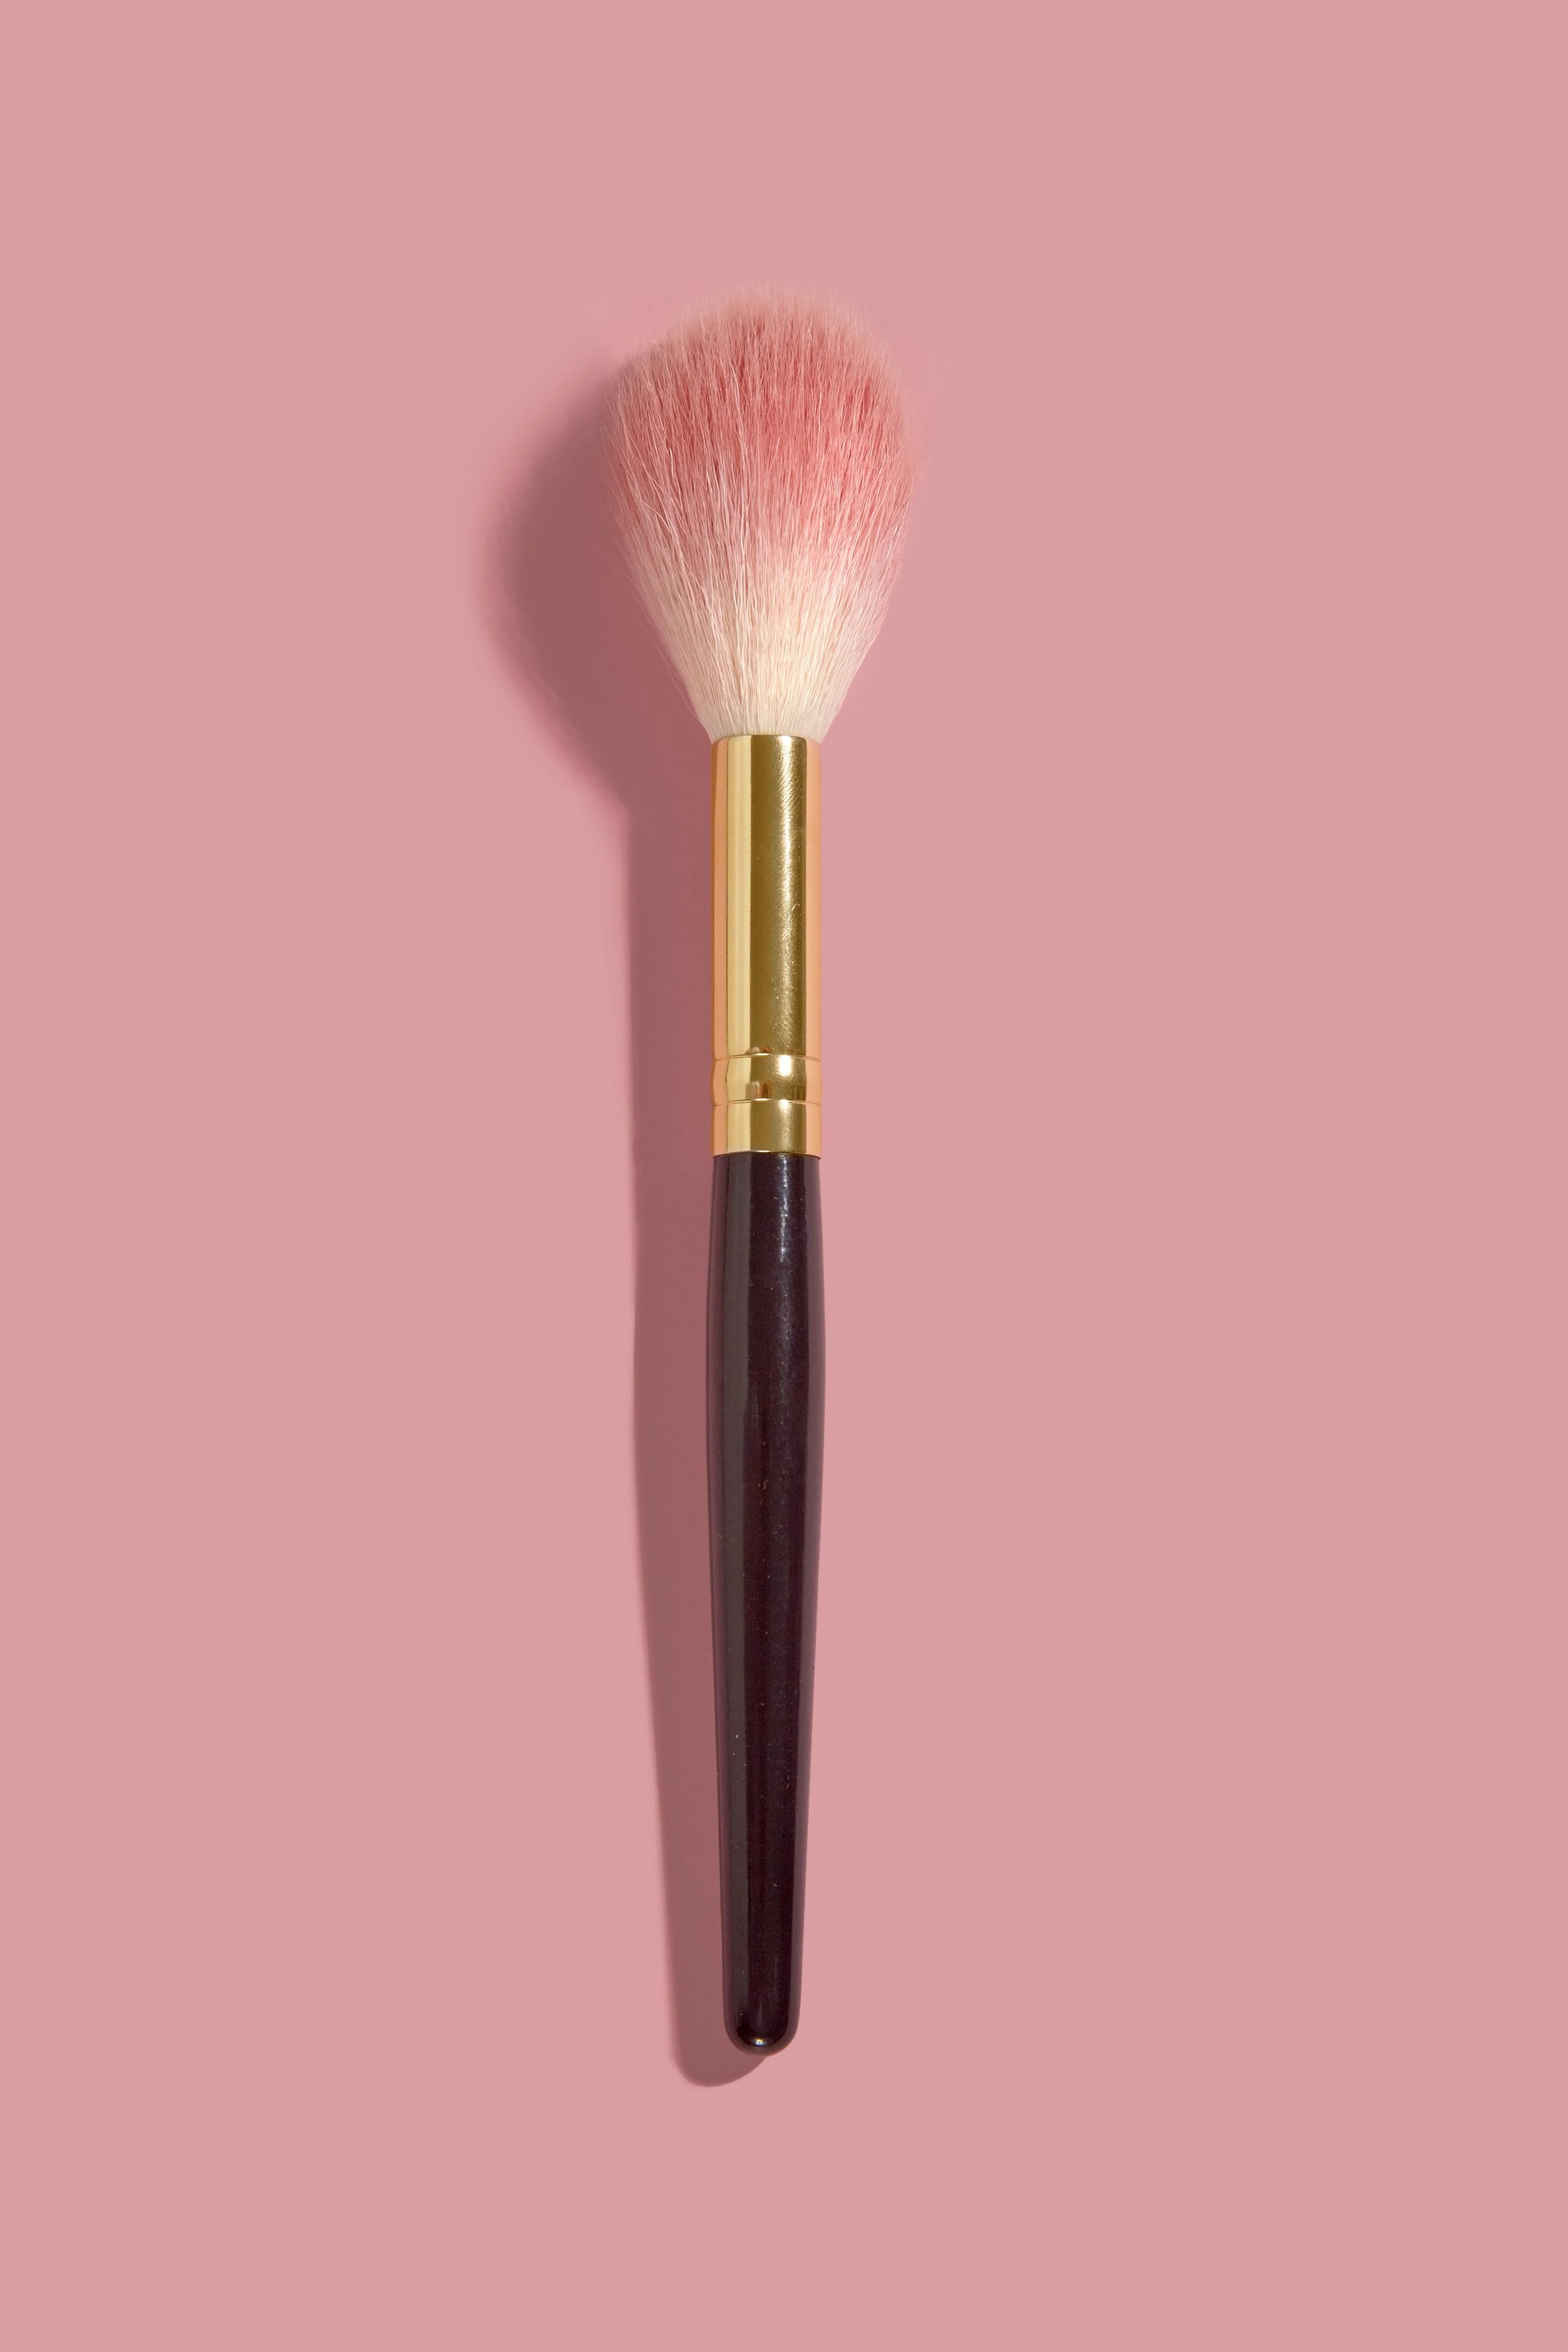
Use a fluffy brush for powder blush to diffuse pigment evenly. Fingers or a damp sponge work beautifully when you apply cream blush or liquid or cream blush formulas. A soft, medium-sized blush brush gives the most beginner-friendly control overall.
General Blush Placement Basics (Before Face Shape)
Some placement principles apply to almost every face shape before getting into specifics.
A simple placement hack involves using your fingers to find where to apply blush: smile gently to locate the apples of the cheeks, then relax the face before blending. Relying on a huge grin pulls the apples too high and leads to misplaced color.
Three main placement styles cover most looks: rounded on the apples, lifted along the cheekbones, and diffused or sun-flushed over cheeks and nose. For all face shapes, avoid applying blush too close to the nose-leaving about a two-finger gap from the sides of the nose keeps things flattering. Apply blush above the nostril line for a natural look.
Apply blush in light layers to avoid harsh lines, and blend the outer edges until no harsh lines remain. Blend blush upward toward the temples for a lifted effect whenever the goal is to brighten and lift. The goal is to soften sharp angles and enhance natural bone structure, no matter what shape the face happens to be.
Blush Placement for a Round Face
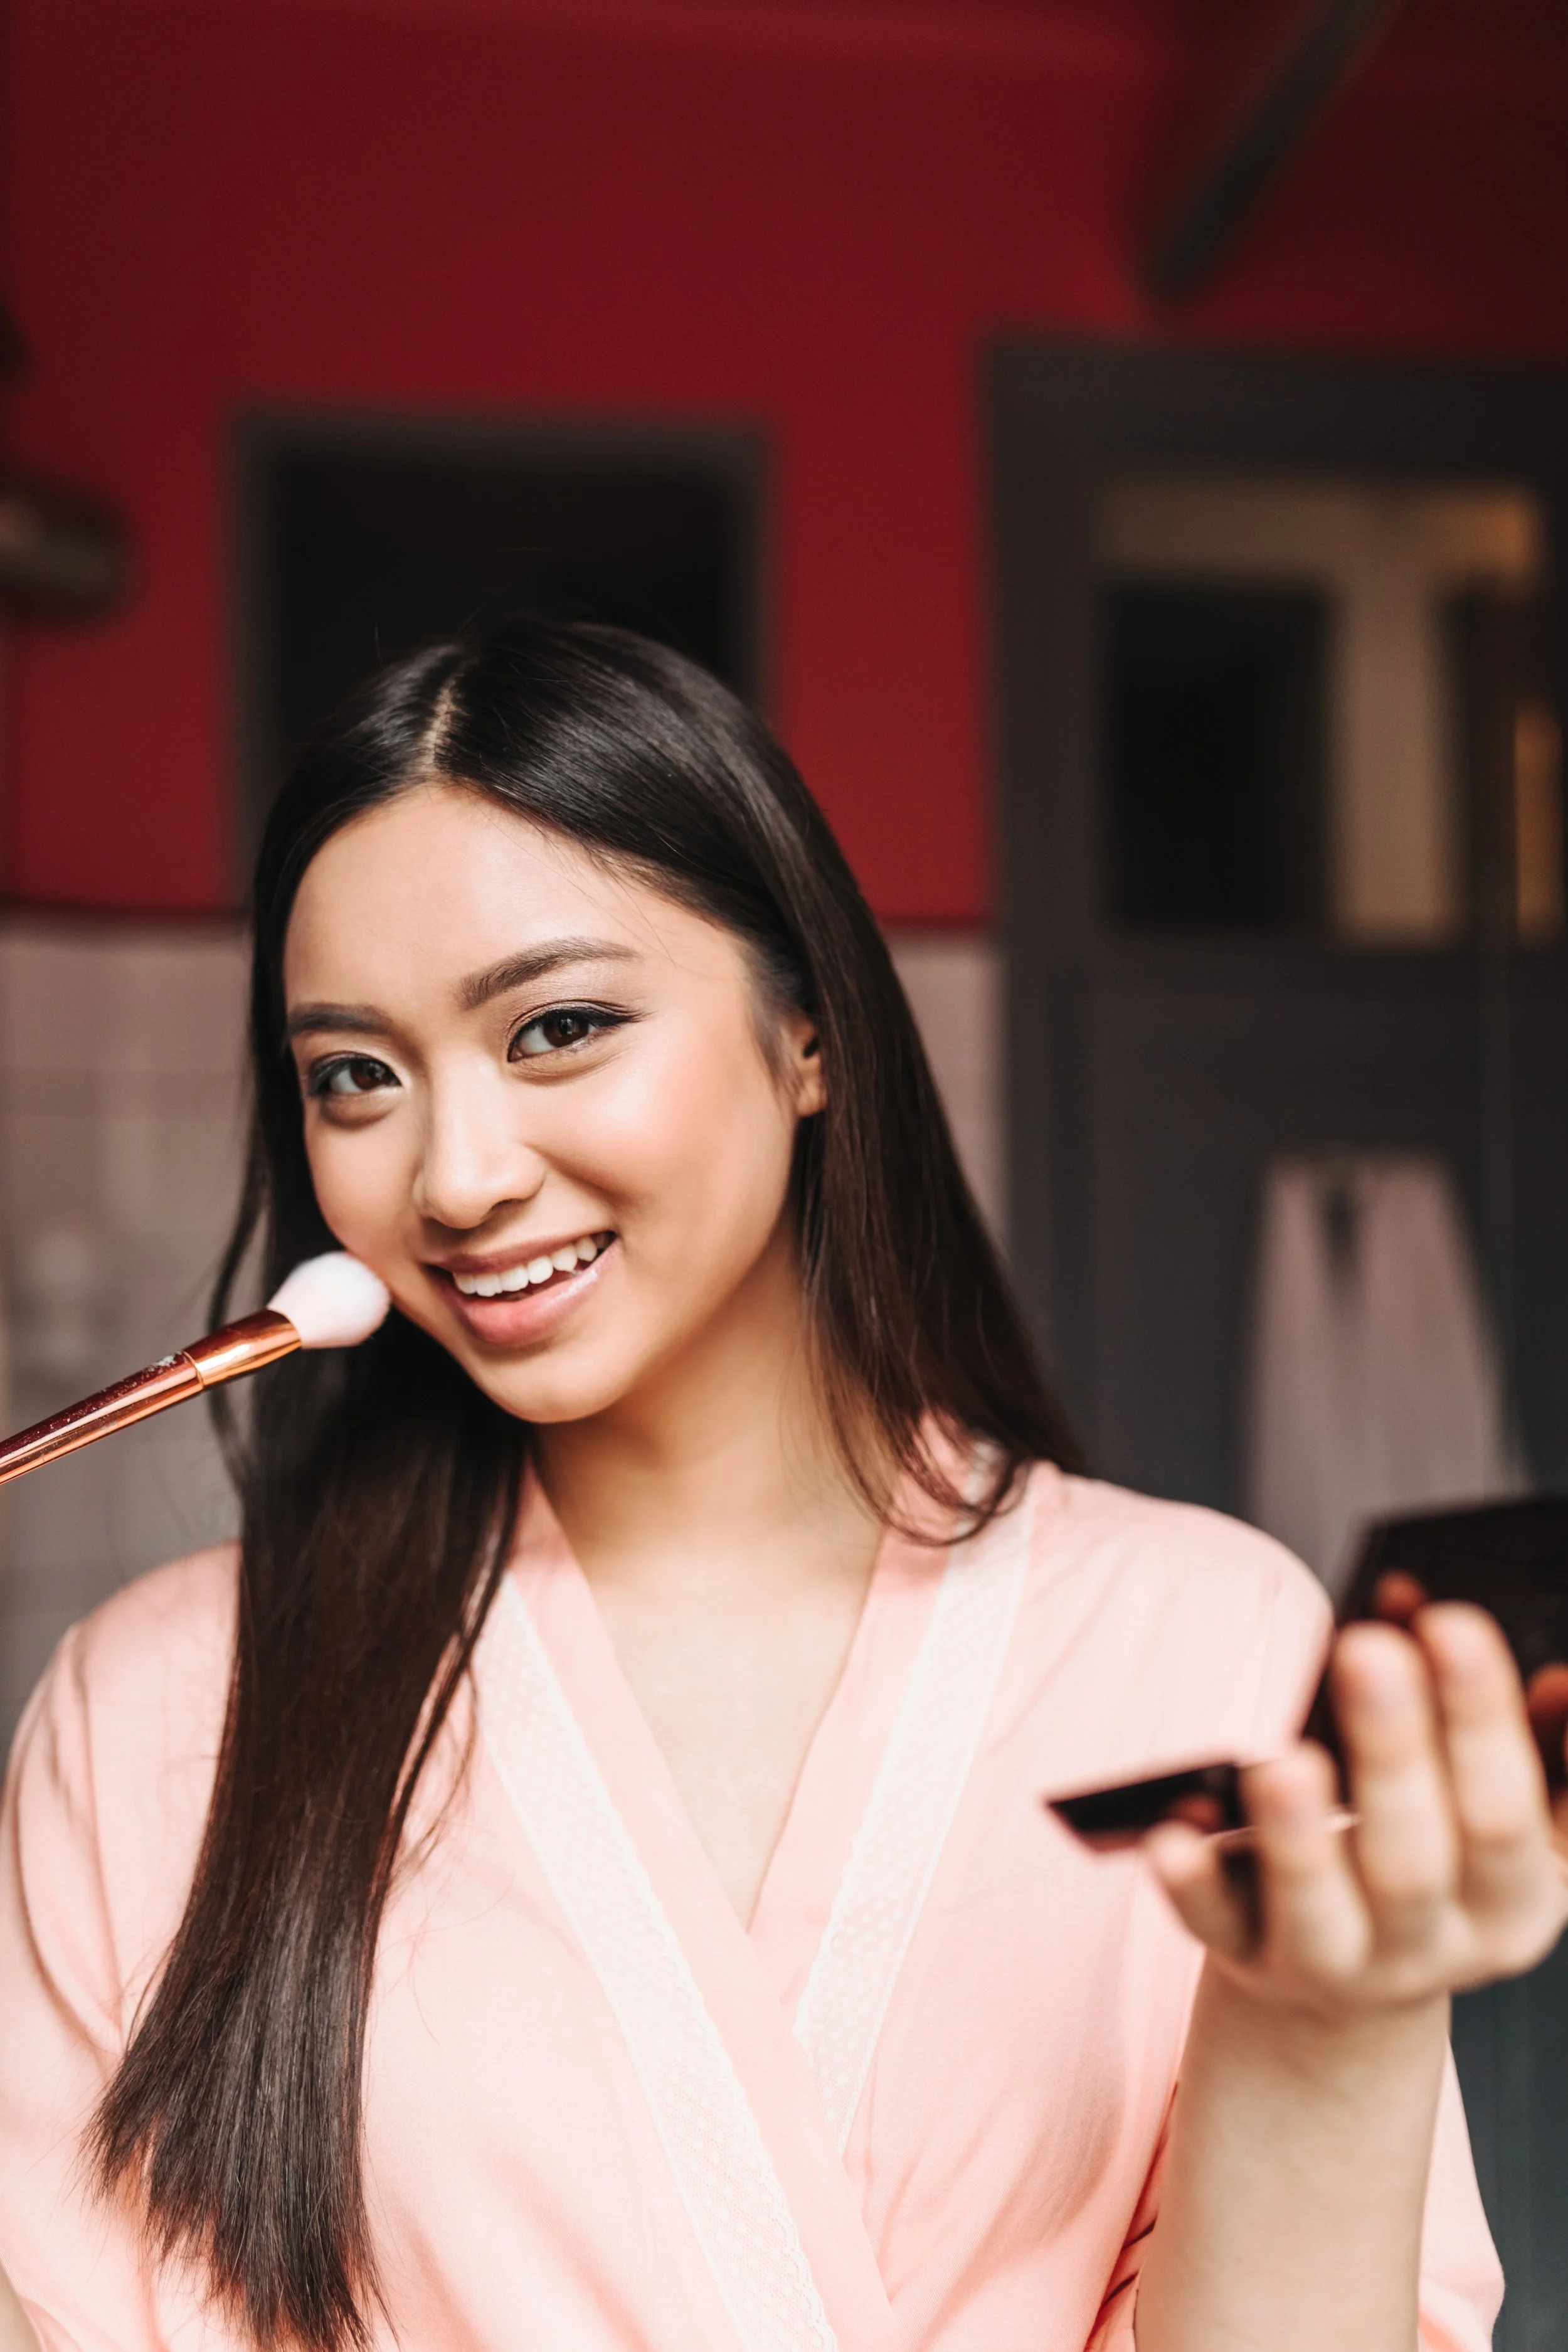
Blush for round face shapes usually aims to add lift and a bit of definition. Round faces benefit from blush applied higher on the cheekbones rather than right on the center of the cheeks.
The best blush placement for a round face starts slightly above the apples of your cheeks, angling color toward the temples for a more vertical, lifted effect. This lifted blush placement along the outer cheek visually elongates the face and prevents extra roundness.
Slightly more matte blush or satin formulas work well here-extra glow on the center of the cheek can make fullness more noticeable. Keep cream blush higher on the cheekbones for lift. Avoid placing most color low and close to the nose, which emphasizes fullness rather than definition.
Step-by-Step: How to Apply Blush on a Round Face
Tap excess product off the brush, then place color just above the apple of the cheek.
Blend upward and outward toward the temple using short, sweeping motions.
Keep the highest intensity near the outer third of the cheek, softly fading toward the center of the face.
For cream blush, dot product just above the cheekbone and pat upward with fingers to keep the look soft and lifted.
Check the result straight-on in natural light. If blush sits too central, the face can look wider instead of lifted.
Blush Placement for an Oval Face
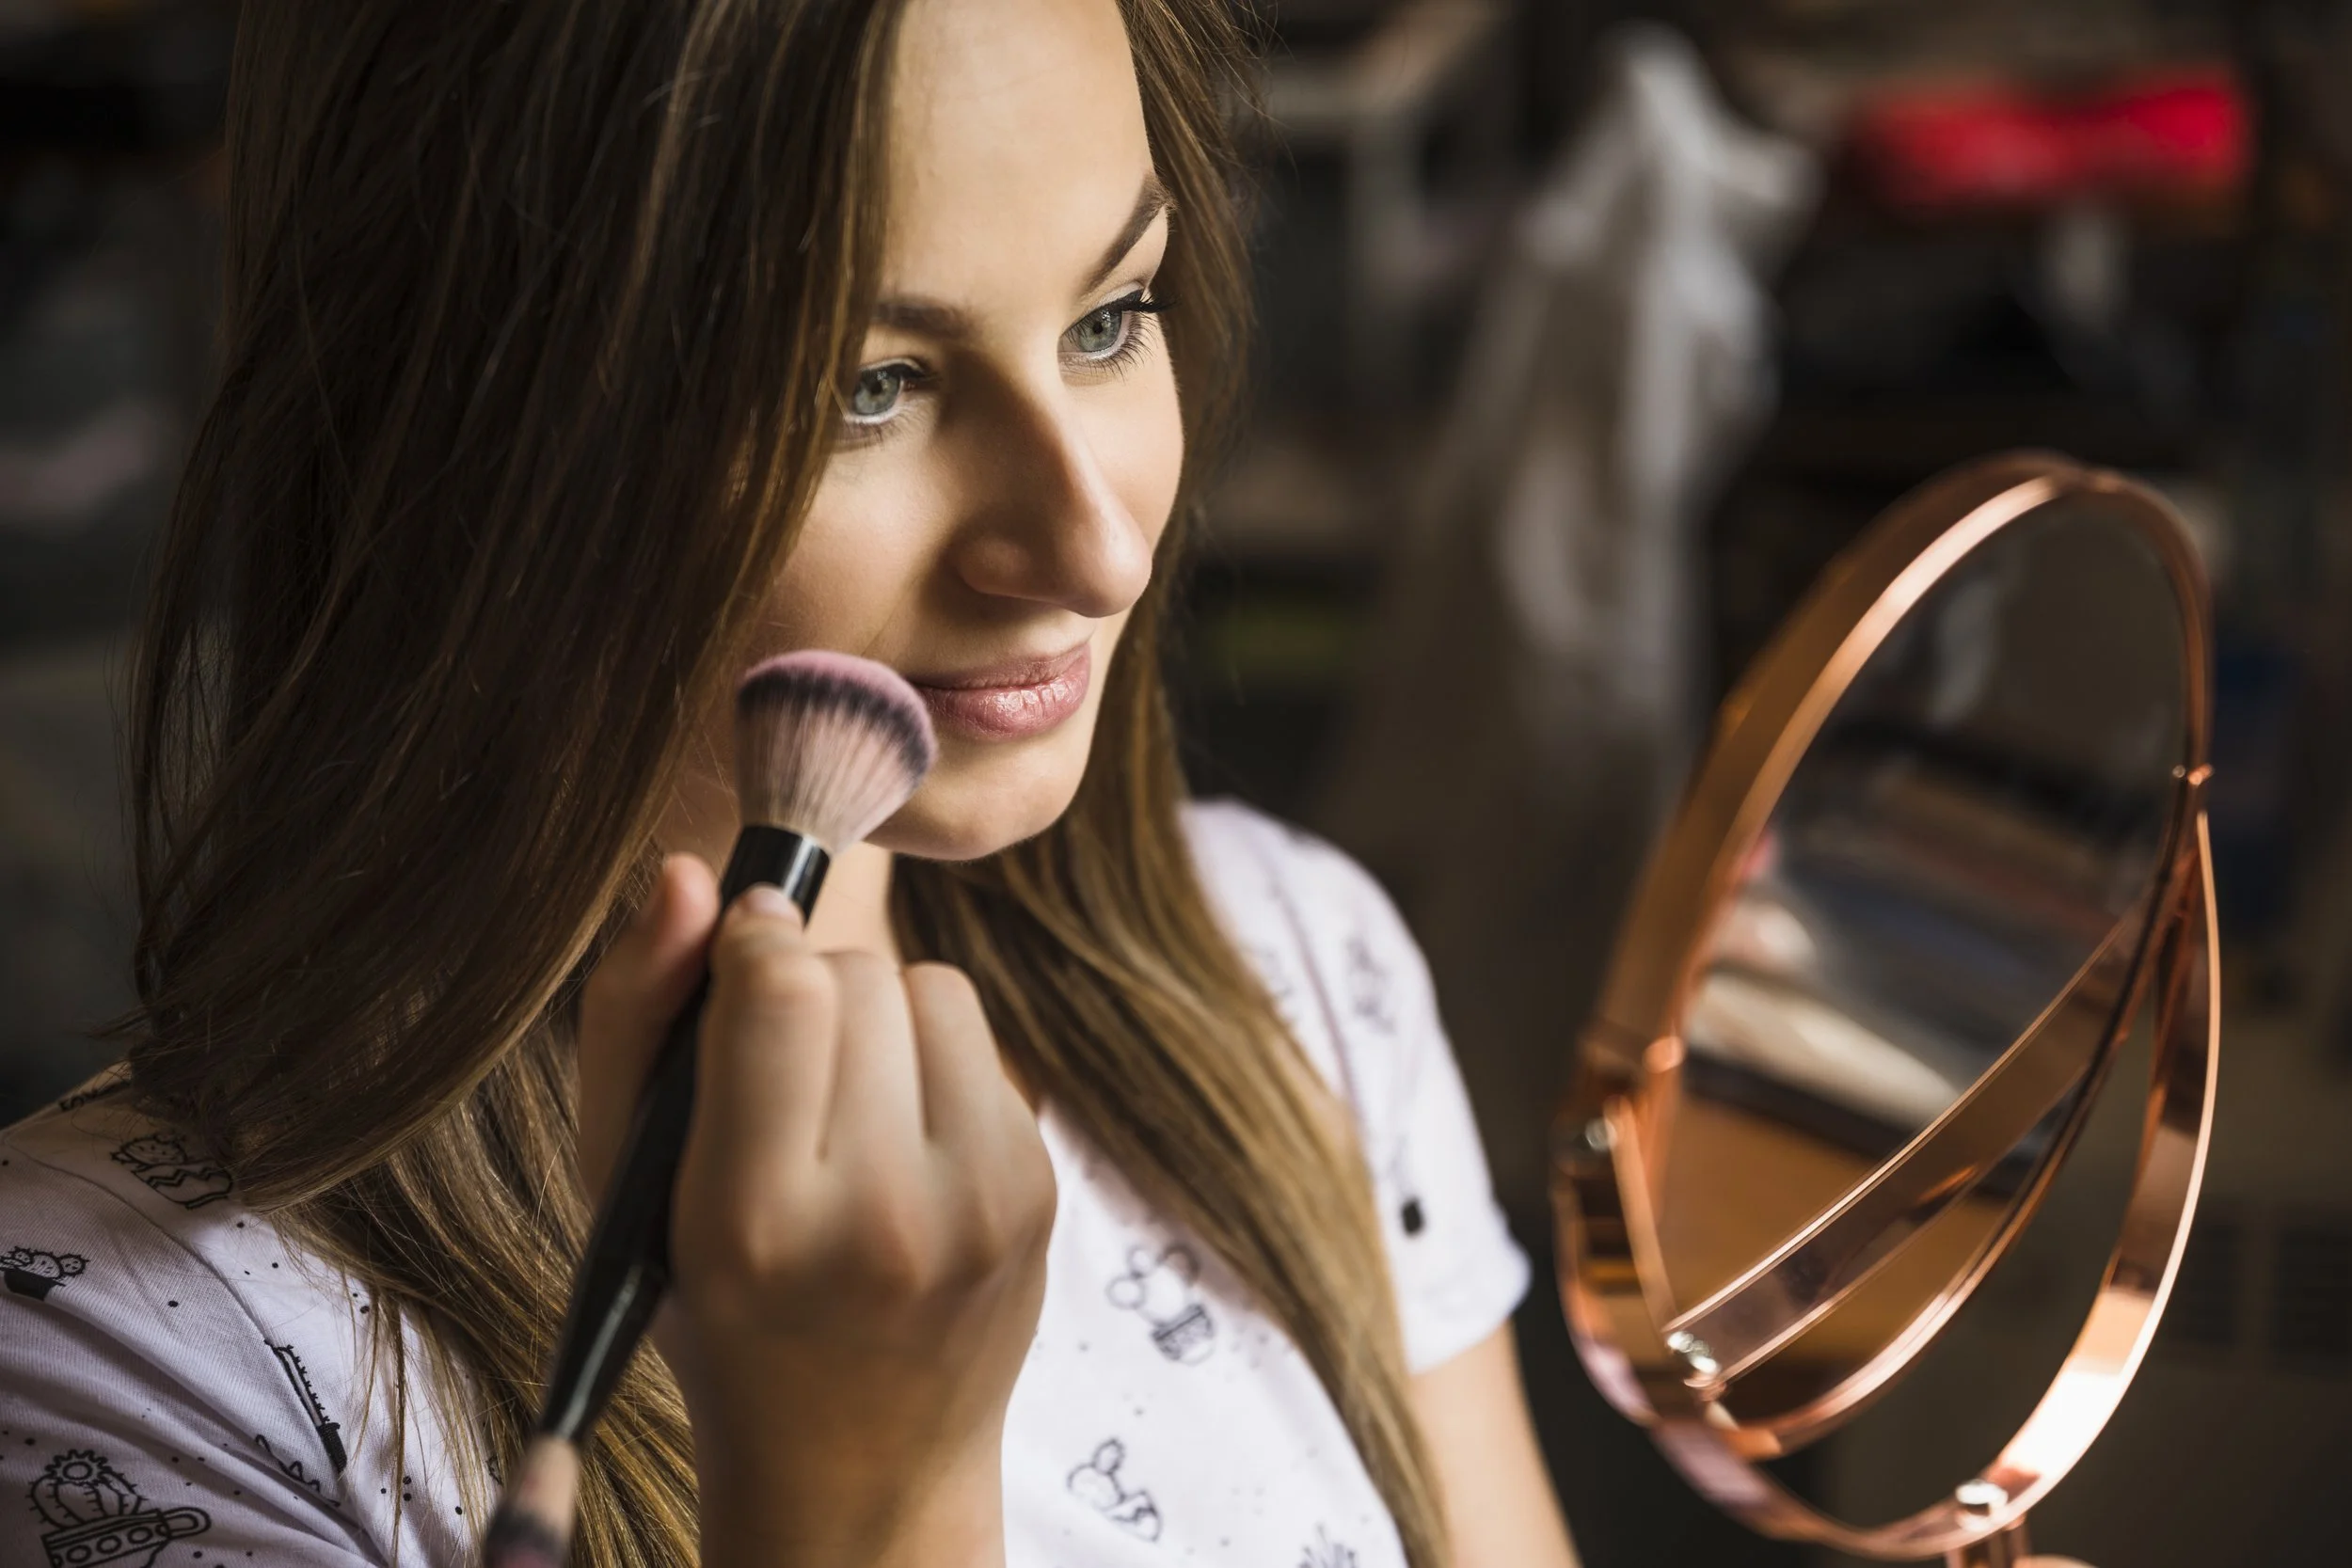
Blush for an oval face shape focuses on enhancing the face's naturally balanced proportions rather than reshaping anything. Oval faces look best with blush on the highest point of the cheekbones, blended gently down toward the apples.
Both rounded and softly lifted placement work here, but most color should stay in the mid-cheek area-not too high, not too low. A soft powder or cream blush in a light wash of color keeps things pretty and natural looking without over-sculpting.
Avoid very low placement or strong stripes that run too far toward the ears-these can drag an oval face down or look harsh against its naturally balanced shape.
Step-by-Step: How to Apply Blush on an Oval Face
Smile slightly, locate the apples of the cheeks, and place blush there.
Blend toward the temples in short, feathery motions, keeping the sweep gentle.
Start with a sheer wash of color first, then add a touch more only where the cheek naturally catches light.
Keep the inner edge of blush at least two fingers away from the nose for a polished, natural look.
A touch of cream blush high on the cheekbone layered under powder blush creates a long-lasting yet soft finish.
Blush Placement for a Square Face
Blush for a square face is wonderful for softening a stronger jawline and sharp angles. The aim is to add curves and softness that contrast the angular structure.
Square faces should apply blush just above the cheekbone, then blend in gentle circular motions slightly toward the temples. Rounded, diffused placement works best because it introduces curve and movement rather than mirroring the face's straight line edges.
Choose cream blush or satin textures rather than harsh stripes of strong color. Avoiding very sharp angles of blush along the cheekbone keeps the look feminine and soft. Think circles, not slashes.
Step-by-Step: How to Apply Blush on a Square Face
Pick up a small amount of product on a fluffy brush, tap off excess, and place blush on the fullest part of the cheek.
Blend in small circles that move upward and slightly outward, keeping edges diffuse rather than graphic.
Keep the most intense color on the center and upper cheek, fading as it moves toward the jawline.
A hint of warmer blush shade can help soften any overly structured look around the jaw-think warm peach or rosy tones.
Blush Placement for a Heart-Shaped Face
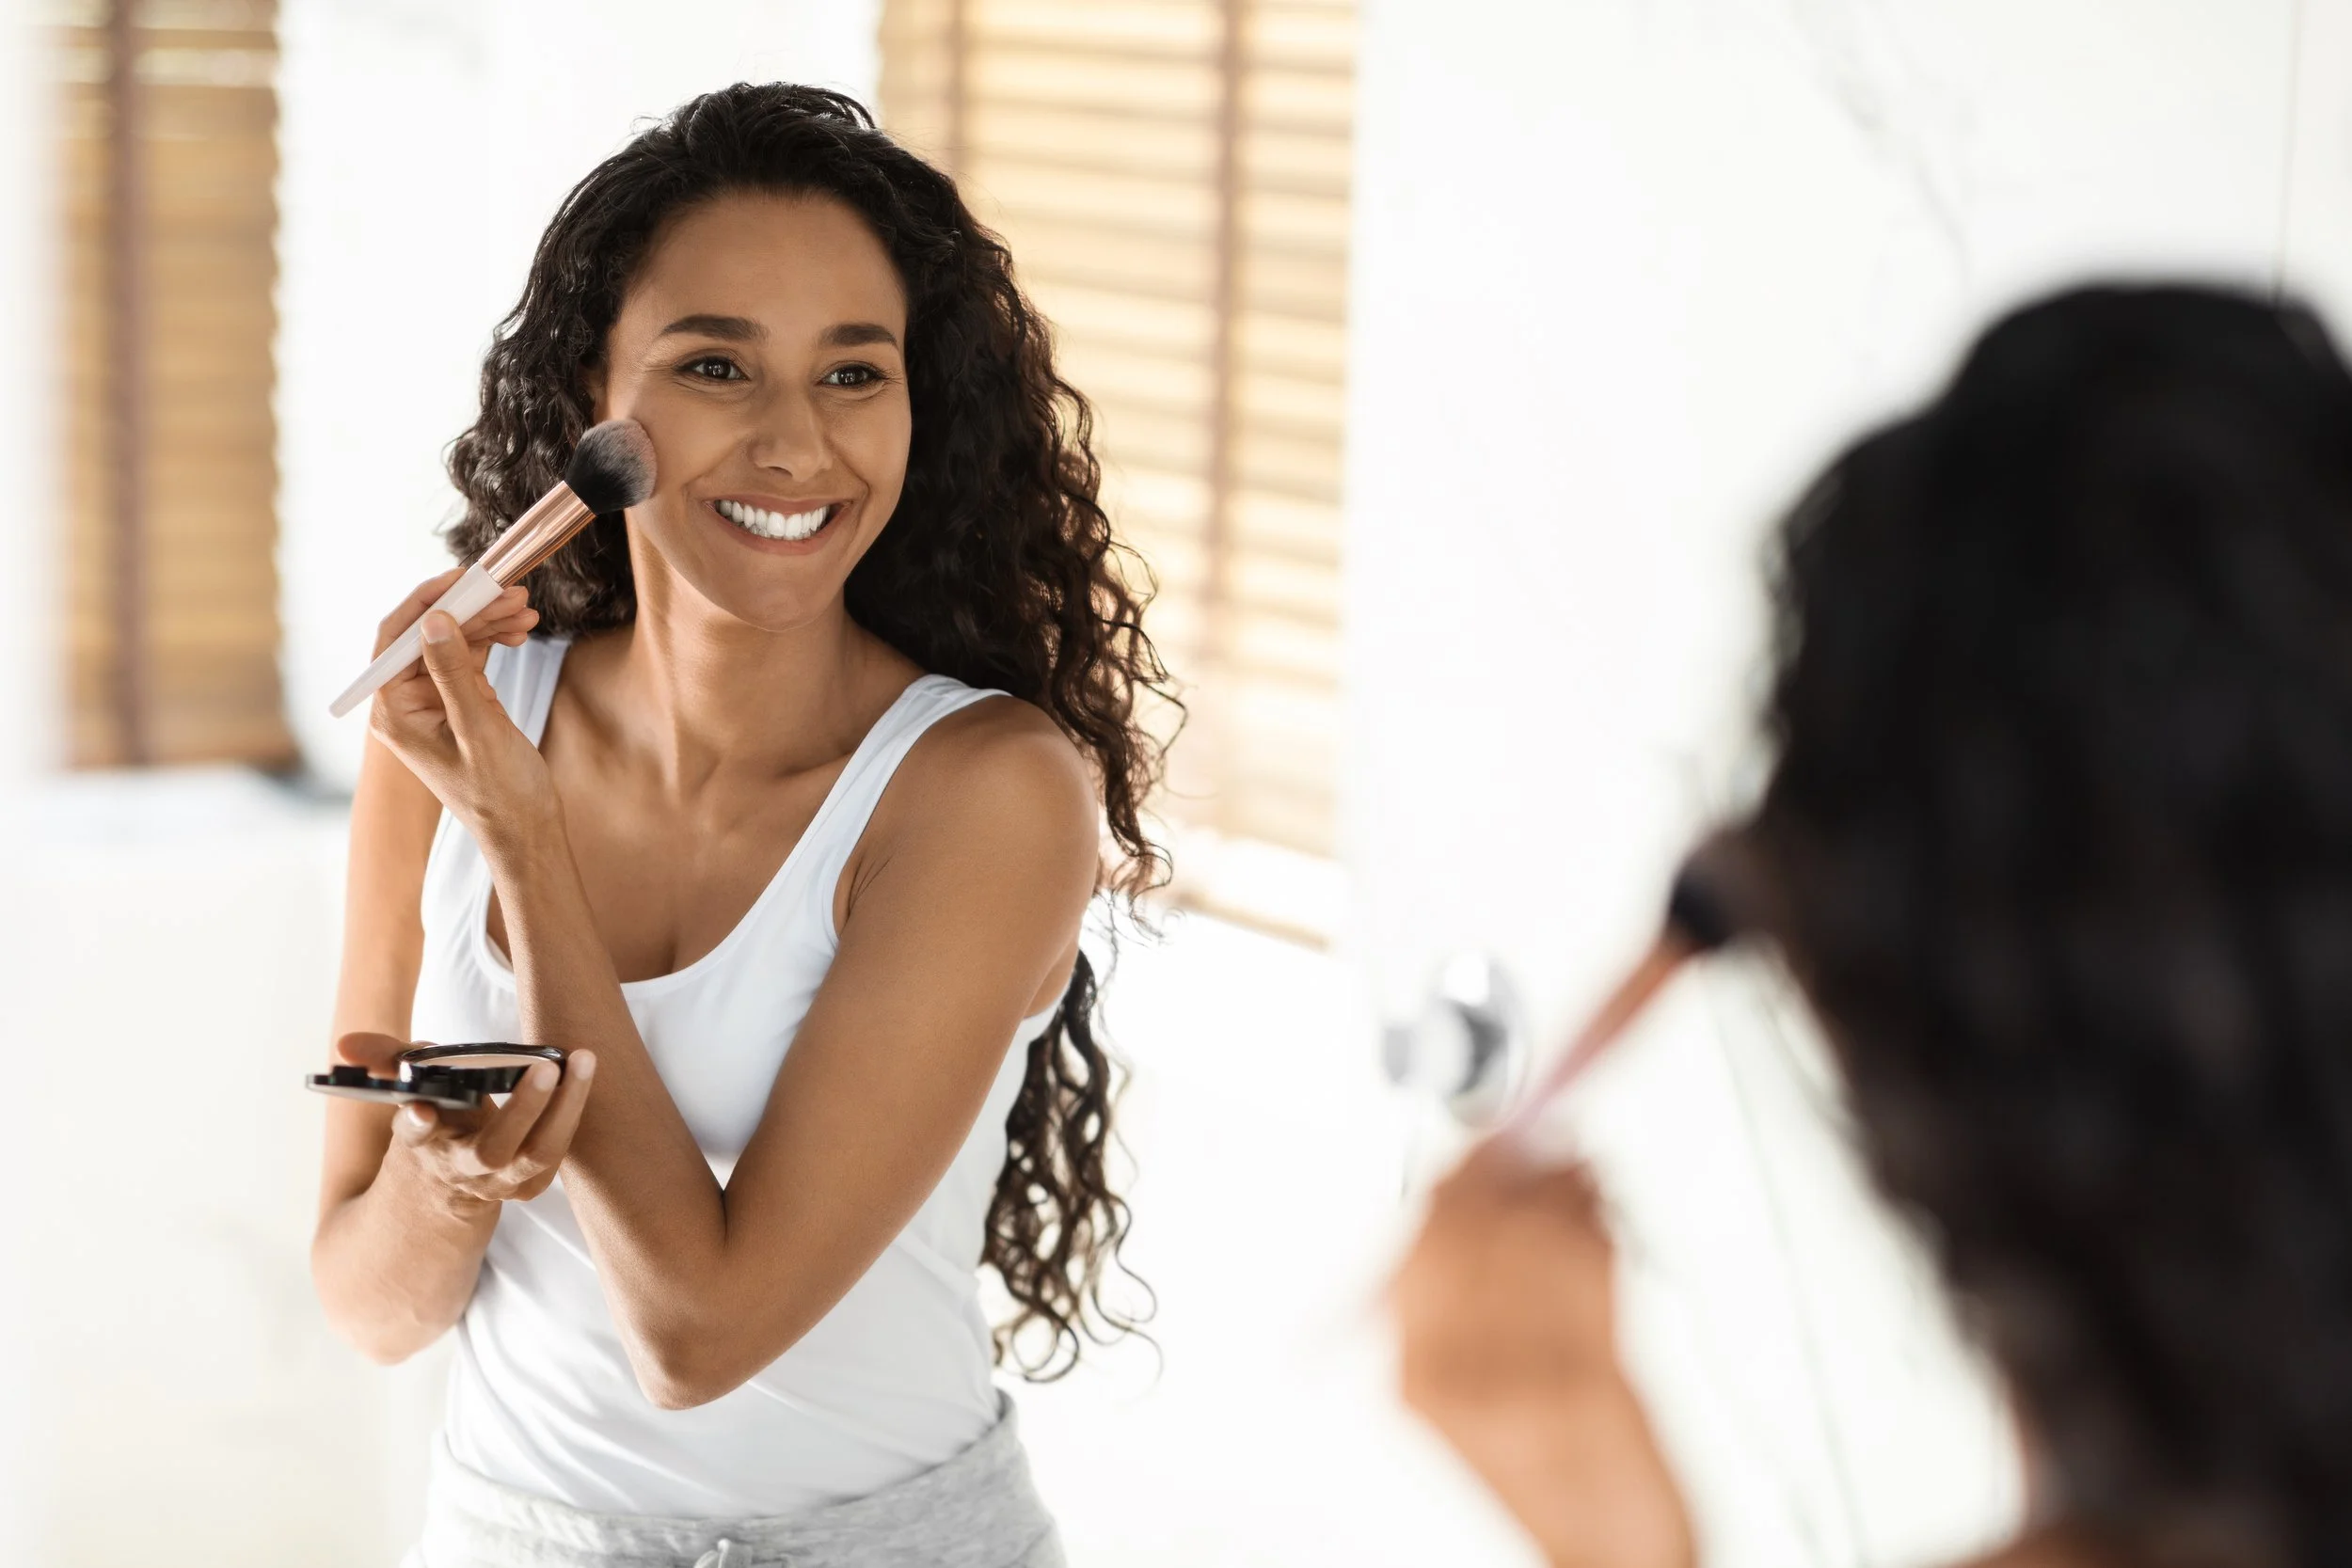
A heart-shaped face often has a wider forehead and a narrower chin, so blush helps draw attention to the middle of the face and bring balance. Heart shaped faces require blush on the apples of the cheeks, placed slightly lower than a typical lifted look.
Start just below the outer part of the apple and sweep outward-not too high toward the temples. For heart-shaped faces, use a C shape technique, curving blush from the apple area gently around toward the ear. This softly fills out the mid-face without making the forehead look wider.
Soft, blendable cream blush or powder blush in romantic tones-roses, peaches-gives a gentle, flattering effect. A tiny touch of color on the center of the chin can sometimes help visually balance the wider top and narrower bottom.
Step-by-Step: How to Apply Blush on a Heart-Shaped Face
Place the brush just below the outer apple of the cheek, then sweep slightly outward and sideways rather than straight up.
Keep most color in the middle third of the face, away from the hairline.
Blend with light, side-to-side motions for a soft horizontal wash instead of a sharp diagonal stripe.
If adding a hint of blush across the bridge of the nose, keep it very soft to avoid pulling focus away from the cheeks.
Blush Placement for a Long or Oblong Face
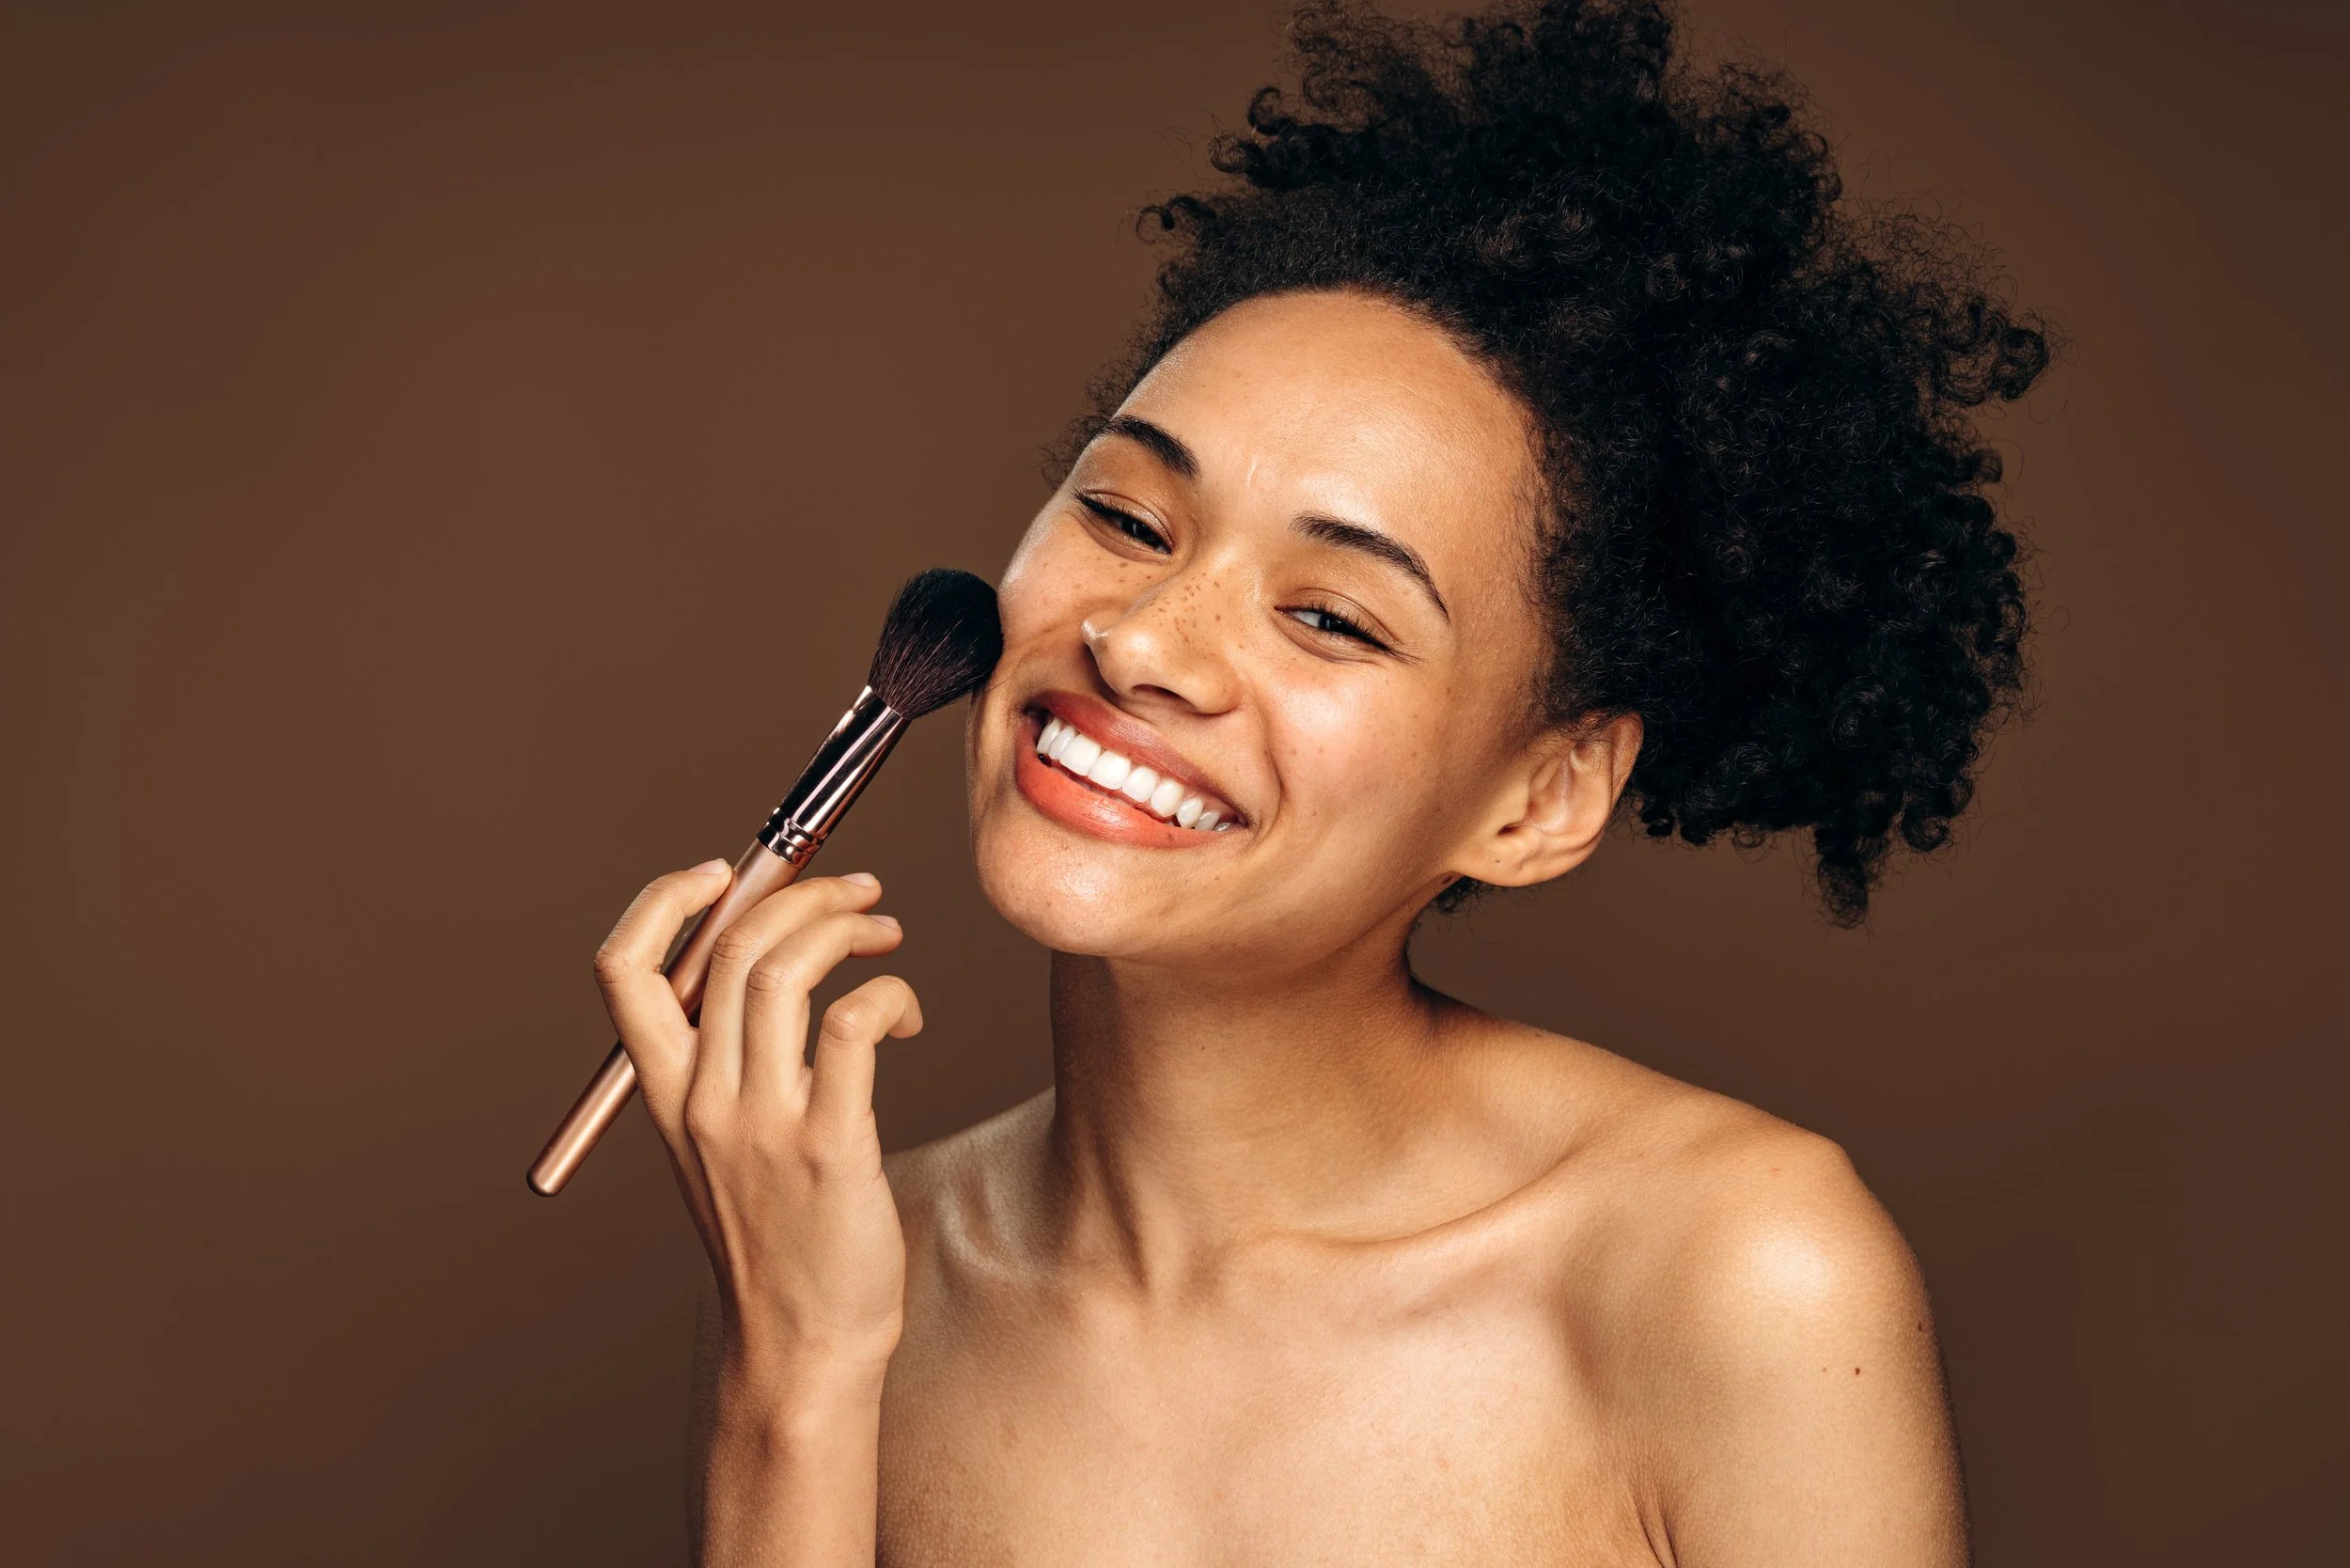
Blush for a long face or rectangular face aims to add width and break up vertical length. The right blush placement here is more horizontal than lifted.
For long or rectangular faces, apply blush horizontally across the apples of the cheeks, extending outward toward the ears while keeping the color band level. Bring blush a bit closer to the center of the face (still not hugging the nose) for a soft, band-like effect. A diffused sweep across cheeks plus a light touch over the bridge of the nose can create a sun-flushed, naturally shortened look.
Avoid very high, sharply lifted placement-it only makes the face appear even longer. Keep things level and soft.
Step-by-Step: How to Apply Blush on a Long/Oblong Face
Place blush on the apples, then blend mostly outward in a horizontal motion, keeping the color band at mid-height.
Add a tiny touch to the tip or bridge of the nose for a cohesive, sun-kissed effect.
Use buildable powder blush or a cream blush that can be sheered out so the horizontal wash looks soft, not stripey.
Keep most color away from the temples and avoid extending blush too far upward near the outer eye area.
Blush Placement for a Diamond Shaped Face
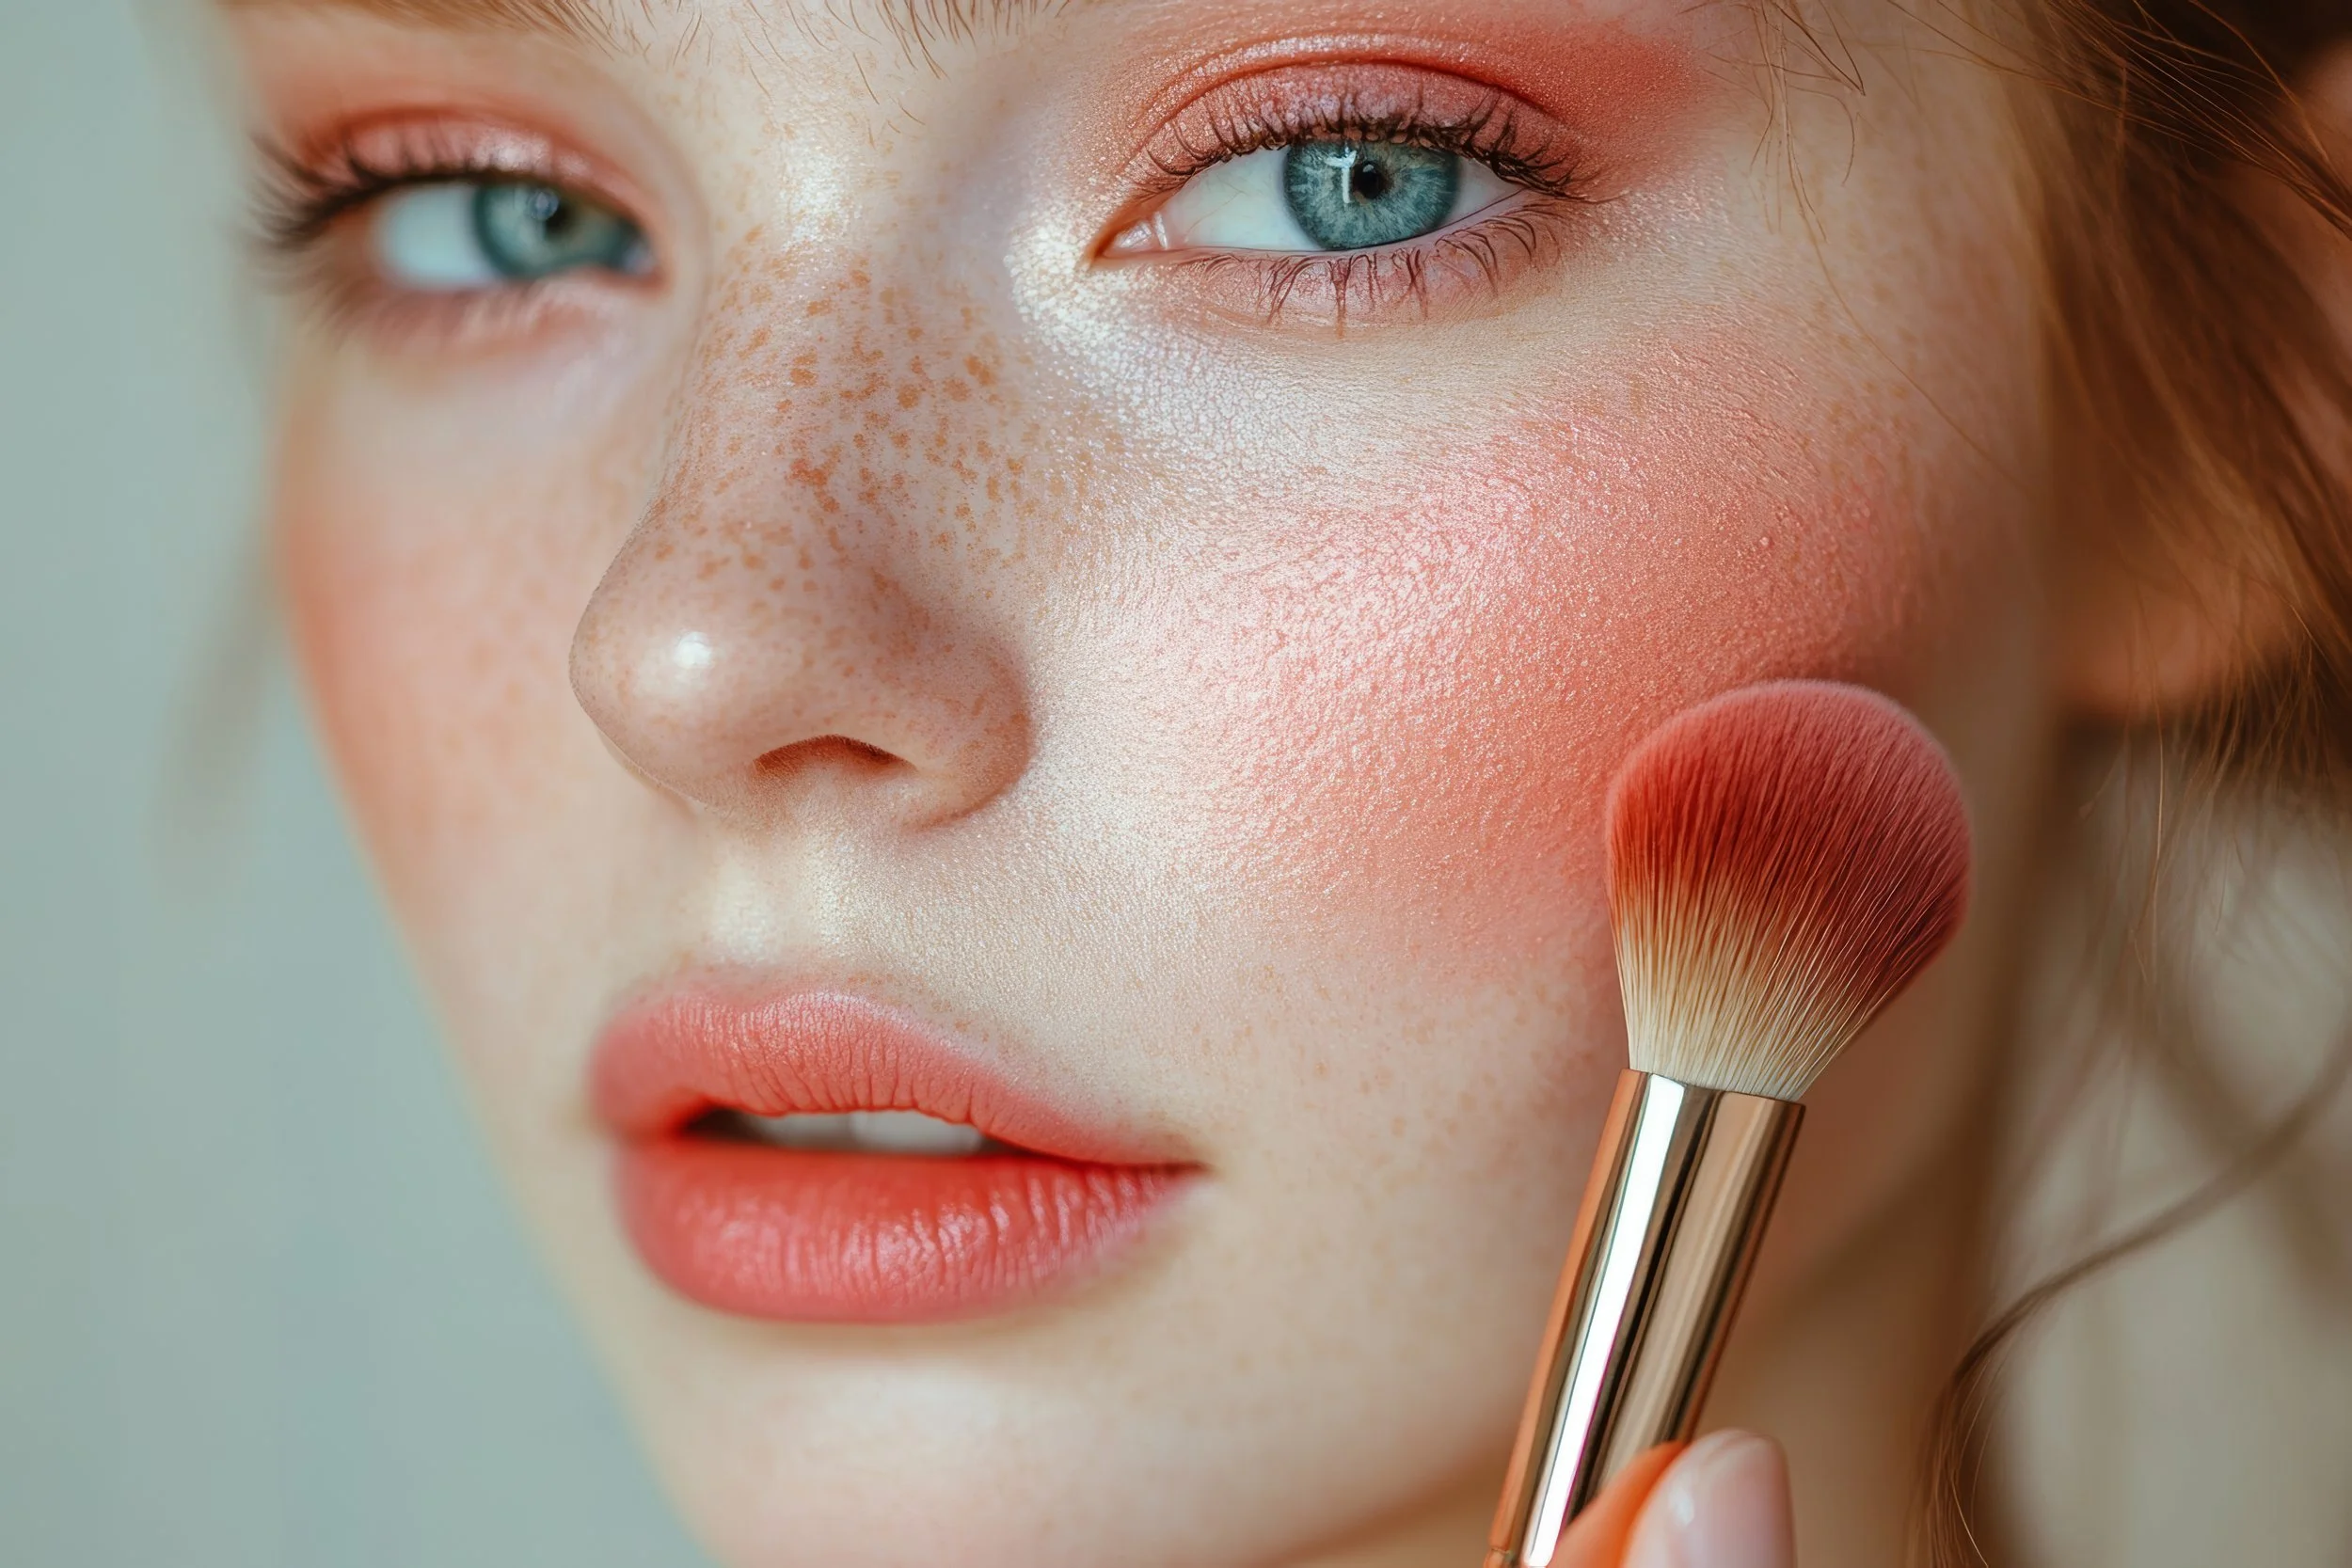
A diamond shaped face usually features prominent cheekbones with a narrower forehead and chin, so blush should soften and balance rather than amplify bone structure. Diamond faces should apply blush on the tops of the cheeks or slightly below the highest point of the cheekbone, then blend outward softly.
Rounded, gently diffused placement softens sharp cheekbones, and a bit of color near the center of the face adds harmony. A mix of liquid or cream blush topped with a light layer of matte blush works well if extra staying power is needed-just keep everything well blended.
Avoid taking most of the blush far out toward the temples, which can make already prominent cheekbones look even sharper rather than softer.
Step-by-Step: How to Apply Blush on a Diamond Face
Place a soft dot of blush on the mid-cheek (not at the highest bony ridge), then blend in small circles inward and outward for a gentle haze of color.
Keep the most concentrated color over the fullest, flattest part of the cheek rather than the upper cheek bone itself.
Pat cream blush in with fingertips to melt it into the skin, then dust a tiny bit of powder blush on top only where needed.
Check from the side to make sure cheekbones look softly rounded instead of overly sculpted.
Cream Blush vs Powder Blush vs Liquid: What to Use and When
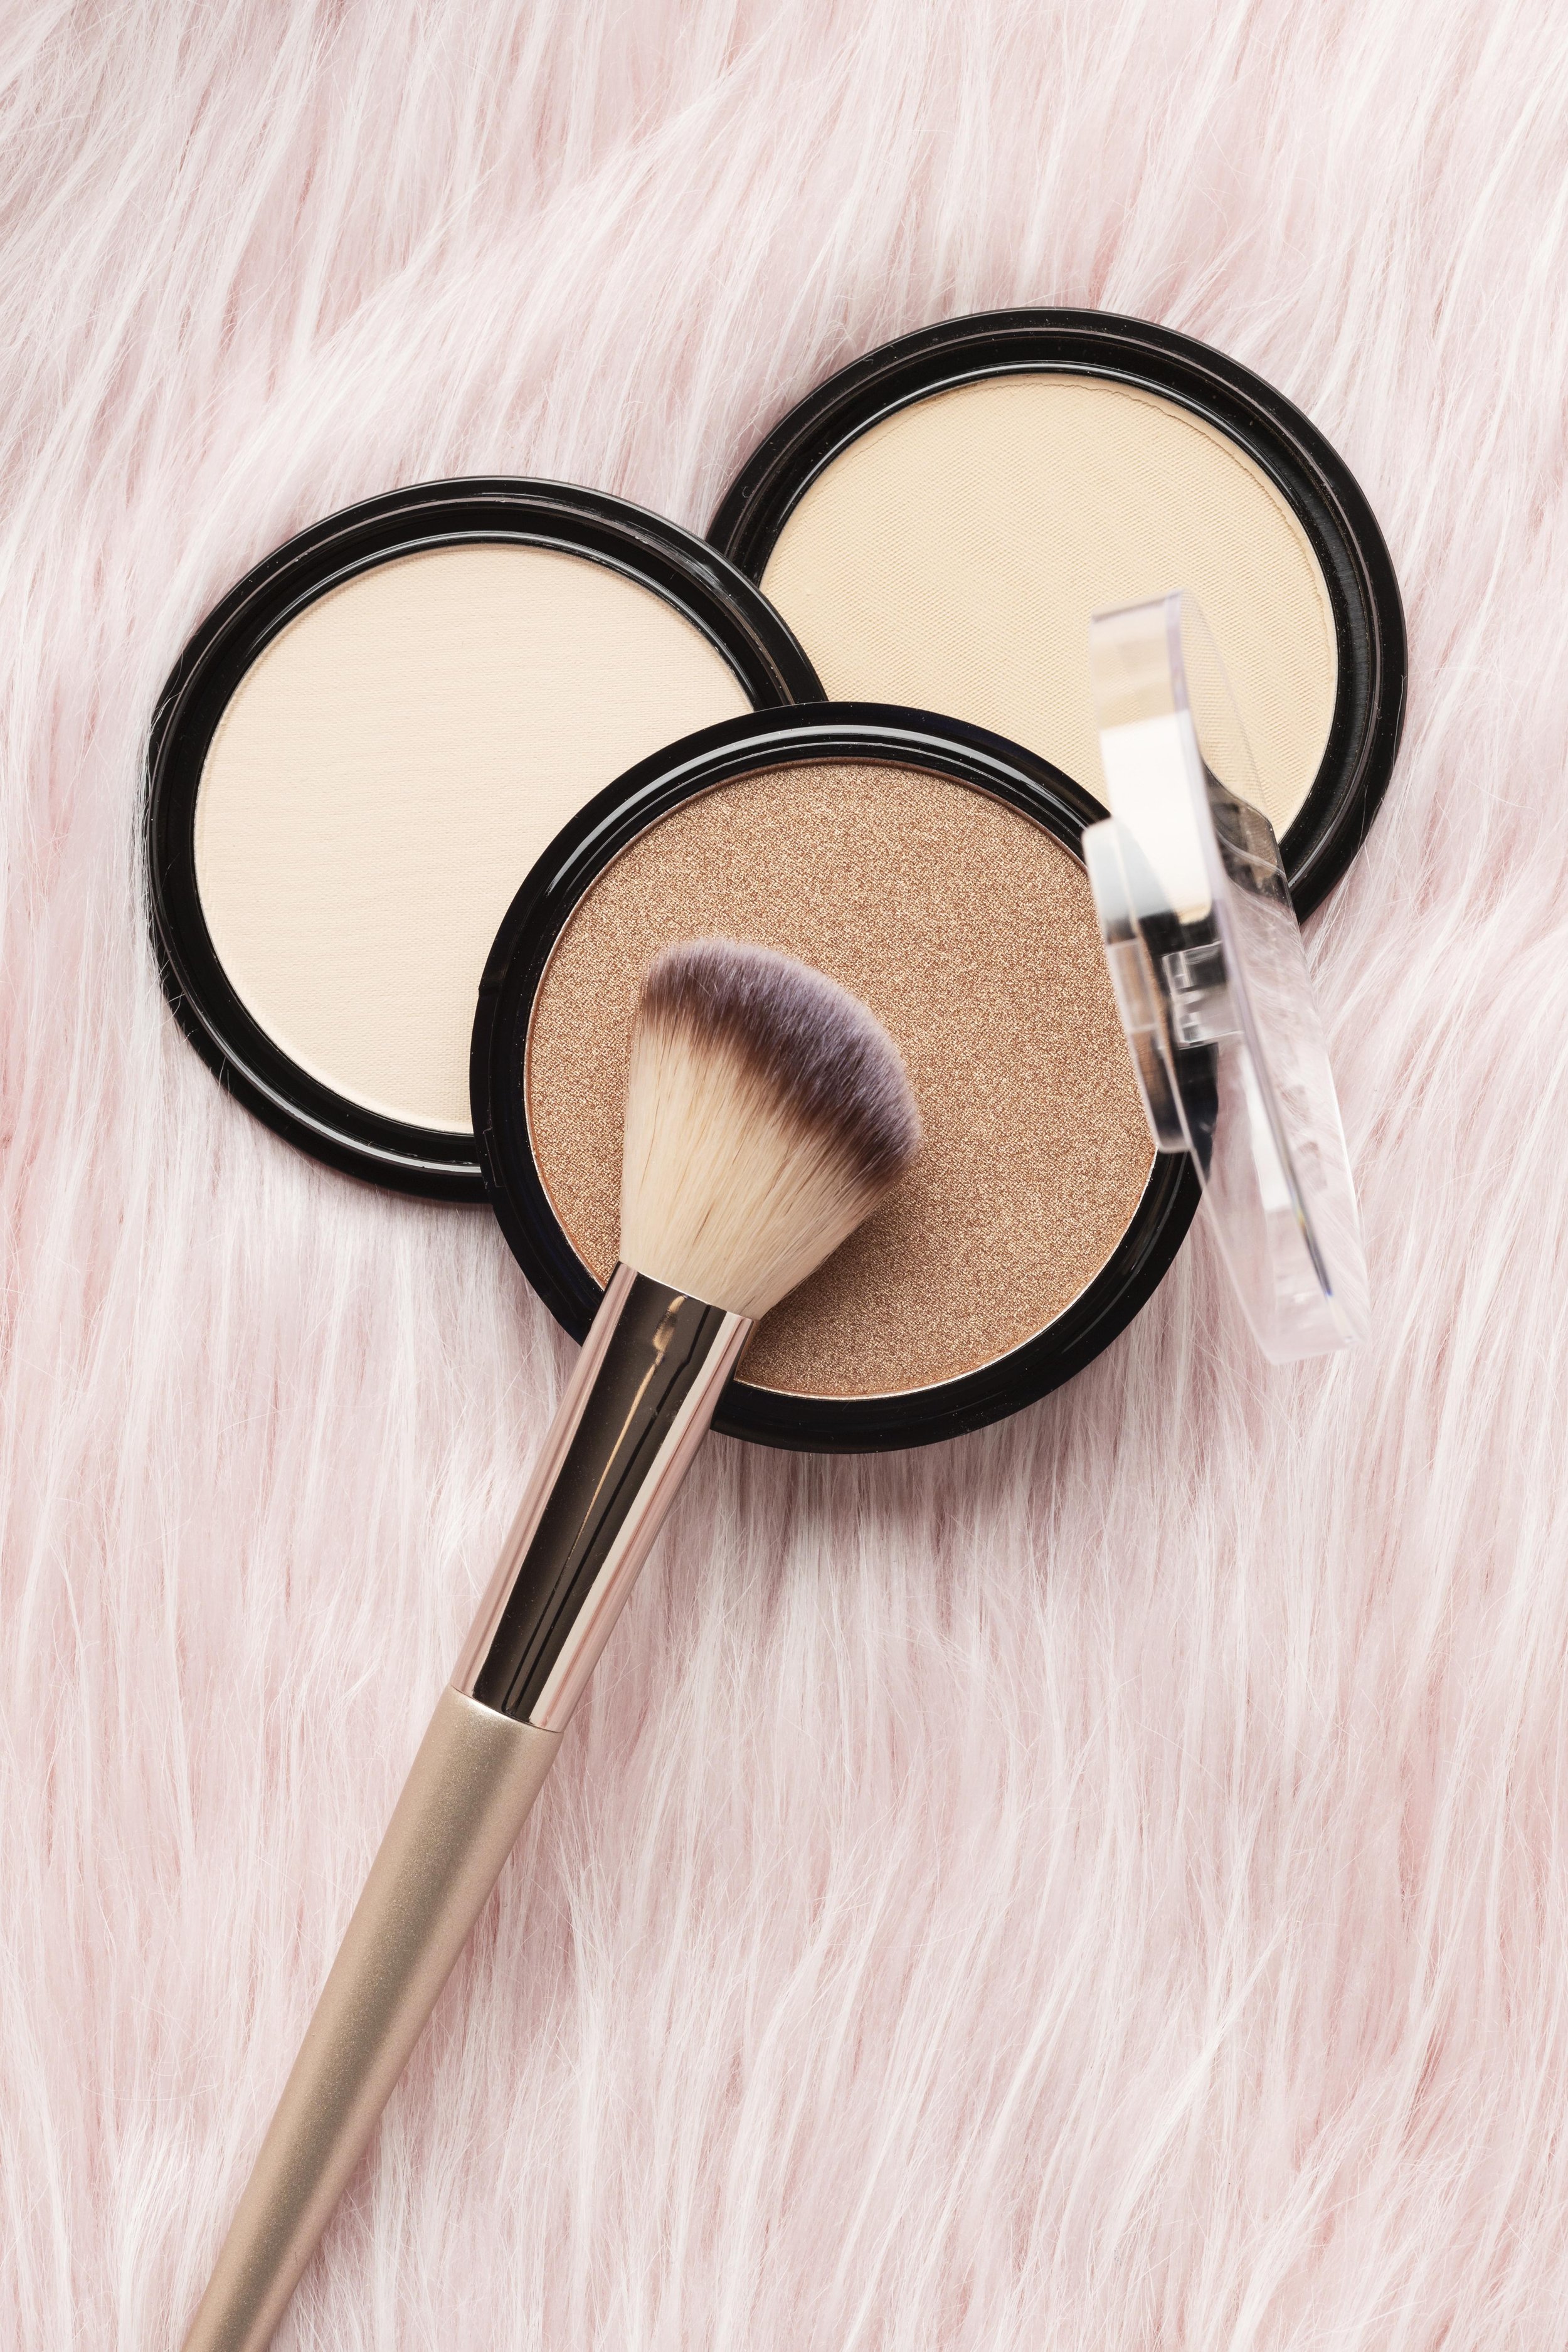
Formula choice influences finish-dewy, matte, or satin-but does not change the basic blush placement rules for any face shape. Blush comes in three main types: powder, cream, and liquid.
Cream blush: Provides a dewy finish and suits dry skin types. A cream formula creates a skin like finish and blends beautifully with fingers or a sponge over liquid base. Cream-to-powder blushes combine creamy application with a powder finish, offering the best of both worlds.
Powder blush: Ideal for oily or combination skin types. Apply with a fluffy brush over set makeup for a soft-focus, natural flush. A powder blush duo (pairing a matte and a shimmer shade) can add subtle depth. Any makeup artist will confirm that powder tends to outlast cream by several hours, especially in humidity.
Liquid blush: Offers buildable color and a long-lasting stain. Apply in tiny amounts and blend quickly with fingers or a damp sponge.
Layering tip: Apply cream or liquid blush first for freshness, then lightly set with a matching powder blush for longer wear without looking heavy.
Common Blush Mistakes and How to Fix Them
Everyone has placed blush wrong at some point-it is one of the easiest blush mistake categories to fix.
Applying blush too low: This drags features downward. Keep color at or above the apple line.
Too close to the nose: Brings focus inward and can make the face look flat.
Not blending edges: Harsh lines scream "obvious makeup." Always soften the outer edges.
Too much product at once: Especially with vivid shades, heavy pigment is hard to subtract. Build in light layers instead.
Wrong formula for skin type: A very dry matte blush on dry skin emphasizes texture. Choose the right blush formula for skin type.
Picking the wrong shade: Colors that are too gray or neon against the skin tone look flat or unnatural. Those with light skin may prefer softer pinks, while deeper skin tones can carry berry and plum beautifully.
Quick fixes: Soften heavy blush with a clean sponge, blend harsh edges with translucent powder, or cushion intense color with a bit of setting powder pressed over the top.
Beginner Blush Tips for a Soft, Natural Look
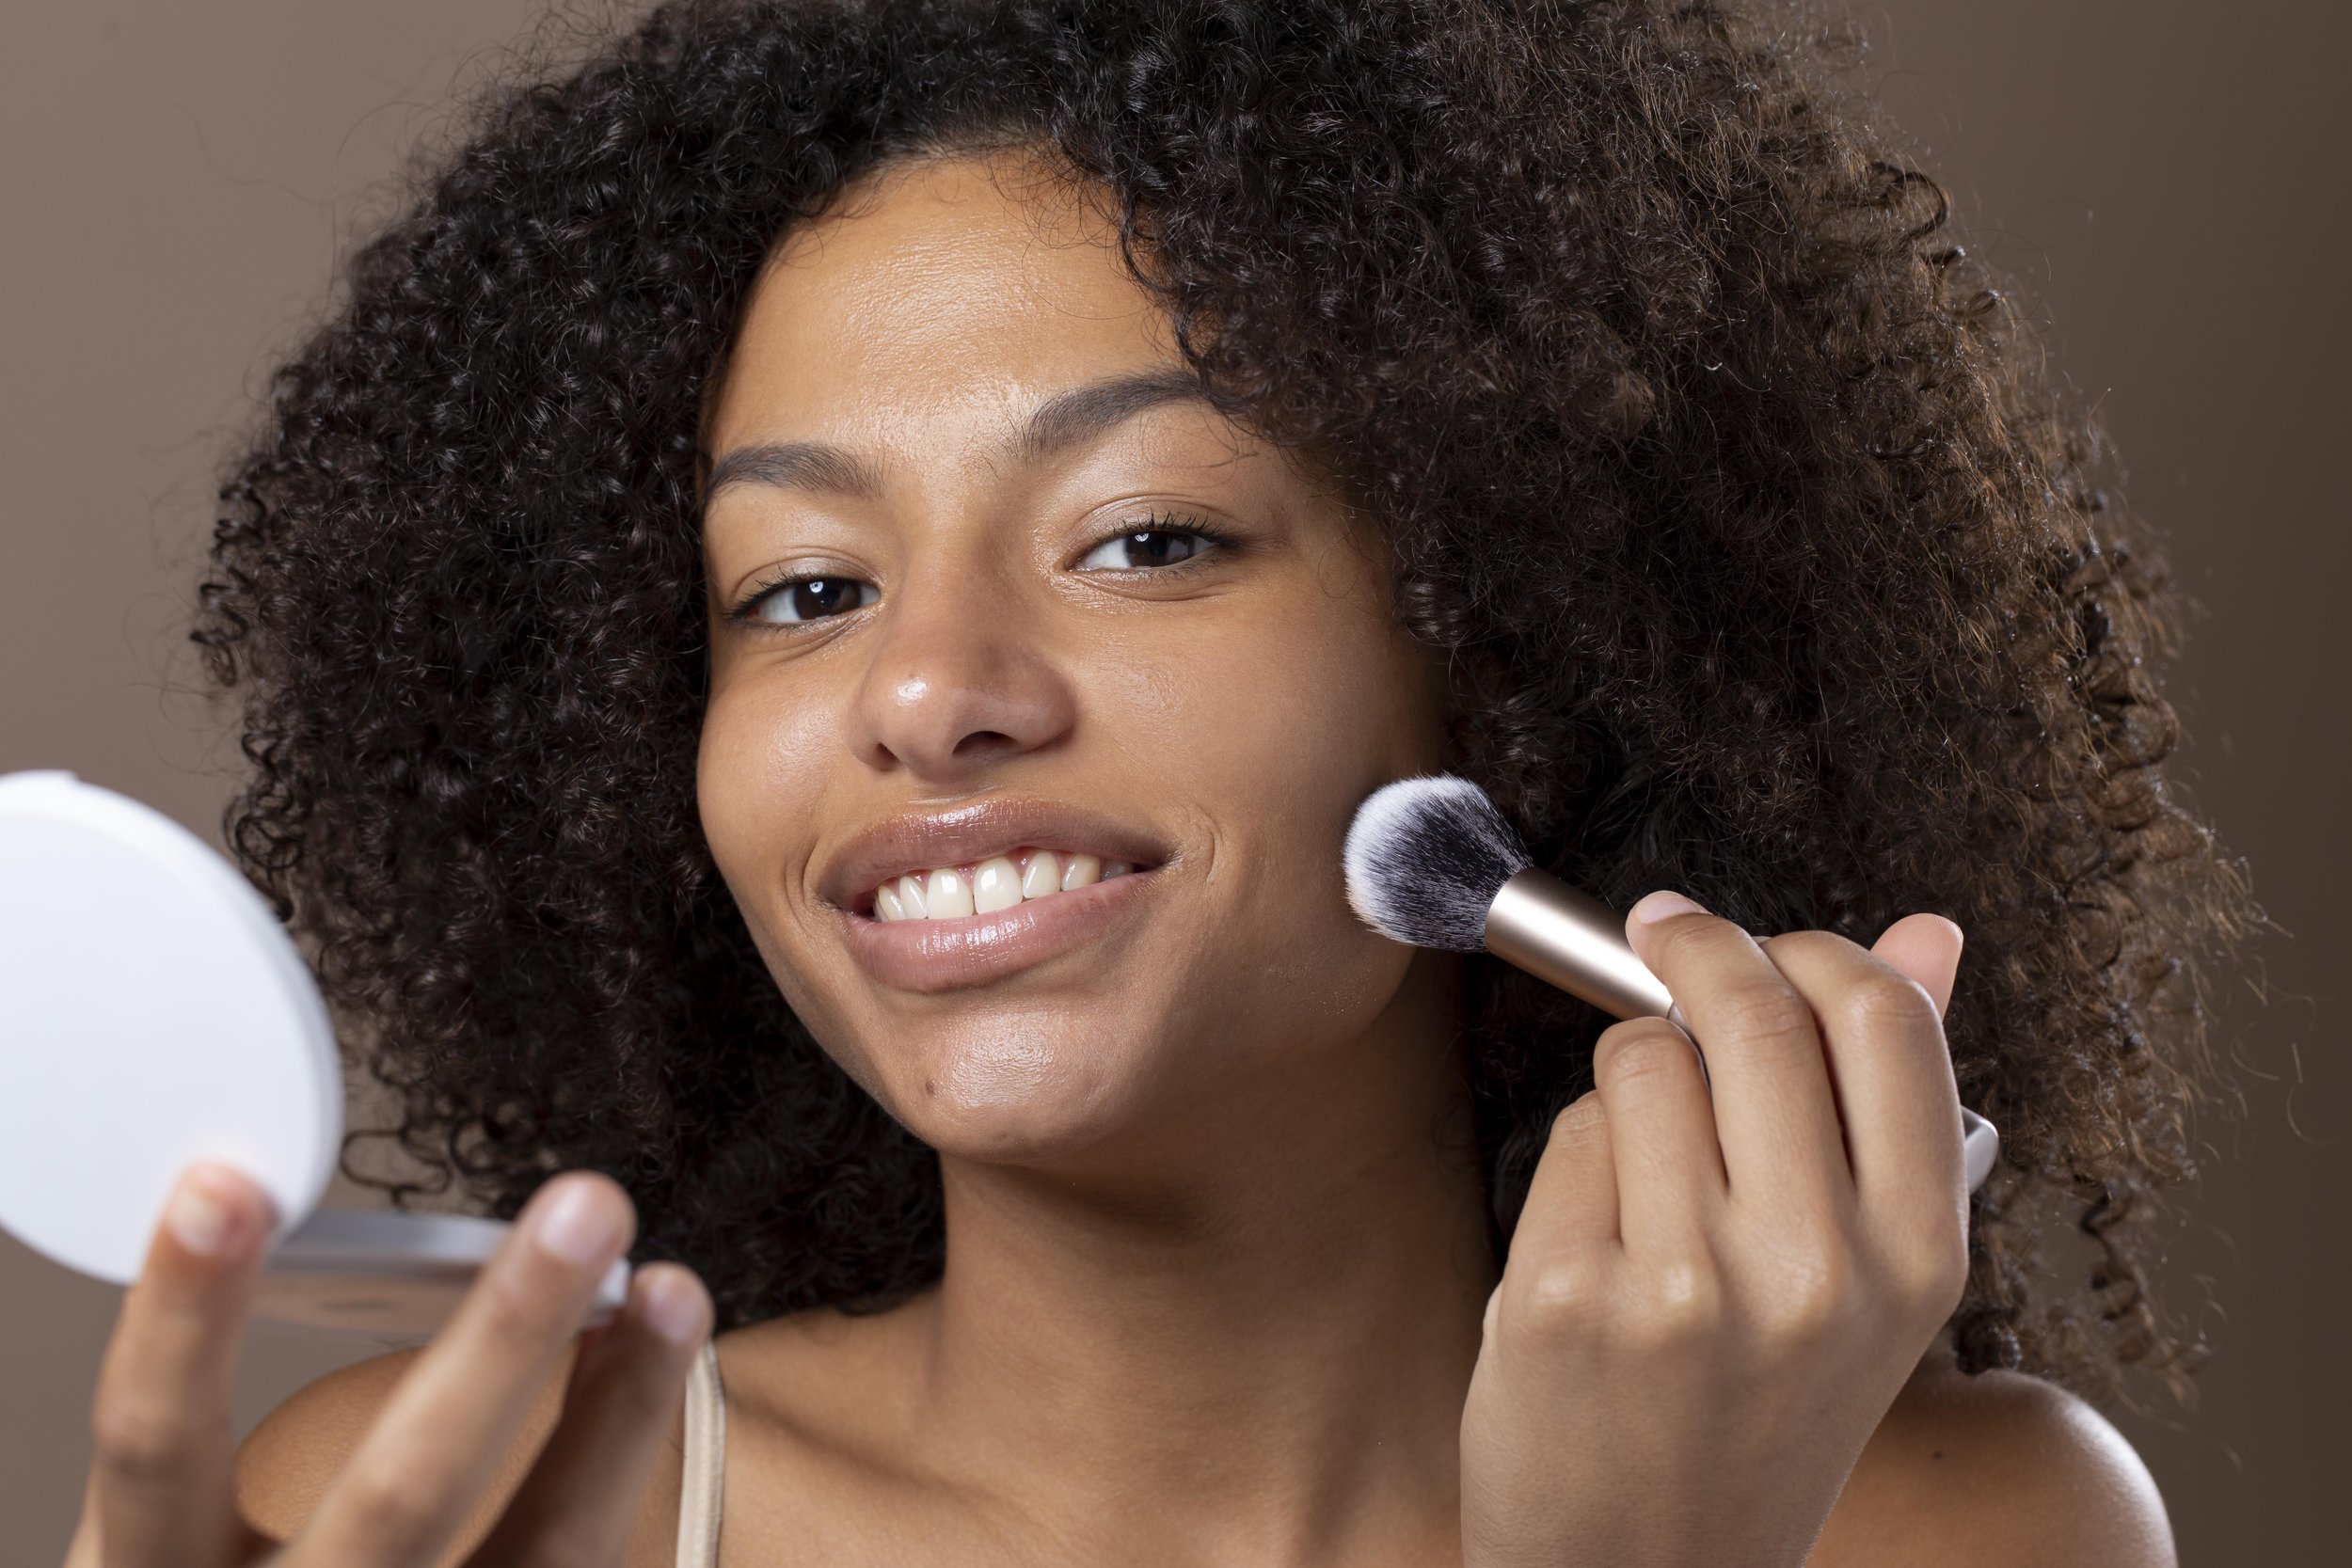
This section is a simple blush placement guide for anyone who wants a natural looking flush that works with any face shape.
Start with a sheer, buildable formula and pick a blush shade that mimics the color where the face naturally flushes after a brisk walk-that is usually the most flattering match.
Place blush where you want the most color first, then blend outward to prevent blotches. Blending upward always helps create lift.
Use light pressure. Holding a blush brush slightly farther back on the handle prevents harsh, dense patches. A denser brush picks up more pigment, so switch to a lighter, fluffier one for everyday natural blush looks.
A shimmery blush can be gorgeous for evening, but a natural flush during the day usually comes from satin or soft matte finishes.
Check blush in natural light or near a window. What looks perfect under bathroom lighting can read completely different in daylight.
Those who love blush know that the right blush in the right spot instantly brightens the whole face and gives skin that rosy glow everyone notices.
Quick Blush Placement Checklist
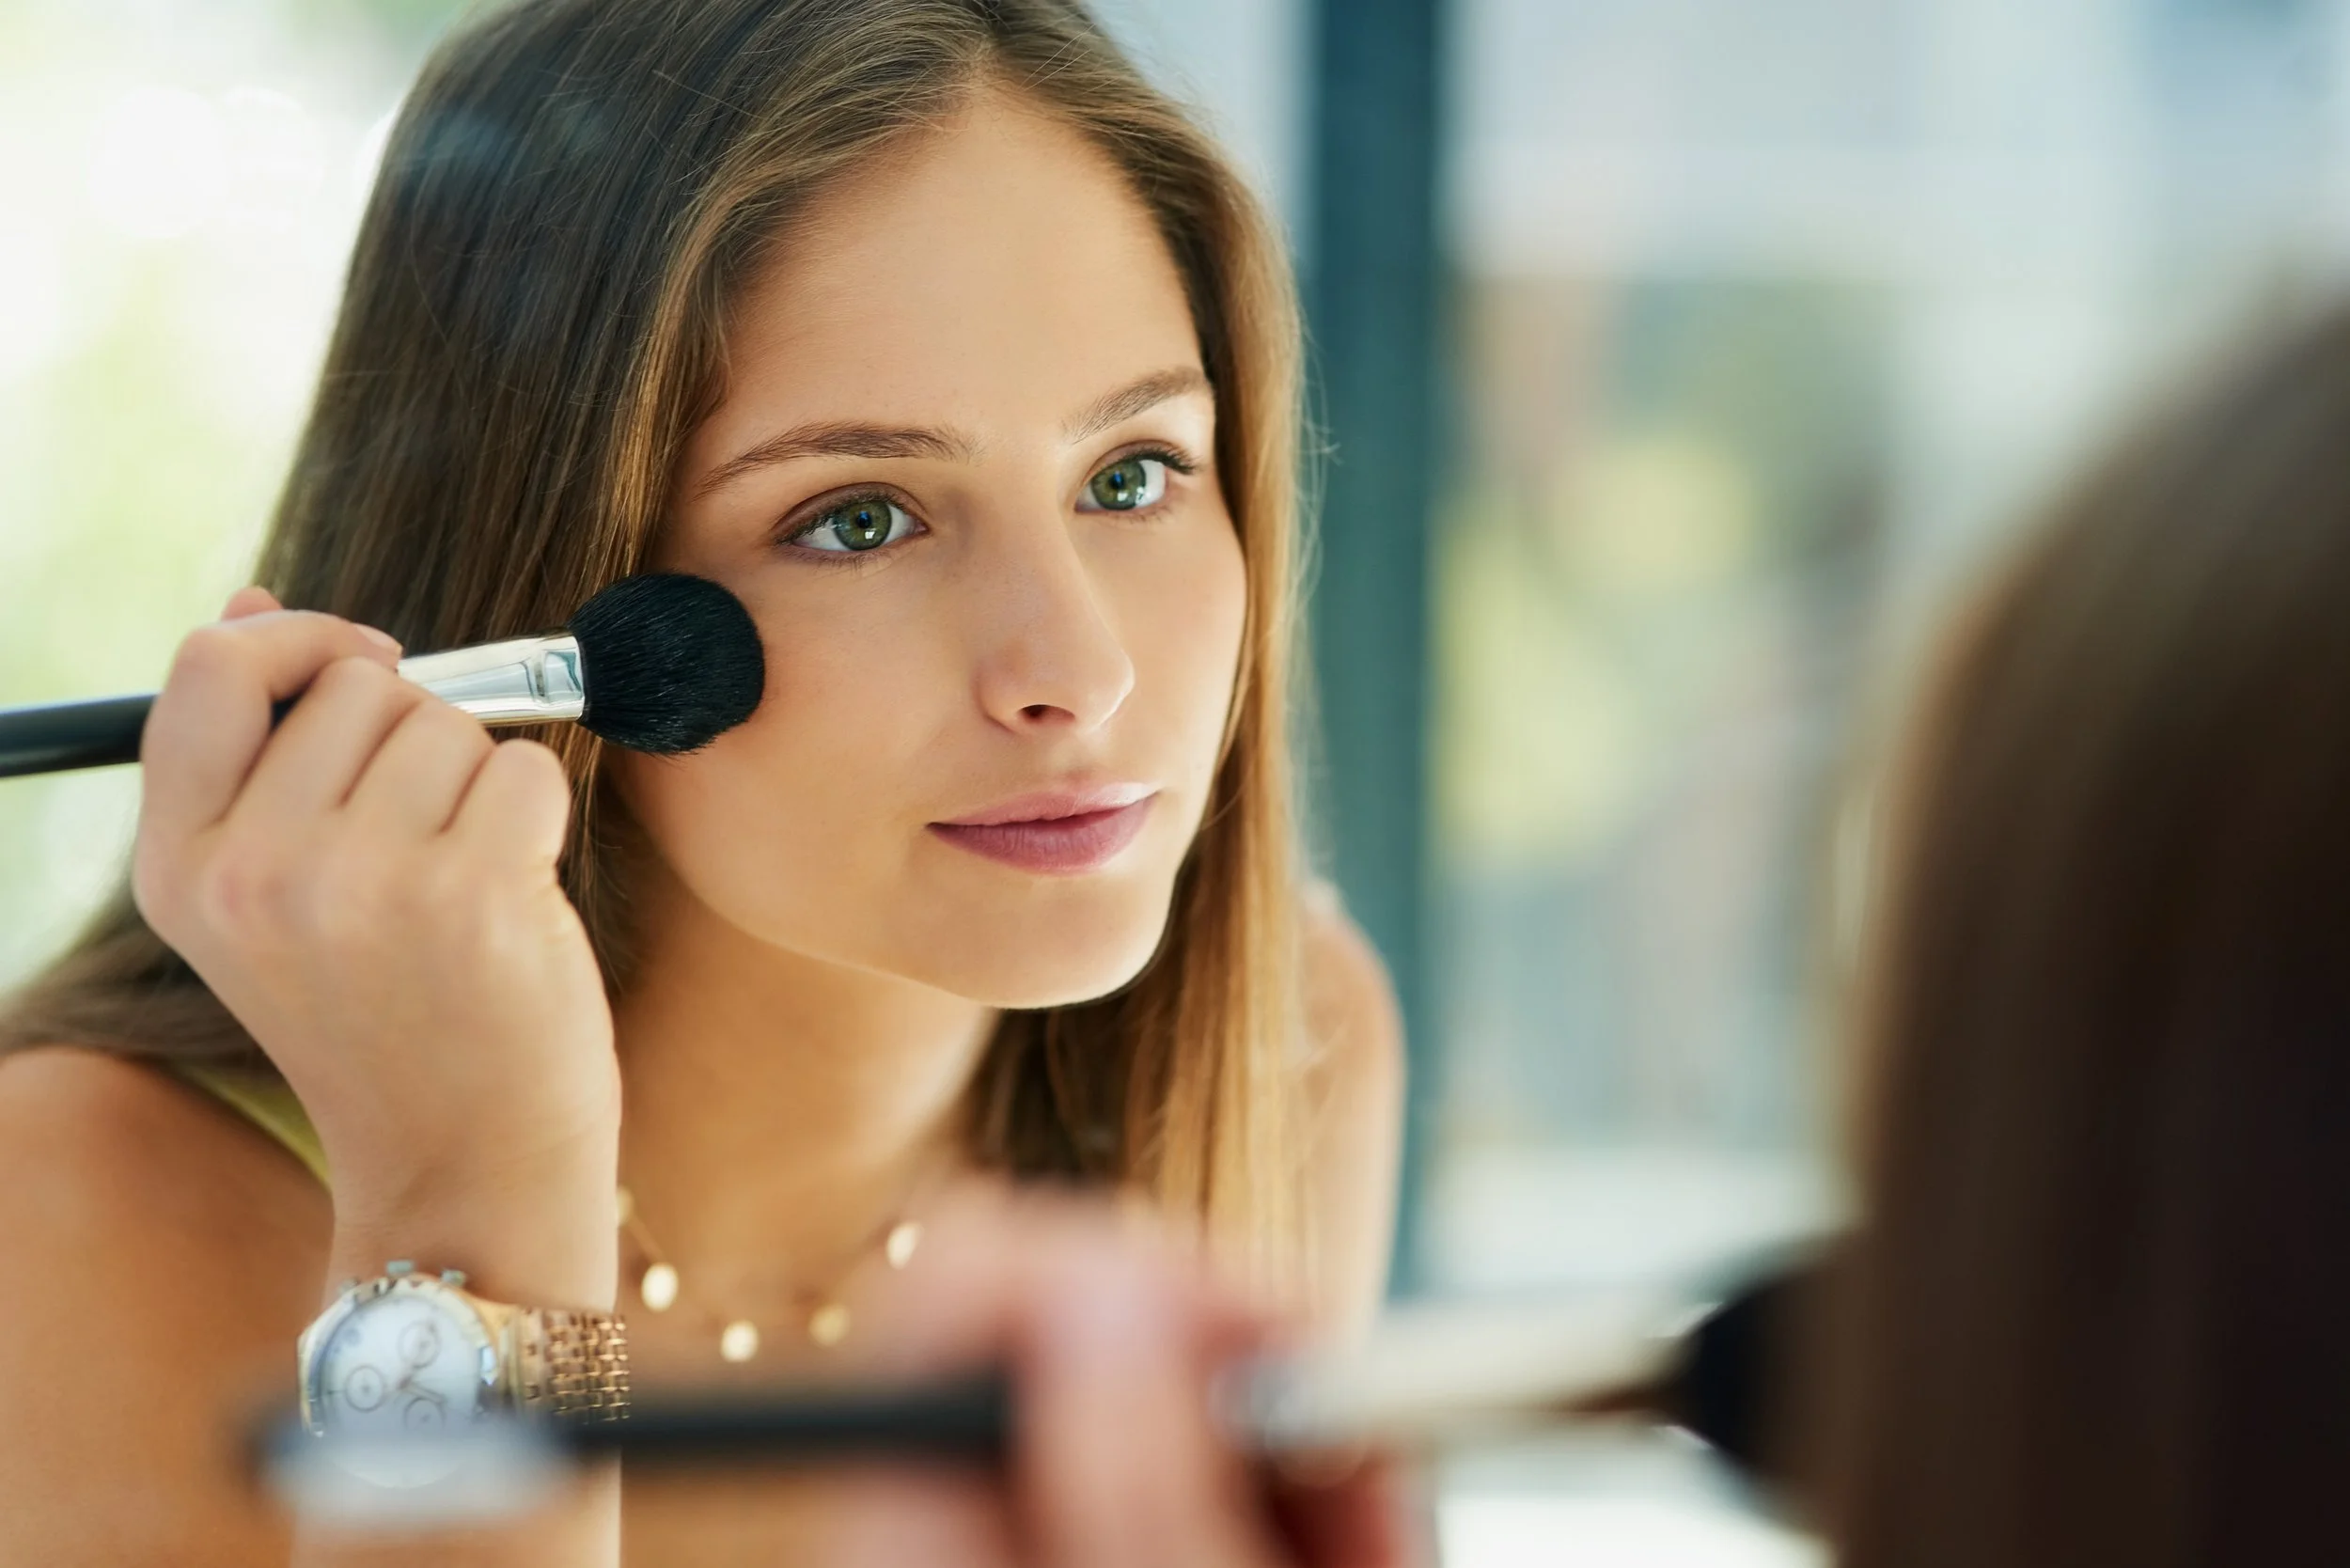
Identify your face shape (or closest match).
Choose cream, liquid, or powder based on skin type and finish preference.
Start with a small amount of product-less is always easier to build on.
Place blush in the most flattering area for your face shape using the tips above.
Blend softly with no harsh lines or unblended outer edges.
Check placement in natural light to make sure color looks seamless.
Add more only if needed, a little at a time, for a fresh and balanced flattering flush.
Conclusion: Make Blush Your Most Fun Step
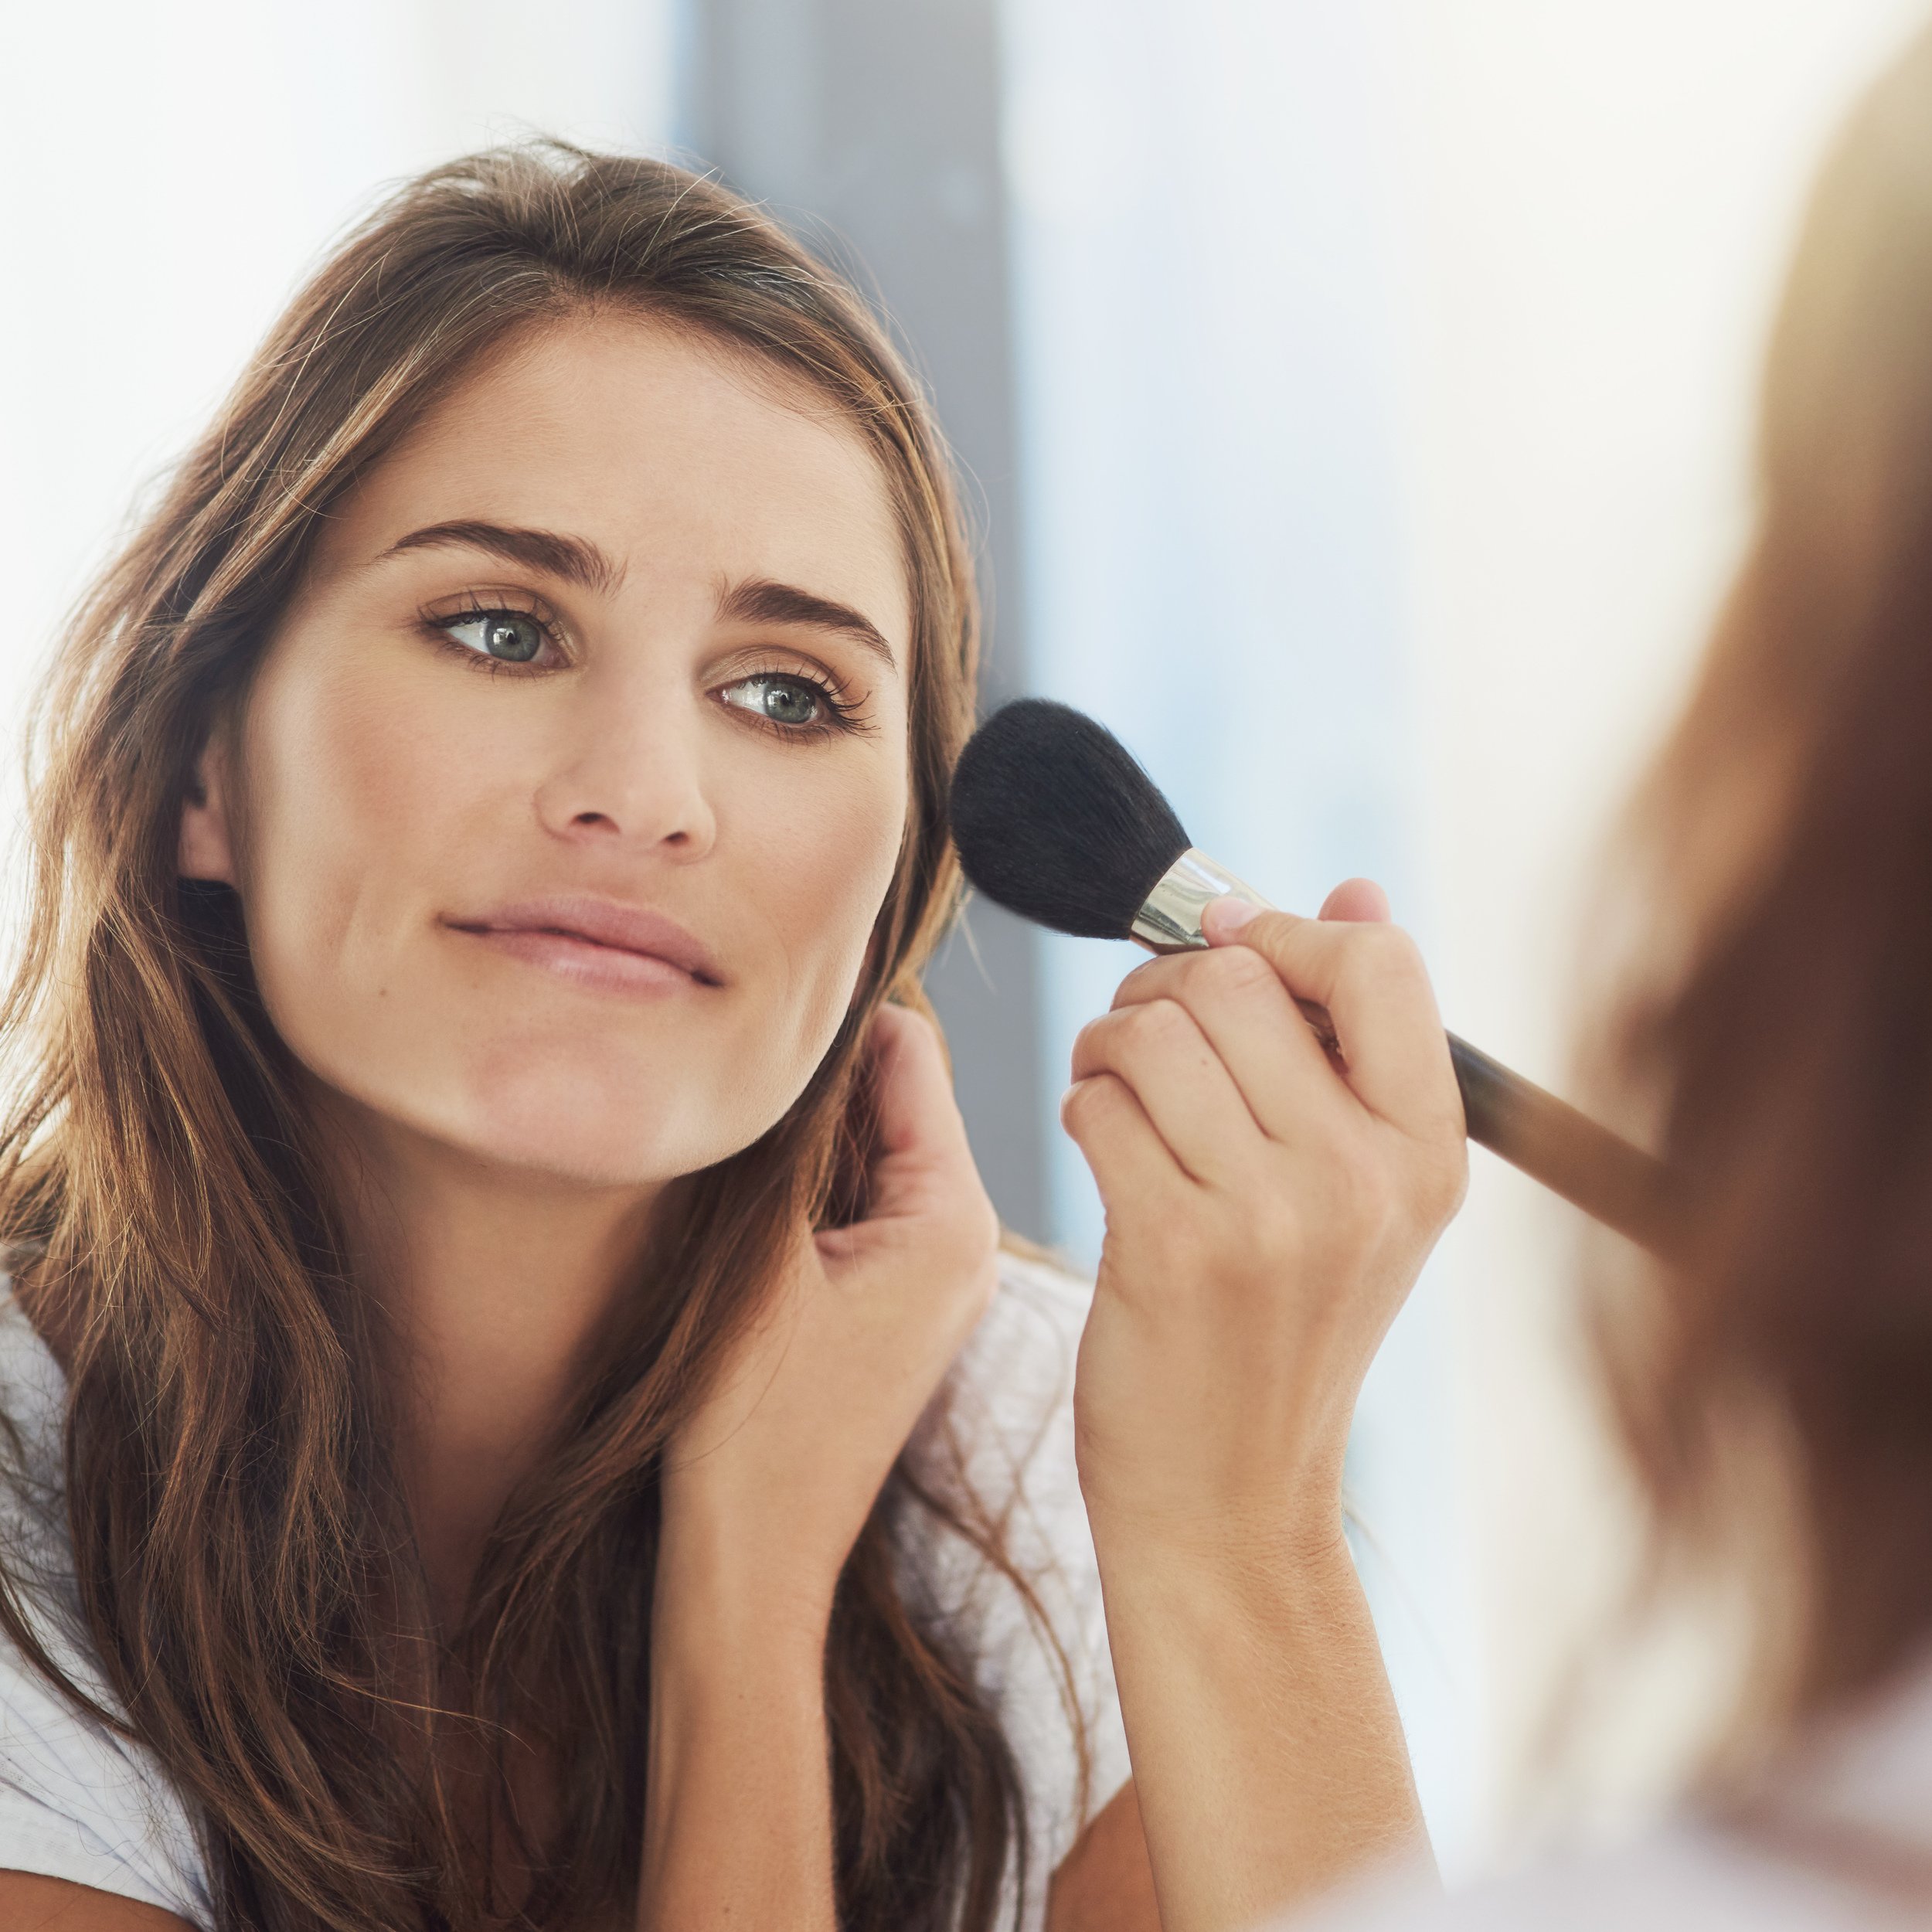
Blush should feel playful and customizable, never stressful. Applying blush according to your face shape can enhance natural features and bring out the best in every look, but these guidelines are a starting point-not a rulebook. Trying different placements-rounded, lifted, diffused-is the best way to discover what feels the most flattering match for each unique face.
The right blush is simply the one that delivers a natural looking flush and makes the wearer feel fresh, pretty, and confident. So grab that favorite blush for your face, experiment freely, and enjoy what is genuinely one of the most fun steps in any makeup routine.
FAQ
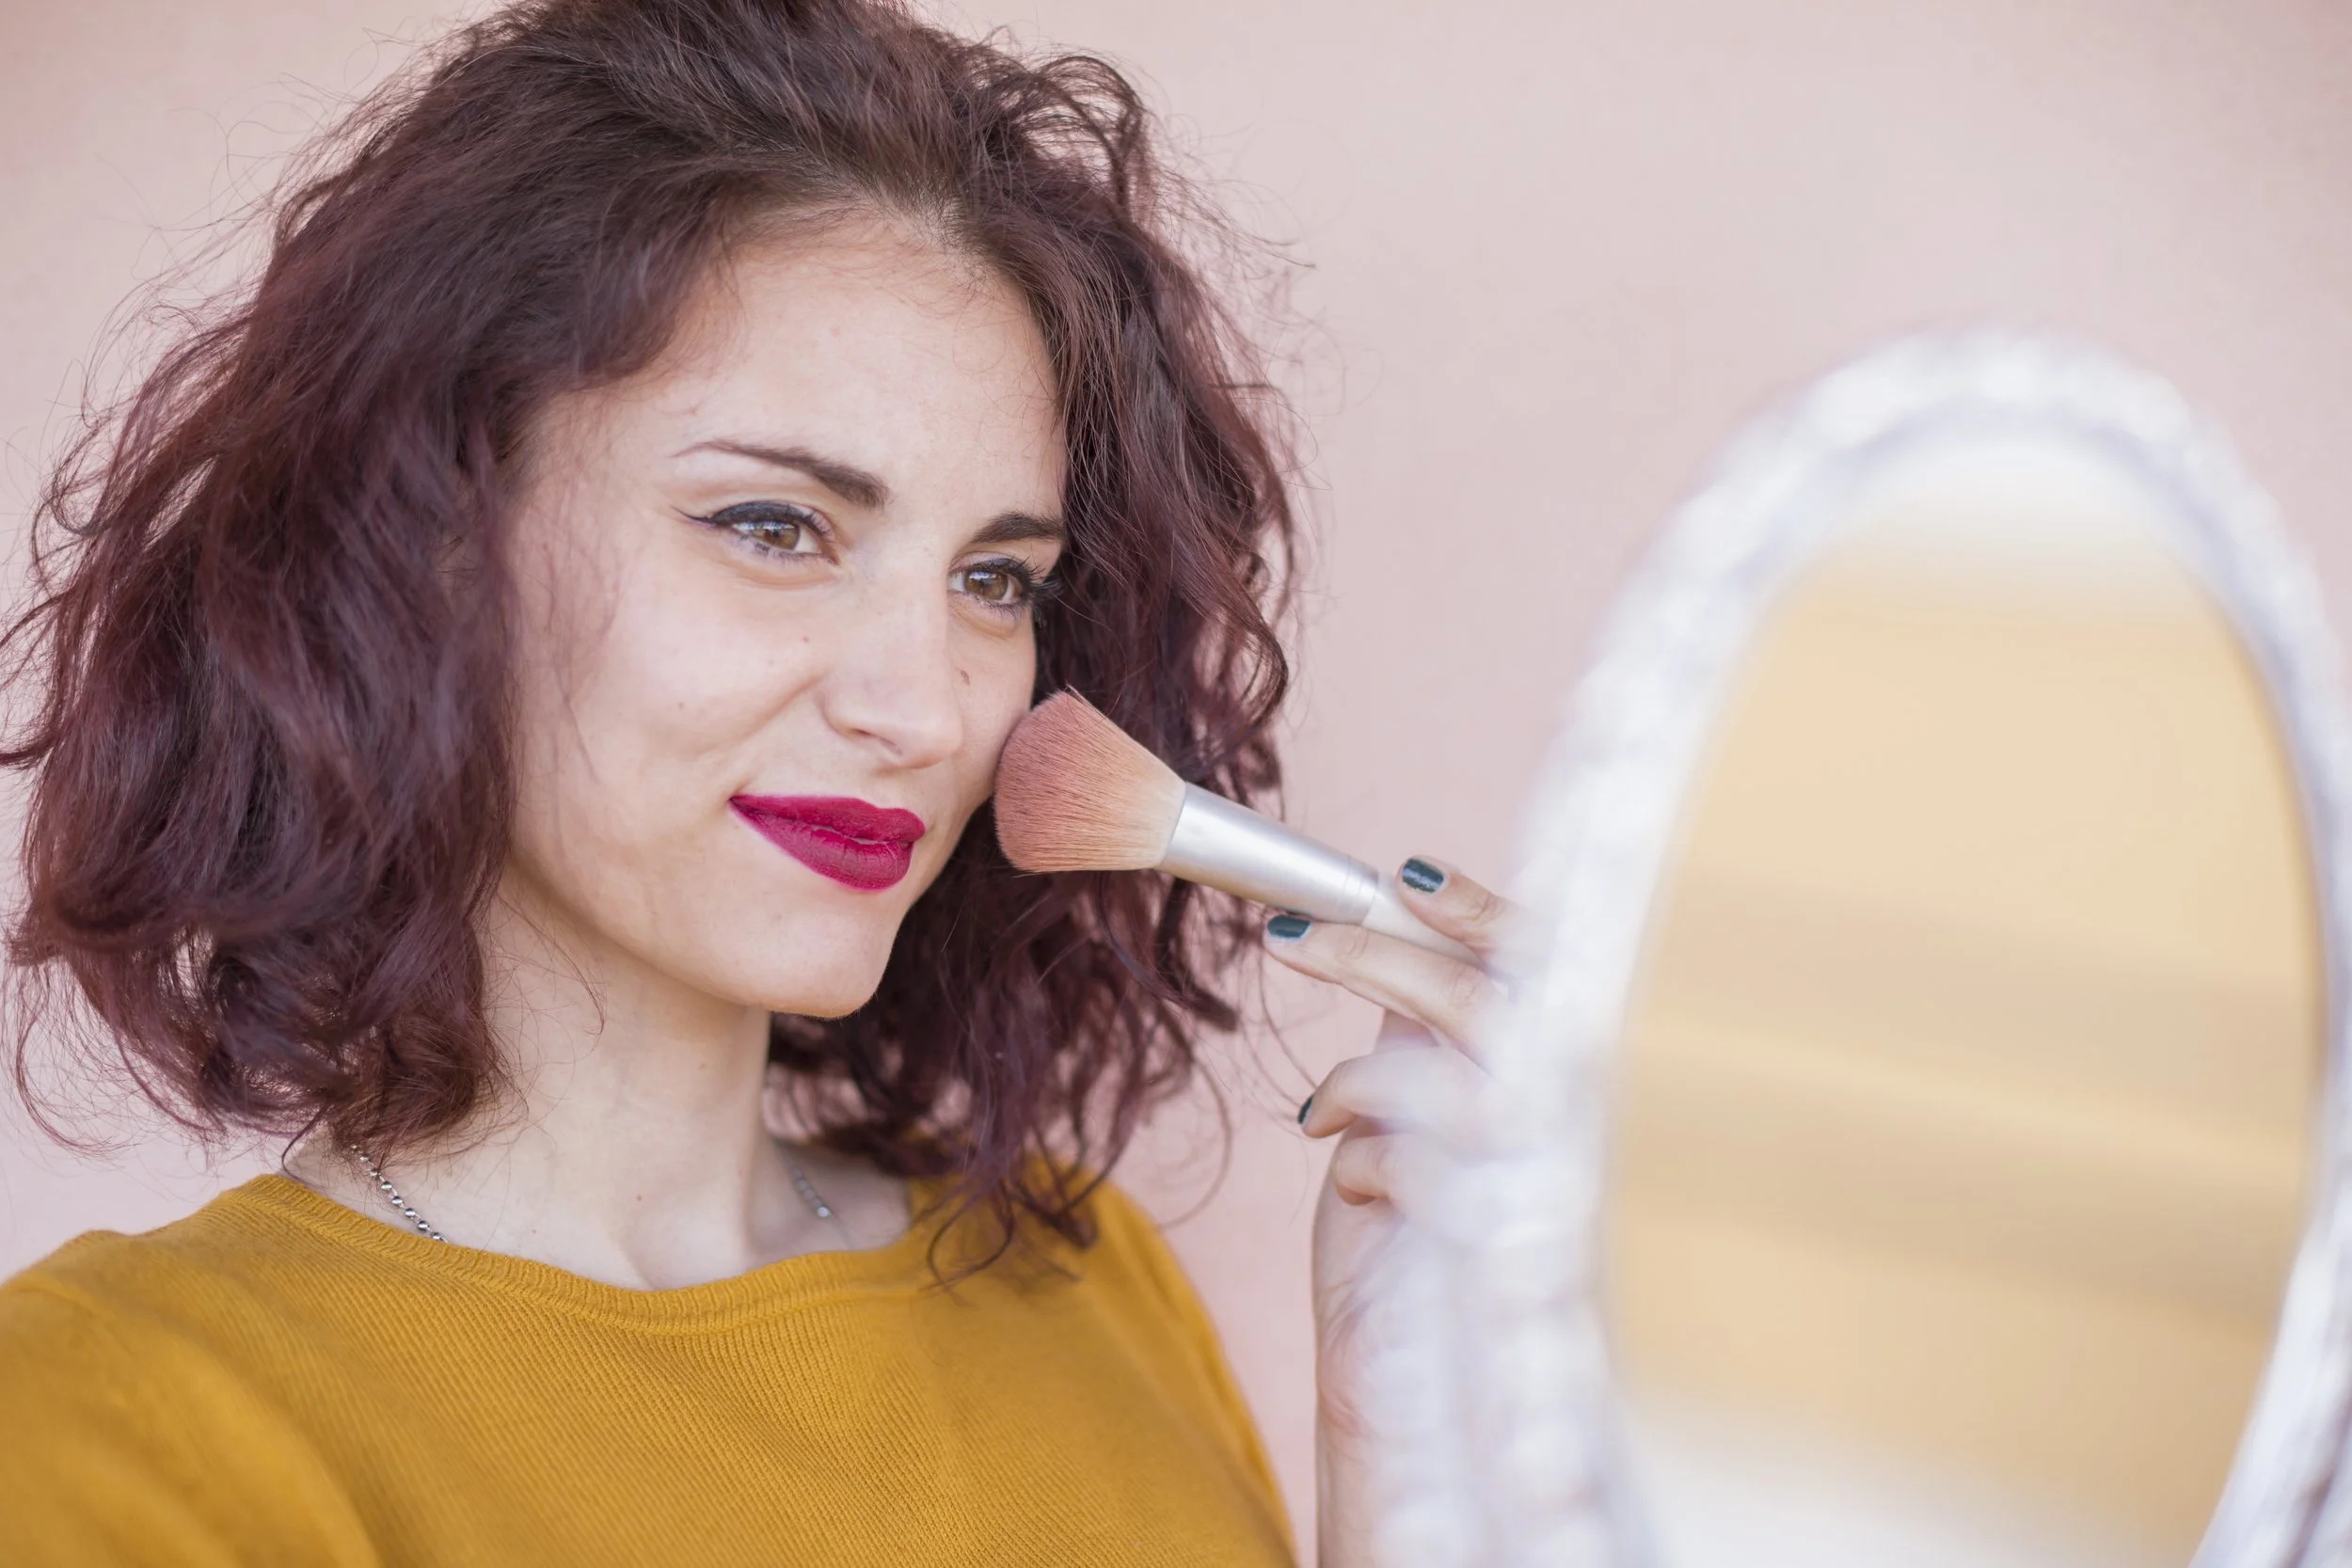
These FAQs cover extra blush questions not fully answered above, keeping answers short and beginner-friendly.
Can You Apply Cream Blush Over Powder Products?
Applying cream blush directly over heavy setting powder can cause patchiness or clumping, especially on dry areas. The safest approach is to apply cream blush right after liquid foundation and concealer, before fully setting with powder. If powder is already on, use very little cream and tap gently with fingers or a damp sponge rather than dragging across the surface. Layering in the order of cream first, powder second almost always gives the smoothest, most natural finish.
What Kind of Brush Is Best for Blush?
A medium-sized, fluffy brush with soft bristles is usually the best choice for beginners because it applies a diffused, even wash of color. A denser brush picks up more pigment and deposits it quickly, which can look intense if not careful. Synthetic brushes work very well with liquid or cream blush, while natural or soft synthetic fibers are ideal for powder blush. Fingers are also perfectly fine for cream formulas-just use light tapping motions instead of rubbing to keep the base makeup underneath intact.
How Can You Make Blush Last All Day?
Starting with a cream or liquid blush base and then lightly layering a matching powder blush on top helps lock in color for hours. Prepping skin properly and using a base that suits the skin type gives blush something to grip onto. Setting the T-zone and areas prone to shine with a small amount of translucent powder can prevent product from sliding off. Avoiding very heavy or oily skincare layers on the cheek area also helps longevity, especially for those with combination skin.
Where Should You Put Blush if You Also Wear Bronzer and Highlighter?
Apply bronzer first to add warmth and gentle contour-it usually sits slightly below or around the perimeter of the face. Then place blush on the fleshiest part of the cheeks. Finish with highlighter only on the highest points where light naturally hits: tops of cheekbones, bridge of nose, and cupid's bow. Always blend the edges where the three products meet so the cheek area reads as one soft gradient, not three separate stripes. When in doubt, remember to apply bronzer warmth first, then the flattering flush of blush, and highlighter last.
How Do You Know if You Chose the Wrong Blush Shade?
The wrong shade often makes skin look dull, gray, or overly bright compared to the rest of the makeup products on the face. A good everyday shade usually looks similar to the color of the cheeks after gentle exercise or being in the cold-that natural flush is the most flattering match. Those with warm undertones often suit peach and coral shades, cool undertones gravitate toward rosy or berry tones, and neutral undertones can comfortably wear a mix. Test any new shade in daylight: if it melts into the complexion, it is likely right; if it sits on top looking disconnected, it is probably the wrong shade for that skin tone.