At-Home Manicure for Beginners: Step-by-Step Nail Routine

Key Takeaways
A manicure at home can look clean and cute with a few basic tools and a simple routine.
Proper nail prep-remove old polish, file nails, gently buff, push back cuticles-is what makes nail polish look smooth and last longer.
Base coat and top coat are non-negotiable for beginners who want salon manicure vibes at home.
Thin coats, dry time, and capping the free edge are the three big secrets to fewer chips.
Daily hand cream and cuticle oil keep DIY manicures looking fresh between full polish changes.
Fashion & Beauty News
💋
Fashion & Beauty News 💋


An at-home manicure for beginners is a simple way to get neat, glossy nails without booking a salon appointment. With the right tools and a little practice, the results speak for themselves: smooth nail beds, tidy cuticles, and shiny polish that actually lasts more than a day or two.
This article walks through an at home manicure step by step, from removing old polish to the final drop of cuticle oil. No perfect painting skills required-just patience and gentle techniques. Preparation for an at-home manicure includes cleaning nails and shaping them, and this routine covers all of it.
What You Need (Simple Starter Kit)

Beginners only need a basic kit for a cute manicure at home. Gather everything before starting so the drying process between steps stays smooth.
Essentials:
Nail polish remover (a good nail polish remover is essential for prep)
Cotton pads or a cotton ball
Nail clippers
Nail file
Nail buffer
Cuticle oil or cuticle softener
Orange stick or cuticle pusher
Mild hand soap
Hand cream
Base coat
Favorite nail polish color
Glossy top coat
Optional upgrades:
Nail brush for cleaning under nails
Small bowl for soaking
Quick-dry drops
Cleanup brush or angled eyeliner brush
Nail strengthening treatment with vitamin e
Glass file for smoother edges
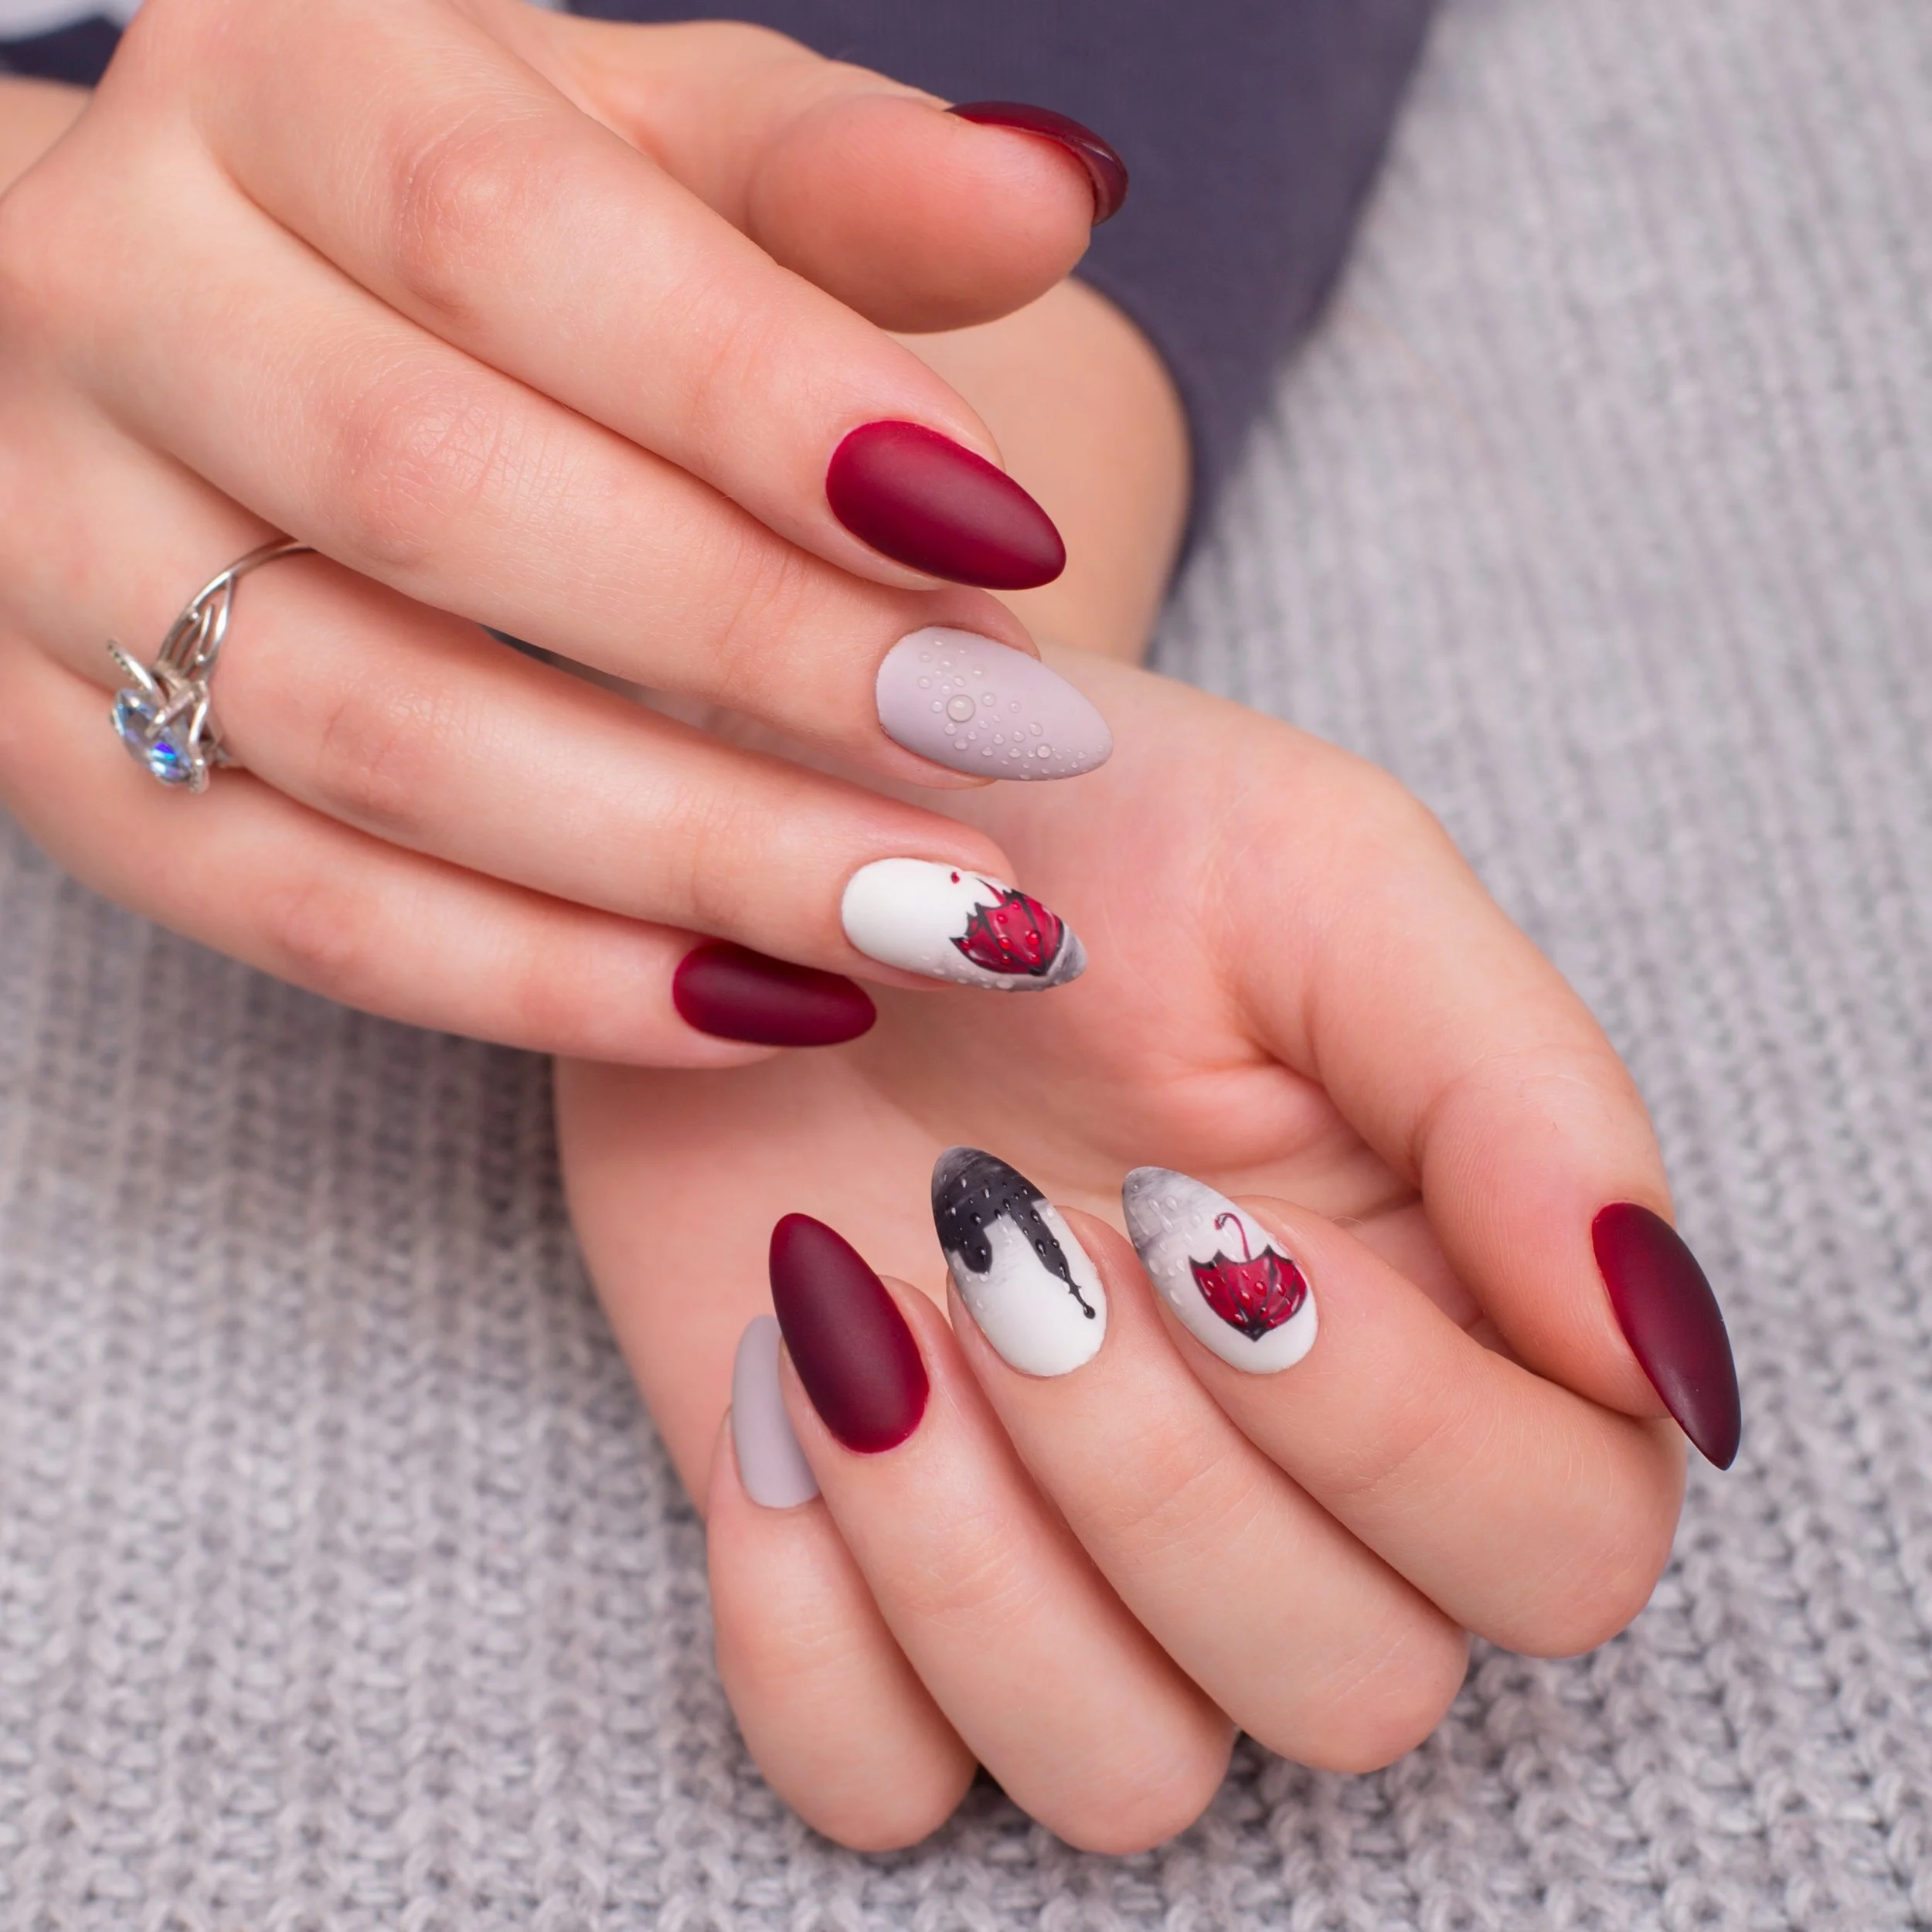
Choosing high-quality colors helps beginners master manicure techniques-start with 1–2 neutral shades like soft pink or sheer beige, where streaks are less noticeable while learning.
Step-by-Step At-Home Manicure Routine

This is the core routine for how to do a manicure at home, covering 10 simple steps. Keep your tools nearby and work on one hand at a time if that feels easier.
Step 1 – Remove Old Polish
Every trace of old polish needs to go for a smooth base and better adhesion. Remove previous nail polish with remover and cotton pads-saturate a cotton pad with remover, press on each nail for a few seconds, then wipe from cuticle to free edge to completely remove old color cleanly.
Never peel off old polish or gel. Peeling can pull away layers of the nail plate, leaving weak nails that feel rough and thin. Use acetone-based polish remover for stubborn glitter and long-wear formulas, and non-acetone remover for frequent diy manicure sessions since it is gentler on skin.
Step 2 – Wash and Dry Your Hands
Wash hands with mild hand soap and lukewarm water to remove dirt and oil, plus any leftover remover residue. Use your fingertips or a nail brush to gently clean under each nail. Exfoliate hands to eliminate dead skin cells before moisturizing later in the routine.
Dry thoroughly-including the nail plate and free edge-and wait a minute so nails are completely dry before moving on. Wet nails expand slightly, so filing or polishing on damp nails leads to problems.
Step 3 – Trim and Shape Your Nails
Shaping determines the overall vibe of the finished look. Nail clippers are needed to trim nails before polishing-trim to a desired length that feels practical for everyday life, then refine with a nail file.
To file nails properly, hold the file at a slight angle and move in one direction from side to center. Contrary to popular belief, sawing back and forth causes splitting and weakens the edge. Trim and file nails to your desired length and shape using these beginner-friendly options:
Round – soft, low-maintenance
Oval – elongates fingers
Square – classic, straight free edge
Squoval – square with rounded corners, fewer snags
Pick a desired shape that suits your natural nail length.
Step 4 – Soften and Push Back Cuticles
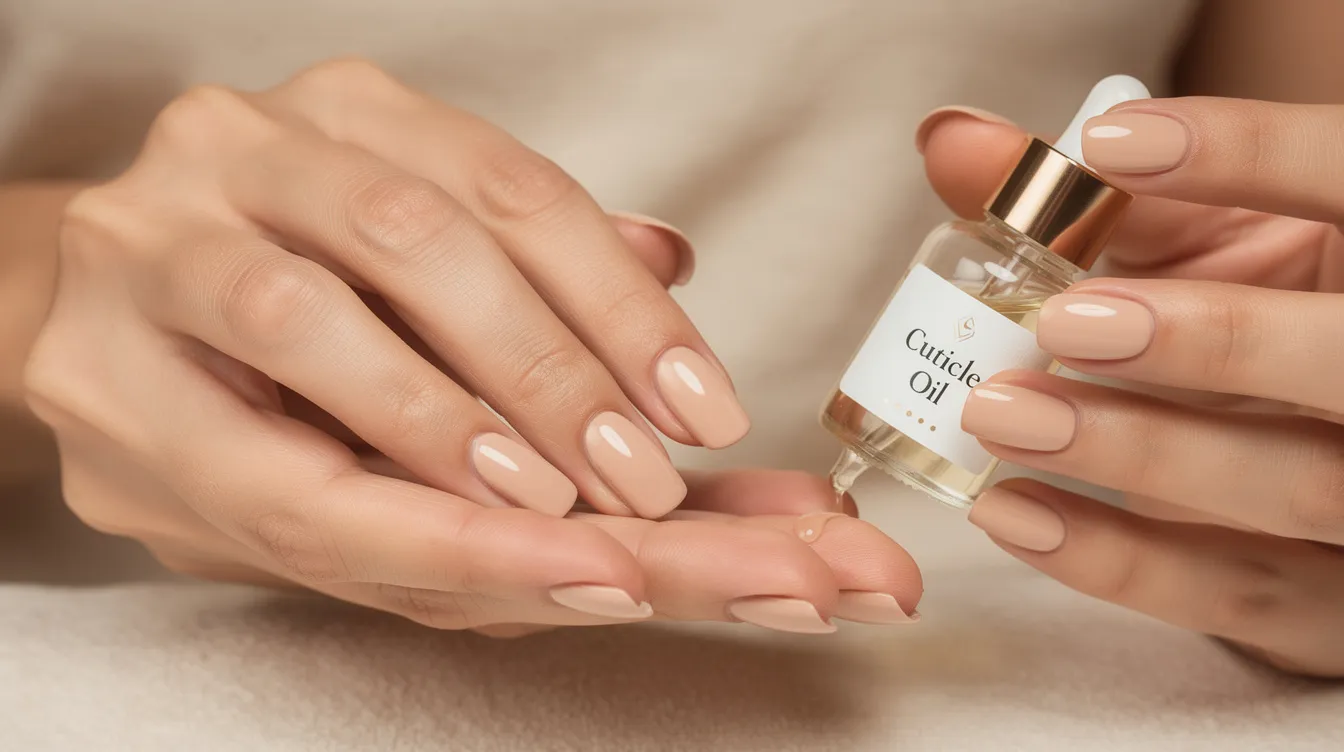
Cuticles protect the nail root, so beginners should focus on softening and gently moving them back-not cutting deeply. Use a cuticle remover to soften dead skin before pushing back, or apply cuticle oil around each nail in the cuticle area. Cuticle oil nourishes and hydrates cuticles, keeping the skin around nail beds healthy.
Alternatively, soak nails in warm, soapy water for 2–3 minutes-soaking fingers in warm water softens cuticles before a manicure. Then gently push back cuticles with an orange stick or cuticle pusher using light pressure and small movements. Cuticle pushers help manage cuticle health during manicures, but push back your cuticles without scraping. As rita remark, essie global lead educator and celebrity manicurist, often advises: gentle care beats aggressive cutting every time.
Safety note: Avoid cutting living cuticle tissue at home. If there is painful redness or swelling, skip this step and see a professional.
Step 5 – Gently Buff the Nail Surface
A nail buffer smooths the nail surface and prepares it for polish. Use a fine-grit buffer (240 grit or a multi-sided buffer block) and gently buff in one direction over the nail plate for just a few passes per nail.
Do not over-buff. Excessive buffing thins the nail and makes it more prone to peeling and breakage-two to three light passes per nail is plenty.
Step 6 – Prep the Nail Plate
Nail prep removes invisible oils, and this is the real secret to making nail polish last longer. Using isopropyl alcohol (70–91%) or nail polish remover on a lint-free pad, wipe each nail surface clean, focusing on the nail plate and free edge. This helps polish adhere properly.
After this step, nails should look clean, matte, and dry-no lotion or cuticle oil on the nail itself. Avoid soaking nails in water right before painting to prevent chipping, since nails expand when wet and contract as they dry, which lifts polish. Nail prep quality accounts for roughly 80% of how long a manicure lasts, so do not skip this.
Step 7 – Apply Base Coat
A base coat helps prevent chipping and protects nails from staining. It also prevents excessive chipping and discoloration from darker shades. Apply one thin, even layer of base coat using a simple three strokes method: one stroke down the center, one on the left, one on the right.
Start near the cuticle and brush toward the free edge. If polish floods the sidewalls, a cleanup brush dipped in acetone helps achieve a professional finish. Let the base coat dry for 1–2 minutes before moving on. Apply a base coat to protect nails and prevent chipping-every single time.
Step 8 – Apply Two Thin Coats of Color
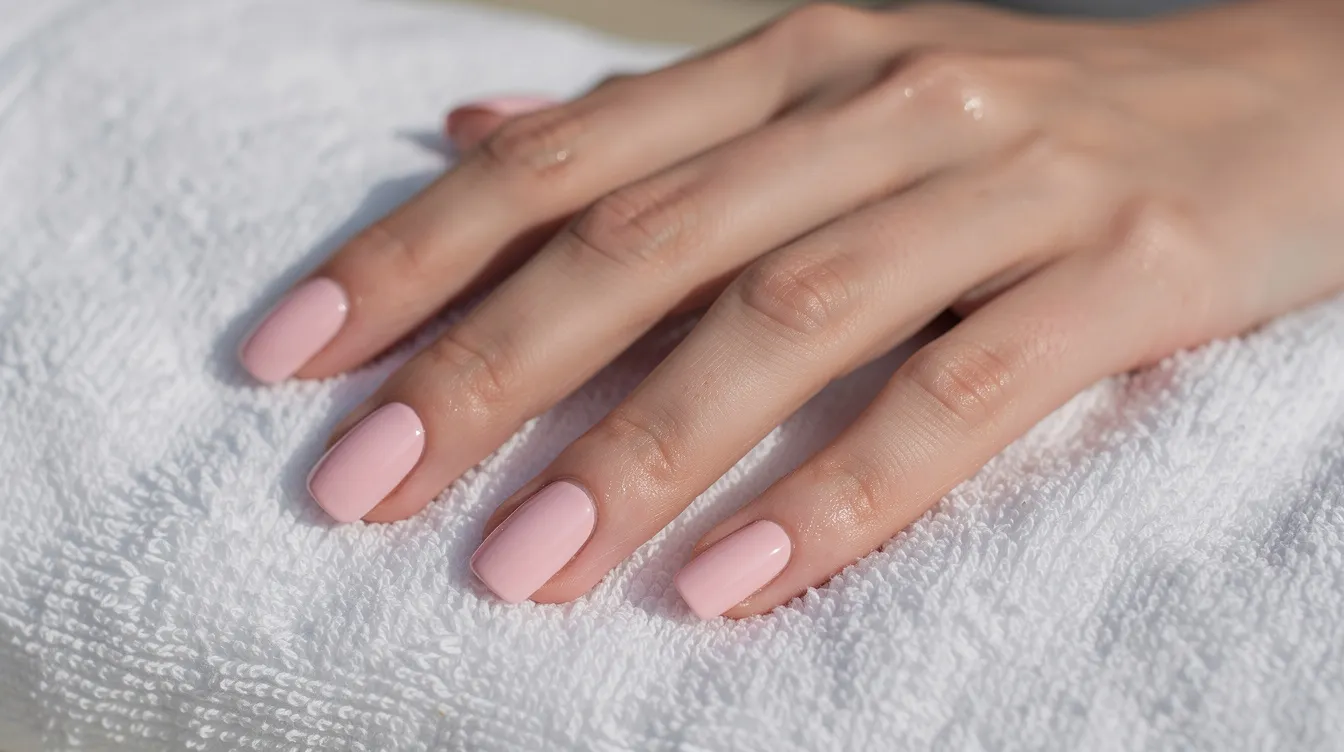
Thin layers of polish help prevent smudging and chipping. Two thin coats are better than one thick coat: polish dries faster, looks smoother, and chips less. Apply two thin coats of nail polish for best coverage.
To paint each nail: wipe excess polish off one side of the brush, place the brush slightly away from the cuticle, gently push toward the cuticle line, then pull down to the free edge in three strokes for full coverage. Wait two minutes between each coat for better adhesion-let the first coat set before adding the second coat.
Step 9 – Apply Top Coat (and Cap the Free Edge)
A top coat adds shine and protects the manicure. Applying a top coat significantly extends the lifespan of polish. Apply one thin layer over each nail, floating the brush lightly to avoid dragging color.
Then seal the tip: lightly run the brush across the very edge of each nail to cap the free edge. Sealing the edge of the nail with polish prevents chipping where nails take the most impact. Finish with a top coat for added shine and protection. A quick-dry formula is ideal for beginners, but still allow a few minutes of hands-off time.
Step 10 – Let Nails Dry Properly
Regular nail polish is touch-dry in about 10–15 minutes but fully set in 45–60 minutes. Keep hands on a flat surface, avoid digging into bags, and don't touch hair, clothing, or phone buttons with fresh nails.
Quick-dry drops can speed up the drying process, but heavy pressure should still be avoided. Once nails dry fully, moisturize hands and cuticles-this won't smudge set polish and keeps skin soft. Apply cuticle oil around each nail to finish the routine and support ongoing nail care.
How to Make Your Manicure Last Longer
A few tiny habits can stretch a diy manicure from one day to a full week or more.
Always start with clean nails and a dry nail plate before base coat.
Keep every polish layer thin-base coat, color, and top coat.
Reapply a thin layer of top coat every 2–3 days, capping the free edge each time.
Wear gloves when washing dishes or cleaning to protect nails and polish.
Apply cuticle oil daily to keep the cuticle area flexible and reduce peeling.
Never use nails as tools-no scratching labels or opening cans.
Keep nails filed to a manageable desired length to reduce breaks and snags.
Common Beginner Manicure Mistakes (and Quick Fixes)

Mistakes are normal. Here are the most common beginner issues and how to fix them fast:
Thick coats that never dry: Wipe excess off the brush and build color in two or three thin layers instead.
Skipping base coat: Even a simple clear base coat helps protect nails and improve wear time.
Rushing dry time: Schedule manicures when there is at least an hour to relax after-or use a cotton ball test to check if polish is still tacky.
Sawing the nail file back and forth: File in one direction with gentle pressure using a fine-grit file.
Cutting cuticles too aggressively: Stick to pushing back cuticles gently and trim only obvious hangnails.
Oil left on the nail plate: Always wipe nails with remover or isopropyl alcohol right before base coat so polish can adhere.
Forgetting to seal the nail tip: Cap the free edge with top coat every time.
5-Minute Maintenance Between Manicures
This quick ritual every few days keeps nails looking neat between full sessions:
Apply cuticle oil around each nail and massage for 30–60 seconds to soften skin.
Use hand cream after washing hands or before bed.
Gently file any tiny snags at the free edge right away before they become full breaks.
Add a fresh thin layer of top coat on day 2 or 3 to refresh shine.
Clean under nails gently with an orange stick or soft brush when washing hands.
If one nail chips badly, remove polish from that nail and repaint rather than peeling polish off the entire hand.
Quick Checklist (Screenshot-Friendly)

✅ Remove old polish
✅ Wash and dry hands
✅ Trim to desired length and file nails into chosen shape
✅ Soften and push back cuticles
✅ Gently buff nail surface
✅ Wipe nail plate clean with remover or alcohol
✅ Apply thin base coat
✅ Apply two thin coats of nail polish color
✅ Apply top coat and cap the free edge
✅ Let nails dry fully
✅ Finish with hand cream and cuticle oil around nails
Frequently Asked Questions (FAQ)
How often should a beginner do a full manicure at home?
Most people can redo a full quality manicure every 7–10 days, depending on growth and chipping. If nails feel dry or start peeling, take a short "polish break" for a week and use only nail strengthener and cuticle oil to let them recover.
Is it okay to do a manicure at home on very short nails?
Absolutely. At-home manicures look great on short nails and can make them appear neater and more intentional. Choose soft, sheer shades on very short nails-they flatter the nail shape and are easier to paint without flooding the cuticle. Keep the free edge smooth and filed even when short.
What should beginners do if they always get bubbles in their nail polish?
Bubbles often come from shaking the bottle or using coats that are too thick. Roll the bottle between your hands instead of shaking, apply thinner layers, and avoid painting in very hot or humid rooms. Let each layer settle for a minute before adding the next to reduce trapped air.
Can a base coat and top coat be the same product?
Some clear polishes are labeled 2-in-1 and can work for simple manicures. However, dedicated base coats focus on grip and protecting nails from staining, while top coats are designed for durability and shine-so separate products usually give better results for a salon-level finish.
What if the skin around the nails is dry or peeling?
Avoid picking or cutting peeling skin, as that can lead to pain or infection. Apply a rich hand cream and cuticle oil several times a day, and try wearing cotton gloves at night if hands are very dry. Persistent redness, swelling, or pain around nails should be checked by a professional-that goes beyond basic nail care.
A quality manicure does not need to be perfect-it just needs to be yours. Every coat gets smoother, every routine gets faster, and with a little practice those nails keep looking better. Save the checklist, grab the right tools, and treat yourself to a soak-and-polish session this weekend. You deserve it. 💅